Today, Windows VPS Server is one of the most popular modern services that Eldernode offers on its secure platform and dedicated servers around the world. In this article, we try to talk about the Basic steps after purchasing a Windows VPS Server. You can visit the packages available in Eldernode to purchase a Windows VPS server. After purchasing and receiving this service, it needs some basic settings that must be done by the user. Follow us in the continuation of this article.
Table of Contents
4 Basic steps after receiving the Windows VPS Server
1. Rename the system
3. Complete the operating system update
4. Activate the operating system
These four steps, as mentioned above, are some of the things to look for when selecting a Windows VPS server.
Rename the system inside the Windows VPS server
After installation, Windows has randomly assigned a name to the system that will be used when installing all services such as IIS, DNS, etc. So you need to rename your system to get the services up and running properly.
To change the system name in Windows, you must do the following steps:
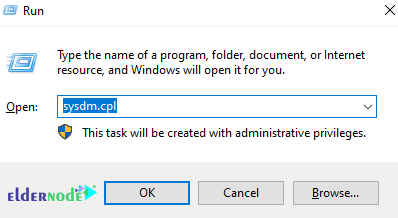
1. Press Winkey + R and type sysdm.cpl in the Run window box and click OK.
2. In the image below, click on Change.

3. Enter the new name of your computer and click Ok.
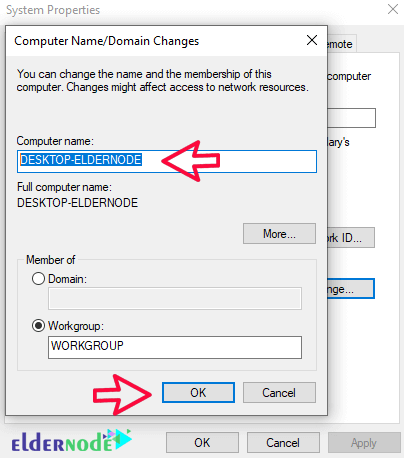
After applying the above steps, the system must be restarted once to get a new name for your computer.
Note: It is recommended that you rename the computer before installing and configuring the roles and features.
Change the Windows VPS Server Password
Password change is certainly one of the most important operations that need to be done first. This operation can be done in different ways and you can change it in any of the different ways as you wish. In previous articles, you learned how to change the password of a Windows VPS server that you can refer to.
Complete Windows VPS Server Update
Today, despite the many security threats to operating systems, providers seek to maintain the security of their operating systems. For this purpose, they constantly provide security updates. With the discovery of every security hole, Microsoft has quickly released a new update to prevent problems with its systems.
In addition to providing security packages, Microsoft also provides updates to improve the performance of its operating system, which repairs and improves the system’s problems with service delivery. So it is better to update it completely after receiving your VPS Server and before starting to receive the service.
Windows VPS server update steps
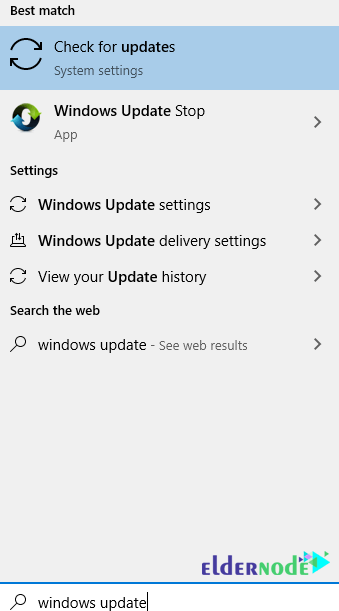
1. Click on the Start bar and search for Windows Update and open it.
2. After opening the Windows update page, click Check for Update.
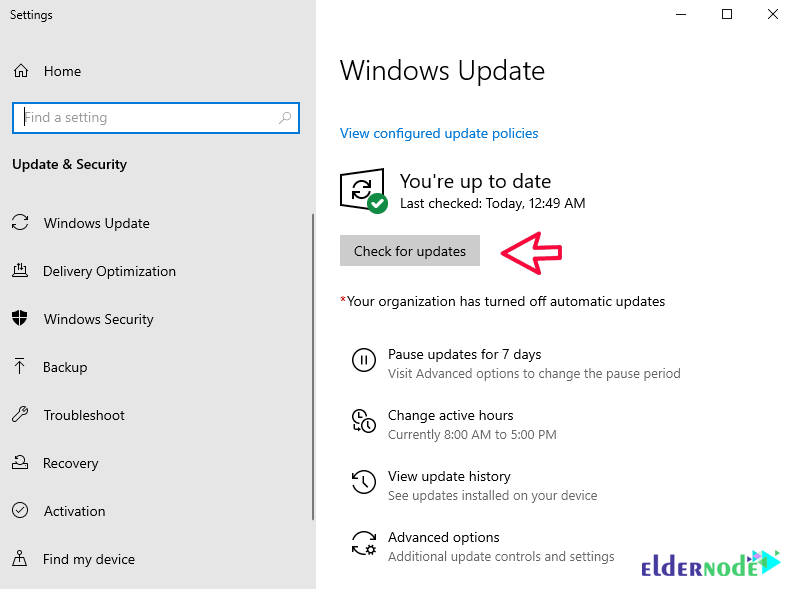
Wait for Windows to search for new updates and download and install them.
After completing the Windows update, restart it so that the updates are fully installed.
Note: It takes between 10 and 15 minutes for the system to restart, depending on the size of the updates.
Enable Windows VPS Server
After completing the first three steps, you must activate your Windows. Activating Windows may not be a problem for you at first, but after completing the Trial period, you will encounter several messages and after a while, the services will fail. Therefore, we recommend that you activate it after receiving your service. This will complete the initial setup of your Windows VPS server and you will be able to use it.
Conclusion
Windows VPS Server is a virtual server with the powerful Microsoft Windows Server operating system. In this virtual server, full access is provided for you to apply any item. That way, for less money than a dedicated server, you’ll have a server with strong virtualization and hardware resources. In this article, we tried to teach you 5 Basic steps after purchasing a Windows VPS Server.