Tutorial to set up DFS Namespaces in Windows Server 2016. Namespace is a central namespace for DFS service where users can view all shared folders in which the namespace is created seamlessly. DFS (Distributed File System ) allows you to setup shared folders hosted on different servers into one or more logically structured namespaces.
Each namespace appears to users as a single shared folder with a series of subfolders. This setup increases availability and automatically connects users to shared folders in the same Active Directory Domain Services site.
In this article, we will setup and configure DFS Namespaces in Windows Server 2016.
Windows Virtual Private Server from Eldernode
How to Install the DFS Role
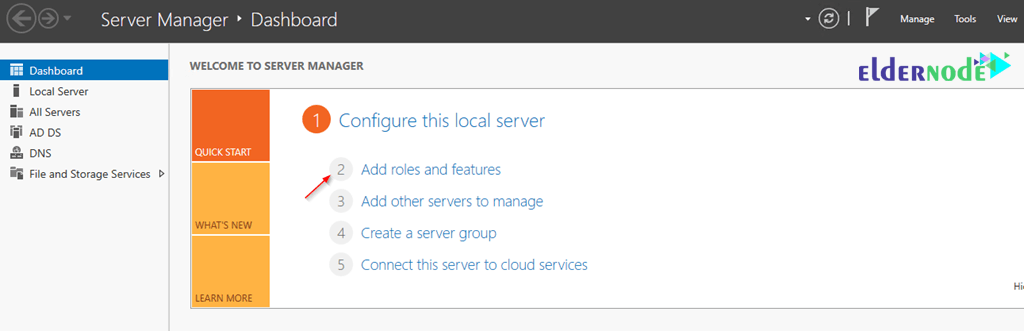
log in to your Windows 2016 Server, and open the Server Manager console.
Click on Add roles and features:
The Add roles and feature wizard will come up:

Click on Next.
Choose on Role-based or feature-based installation on the next screen:
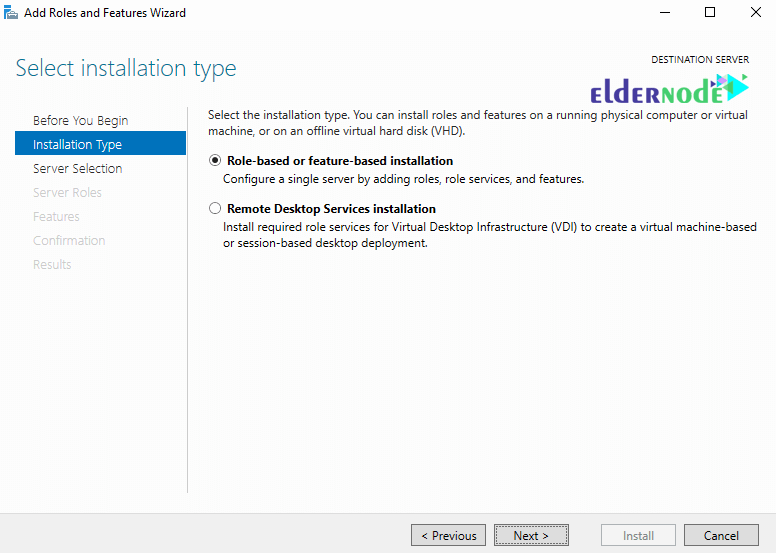
Click on Next.
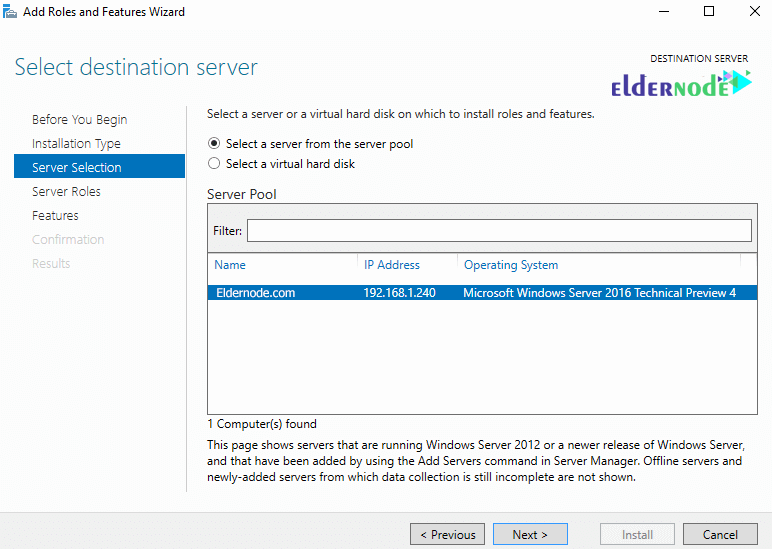
Select your server in the next screen, and click on Next again:
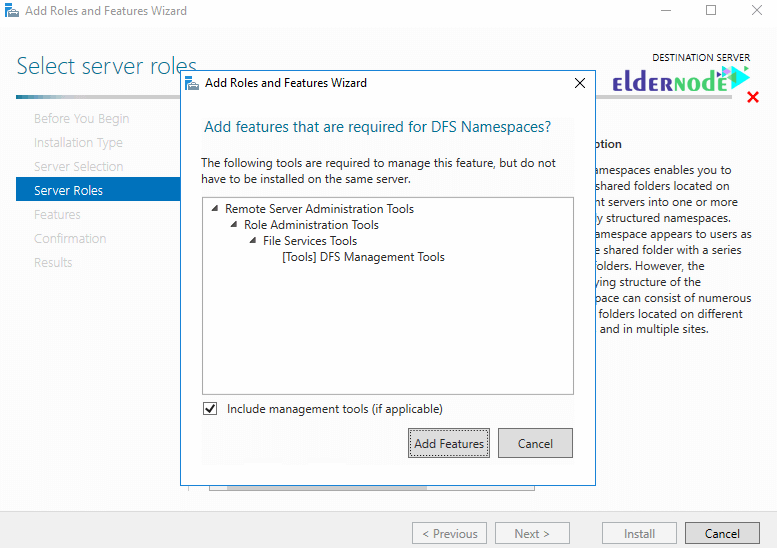
Expand the File and Storage services and select DFS Namespaces from the list:
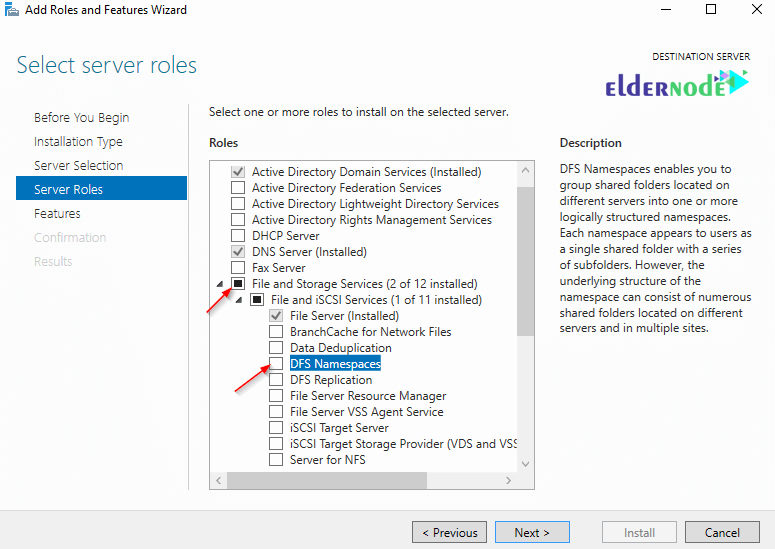
Click on Add Features when prompted to install the Management tools:
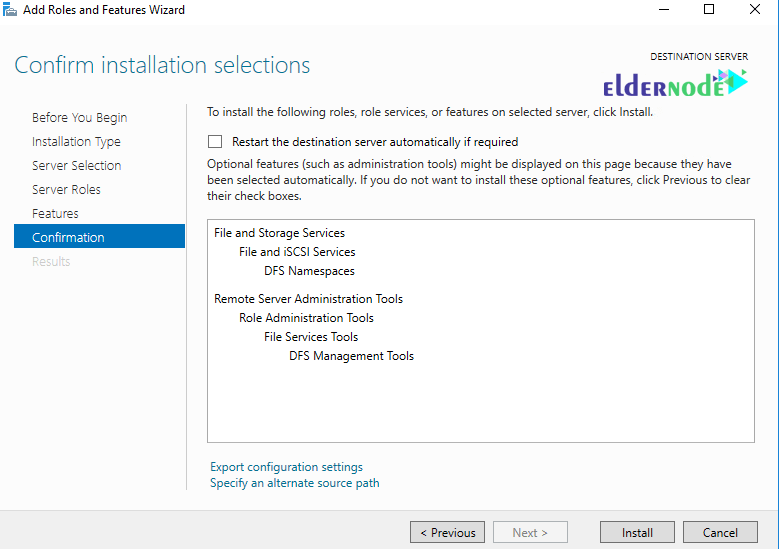
Click on Next on the rest of the screens.
Then click on Install :
How to Configure DFS
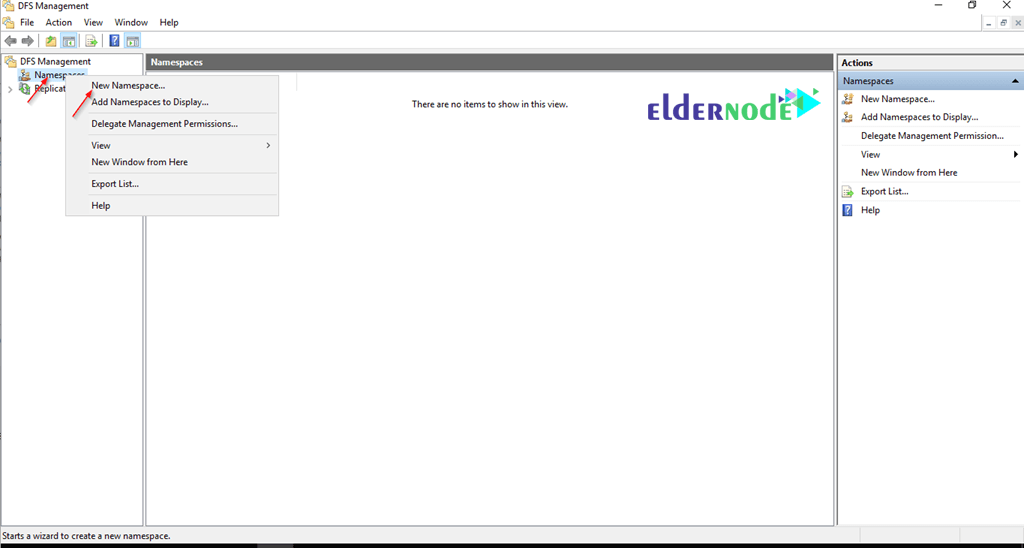
After the DFS role has been installed, open the DFS Management console, and right-click Namespaces, and choose New Namespace..
Type the name of the server that will host the namespace on the next screen:
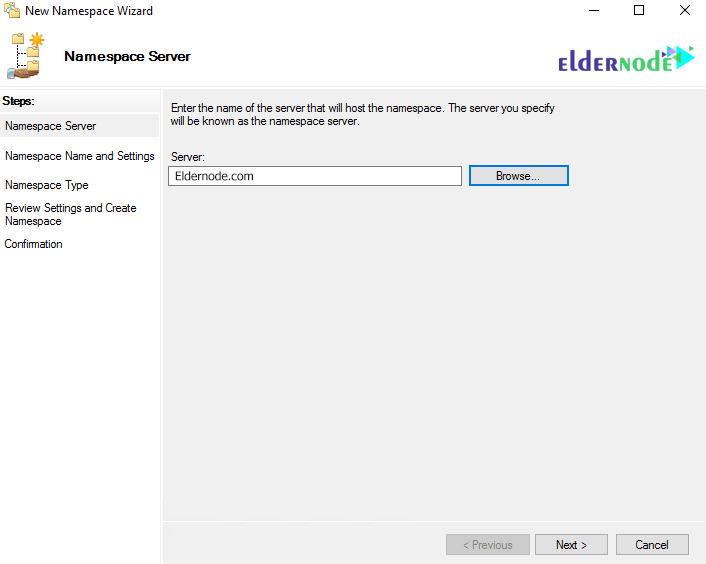
Click on Next.
Choose a name for your namespace in the following screen.
This will be the name of your domain sharing path. for example Eldernode.com\files
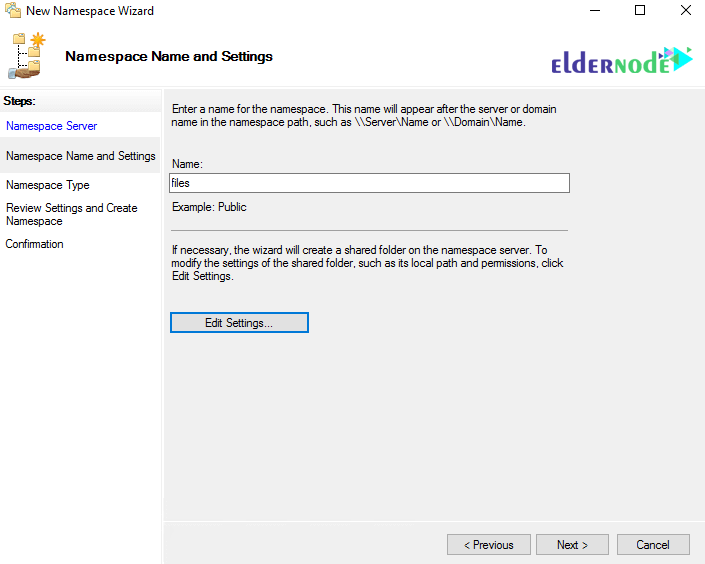
Click on Edit Settings.. to edit permissions on the share.
By default, everyone only has read permissions. Click on Next.
On the following screen choose the Namespace Type:
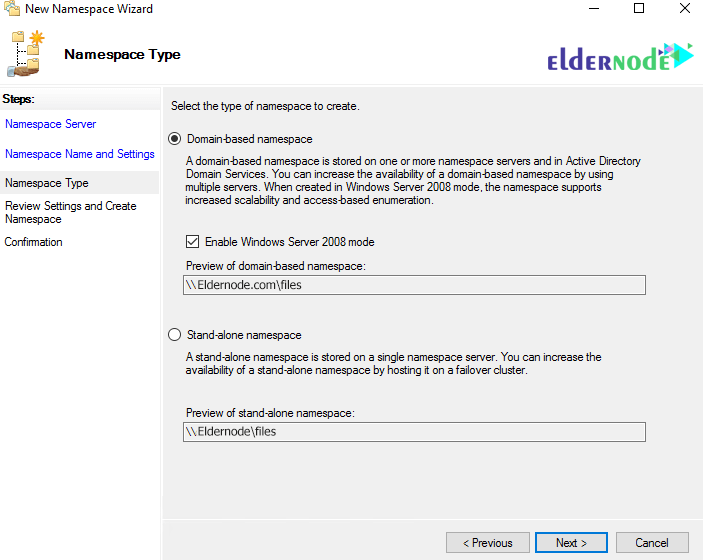
Choose the Domain-based namespace and click on Next.
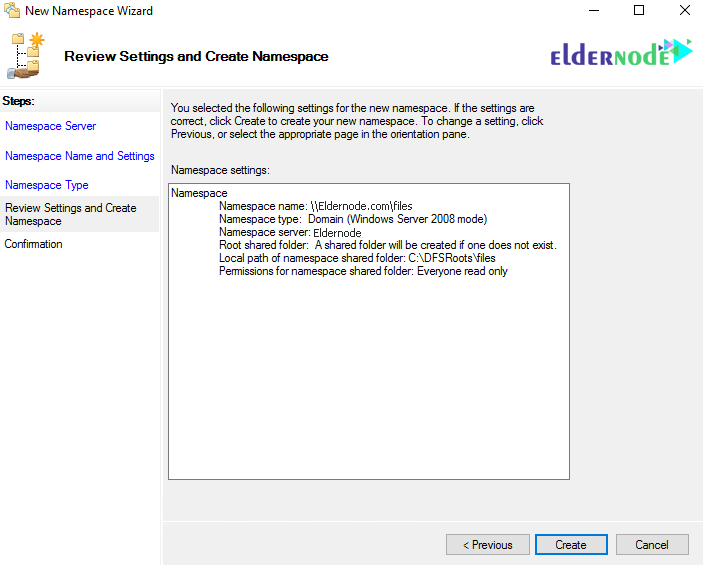
Review the settings and then click on Create:
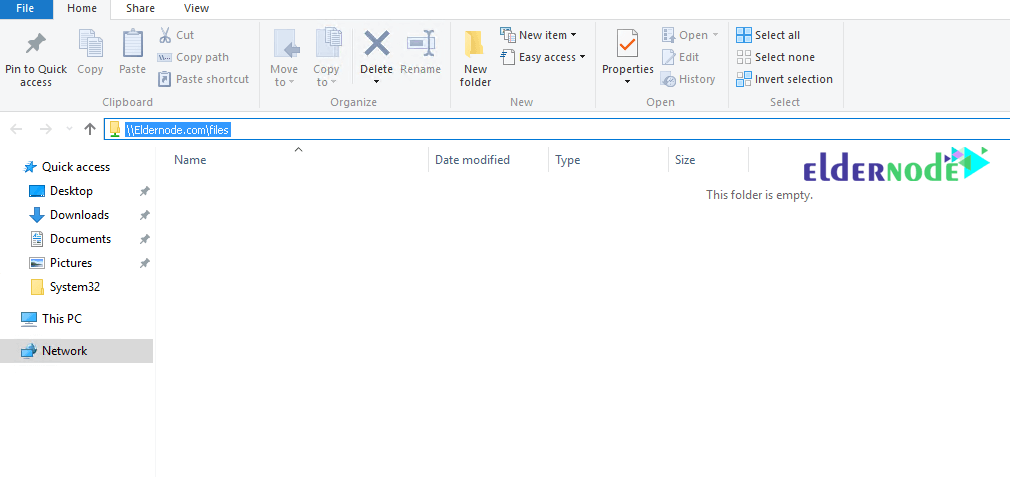
Test your DFS Namespace is working by typing the network path in Explorer ( e.g Eldernode.com\files ).
How to Create DFS folders
You will need to add folders to the DFS namespace now.
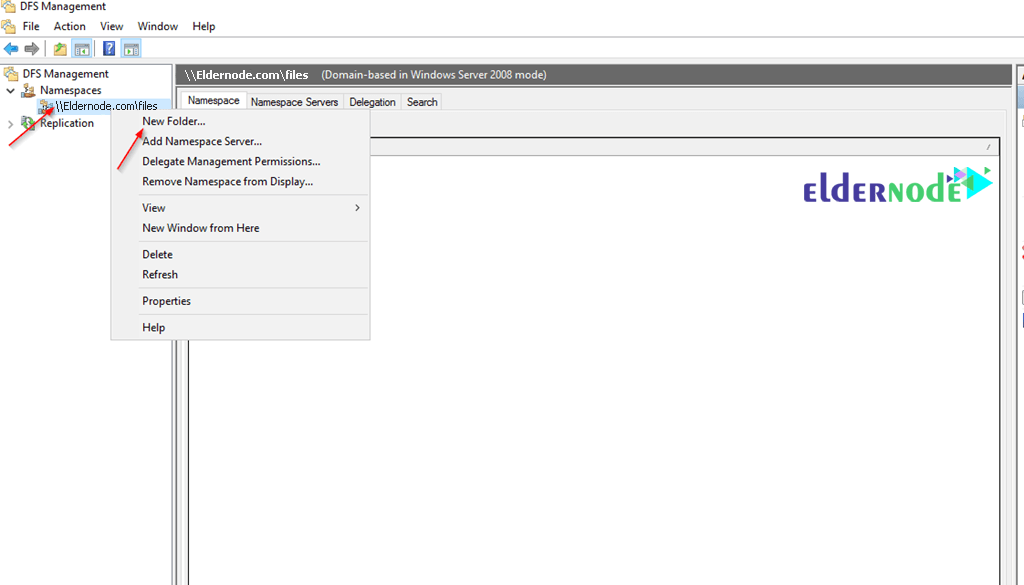
From your DFS Management console, right-click the namespace you just created, and choose New Folder:
Type the name of the folder, then click on Add:
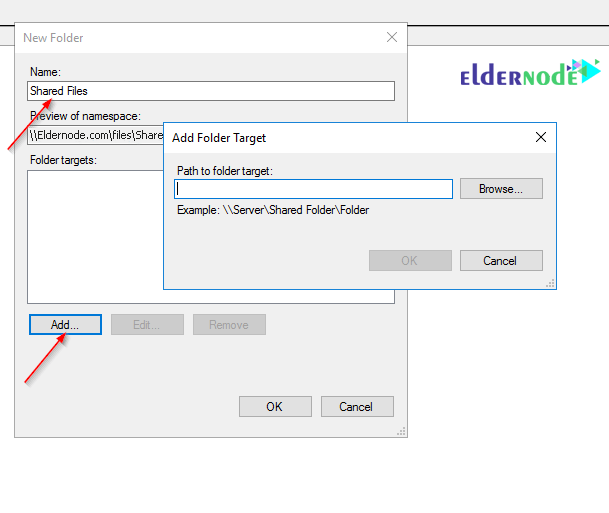
Type the path of the Shared folder you want to add to the Namespace:
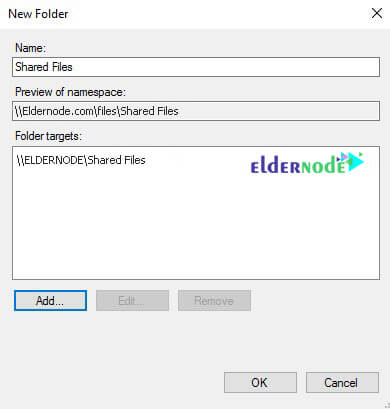
Finally, Click on OK.
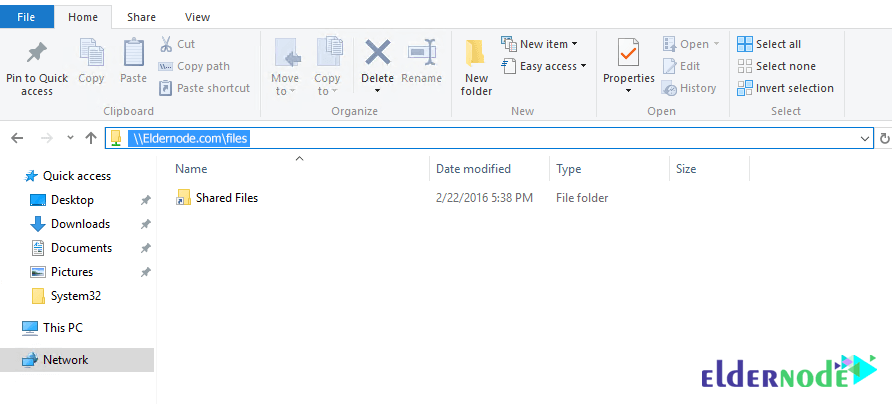
Go to the network path again ( e.g Eldernode.com.comfiles ) and you should see the folder you just added:
Dear user, we hope you would enjoy this tutorial, you can ask questions about this training in the comments section, or to solve other problems in the field of Eldernode training, refer to the Ask page section and raise your problem in it as soon as possible. Make time for other users and experts to answer your questions.
Goodluck.