UrBackup is an open-source client/server backup system. The tool performs both data security and fast recovery through a combination of image and file backup. Using UrBackup, file and image backups are made while the system is running without interrupting current processes. It is interesting to note that UrBackup constantly views the folders you want to back up. By doing this, it will quickly find the differences between the previous backup. Because of this, incremental file backups are really fast. In this article, we are going to teach you How to Setup and Configure UrBackup on Ubuntu 20.10. You can visit the packages available in Eldernode if you wish to purchase an Ubuntu VPS server.
Table of Contents
Tutorial Setup and Configure UrBackup on Ubuntu 20.10
In this tutorial, after introducing the prerequisites for installing UrBackup, we will teach you how to install the UrBackup server on Ubuntu 20.10. Then in the next step, we will explain to you step by step how to add a New Backup Client. Finally, you will be taught how to use UrBackup and then How to Create a Backup Using UrBackup on Ubuntu. Please follow us in the continuation of this article.
Requirements for installing UrBackup on Ubuntu 20.10
_ Ubuntu 20.10
_ Root user with Sudo privileges.
_ You must also update your system using the following command after logging in to the Ubuntu server before starting the installation:
apt-get update -yInstall UrBackup server on Ubuntu 20.10 | Ubuntu 20.04
In this section, we are going to teach you step by step how to install UrBackup Server on Ubuntu 20.10. To do this, just follow the steps below in order. The first step is to install the UrBackup server using its official PPA repository by executing the following commands:
add-apt-repository ppa:uroni/urbackupapt updateapt install urbackup-serverFinally, after executing the above commands, type “y” and hit enter. This will start the installation of the UrBackup server with its dependent packages. In the next section, we will tell you how to Install the UrBackup client on Ubuntu 20.10. follow us.
Install UrBackup client on Ubuntu 20
After installing the UrBackup server in the previous section, now in this section, we want to teach you how to add a New Backup Client step by step. You can click on Add new Internet client/client behind NAT to add a new client to backup to the UrBackup server. In the next step, you need to make sure that Enable Internet mode from settings. So you need to set your client hostname to FQDN or IP. Then click to Add client like an image below:

In the next step, after adding the client, you can download the installation packages using the following command. Note that you must install these installation packages on the client host for backup.
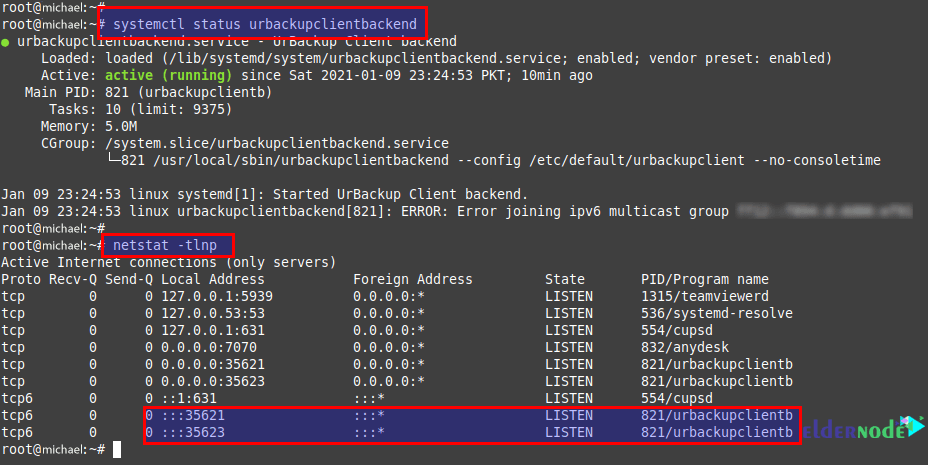
TF=`mktemp` && wget "http://your_server_ip:55414/x?a=download_client&lang=en&clientid=1&authkey=nGEDmaj5Qb&os=linux" -O $TF && sudo sh $TF; rm -f $TFThen you must use the following command to check client service status:
systemctl status urbackupclientbackendAs you can see in the image below, after executing the above command, you will see that the UrBackup client is up and running on port ‘35621’:
How to Use UrBackup on Ubuntu
In this section, we want to teach you how to set up and use UrBackup on Ubuntu. It is important to note that the UrBackup web server interface can be accessed using its default port “55414“. Provided it is allowed in the firewall.
You can open the following address in your browser:
https://your_ip:55414
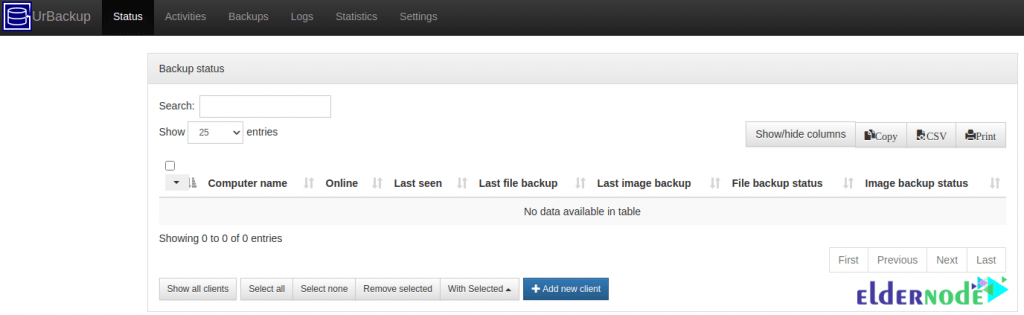
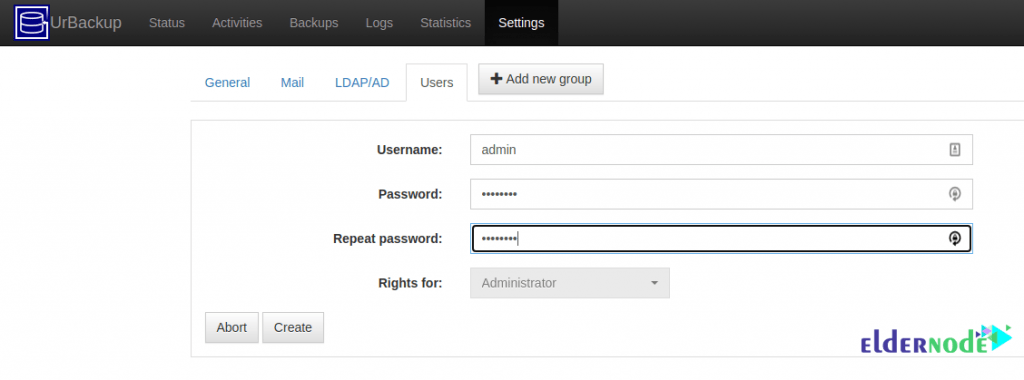
After completing the previous steps, you will now have access to the UrBackup Server UI without entering any user or password. To do this, you can create an Administrator user from the web interface as below:
How to Create a Backup Using UrBackup on Ubuntu
In this section, we want to look at how to Create a Backup Using UrBackup on Ubuntu. It is interesting to know that you can add as many customers as you want. Then in the next step, you can add any folder you want to back up using the following command:
/usr/local/bin/urbackupclientctl add-backupdir -x -f -d /backupNext, you need to check that the client status on the UrBackup server is online. Once online, you can run the backup manually.

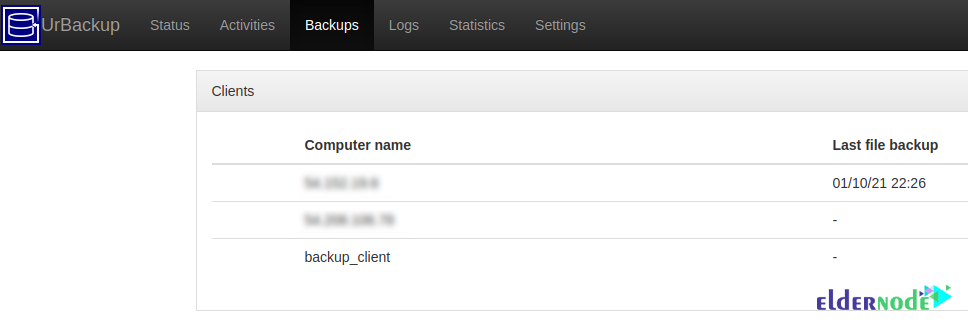
You can see the report of the most successful backup entry by clicking on the backups tab.
Finally, you can use the following commands from your server to check if there are backup files in the storage path of your backup server:
root@ip-IPAddress:~# ls -lhtr /media/BACKUP/urbackup/54.152.19.6/210110-1726/backup/total 0-rwxr-x--- 1 urbackup urbackup 0 Jan 10 17:15 test.txtConclusion
In this tutorial, we tried to teach you how to install the UrBackup server on Ubuntu 20.10 step by step, after introducing the prerequisites for installing UrBackup. Next, we explained how to add a new backup client. Finally, we tried to teach you how to use UrBackup and then how to create a backup using UrBackup on Ubuntu.