A few years ago, a man named Solomon Hykes launched a mechanism called Docker. The goal was to make it easier to interact with containers. Docker makes it possible to run processes and software separately in a completely isolated environment on the Linux kernel. This isolated environment and package are called a container. The container allows programmers and application developers to integrate an application with all of its modules and related components. In fact, without worrying about the settings and dependencies of a particular application on other platforms, that program will run in any environment. So if you are programming, we definitely recommend using Docker. In this article, we are going to teach you How to Setup Docker on Windows 10 RDP. It should note that you can visit the packages available in Eldernode to purchase the Windows 10 RDP server.
Table of Contents
Tutorial Setup Docker on Windows 10 RDP Admin
If you are familiar with virtualization, you know that mechanisms such as Hyper-V, KVM, and Xen provide hardware to network administrators virtually. As a result, these mechanisms require strong hardware resources. Containers, on the other hand, use shared operating systems. As a result, we are dealing with a more efficient method that uses system resources more efficiently. Unlike hardware virtualization, containers are placed on top of a Linux Instance, providing a small, compact space for applications. Thanks to this feature, something about 4 to 6 times more instance runs on a single piece of hardware than Xen or KVM VM technology. Containers help developers put their code into a shared repository. This will speed up the coding process and the code will perform better.
Docker enables developers to easily and quickly place their applications in a container with less volume and portability. These applications can run virtually from anywhere.
Follow us in this article to learn how to setup Docker on Windows 10 RDP step by step.
System Requirements to Install Docker on Windows
– Windows 10 (64-bit)
– Hyper-V and Containers Windows features must be enabled.
– 64-bit processor with Second Level Address Translation (SLAT)
– 4GB RAM
– BIOS-level hardware virtualization support must be enabled in the BIOS settings.
How to Install Docker on Windows 10
In this section, we are going to install Docker on Windows. The first step is to download Docker Desktop for Windows.

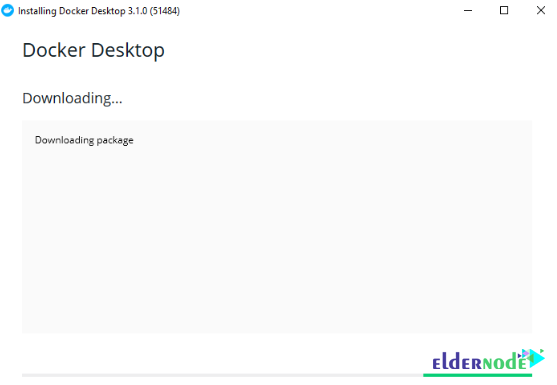
After downloading the file, refer to the downloads section in your system. Then double-click the Docker Desktop Installer.exe to run the installation. Double-click on the downloaded file to see the image below.
Then check the options below and click OK.
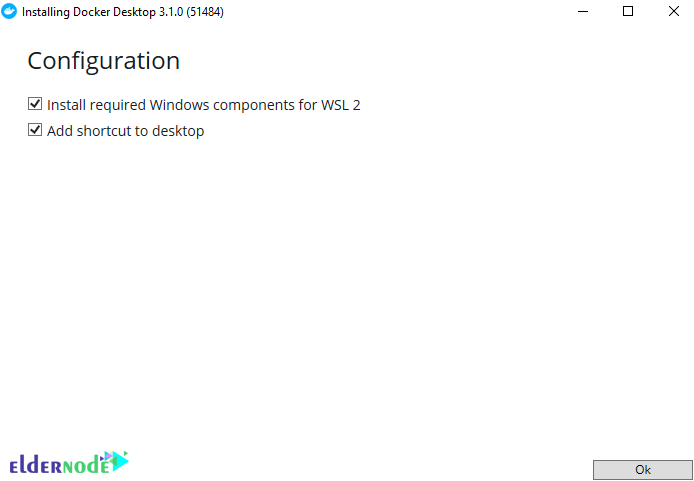
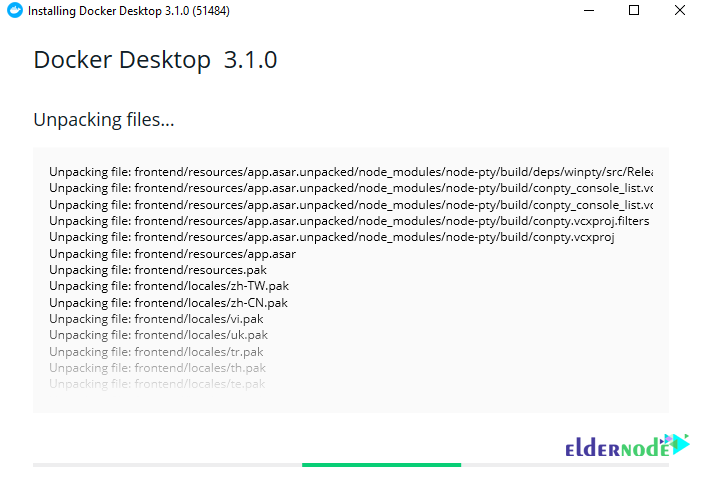
As you can see, the files are unpacking.
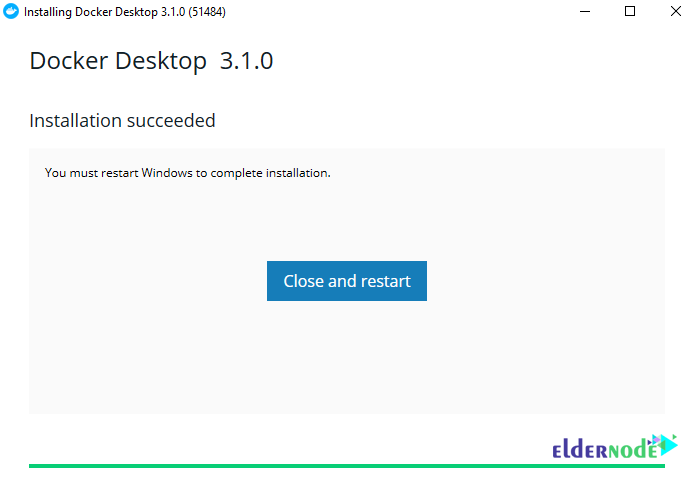
Finally, click Close and Restart.
It should note that If your admin account is different from your user account, you must add the user to the docker-users group. Now, you must Run Computer Management as an administrator. Then navigate to Local Users and Groups >> Groups >> docker-users. Right-click to add a user to the group. Log out and log in again to make changes.
Note: If requested, you must ensure that the Enable Hyper-V Windows Features option is selected on the configuration screen.
Setup Docker on Windows 10 RDP
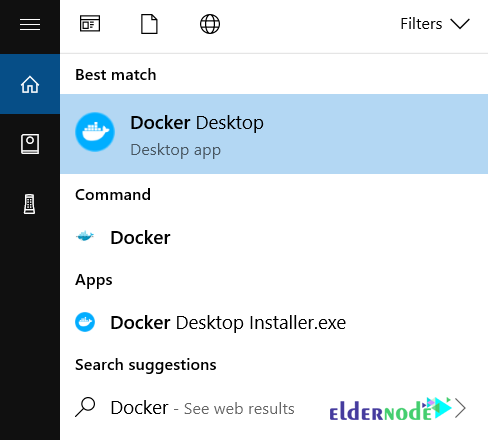
Once you have successfully installed Docker Desktop, you should know that Docker does not start automatically. So to start Docker Desktop, you need to search for Docker and select Docker Desktop in the search results.
Note that When the Docker icon in the status bar stays steady, Docker Desktop is up-and-running and is accessible from any terminal window.
![]()
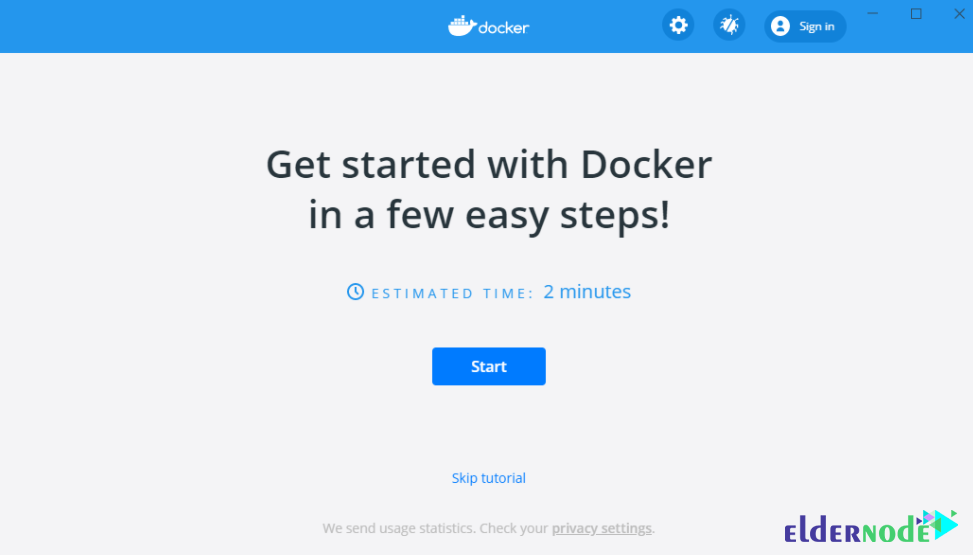
When the initial steps are successful, Docker Desktop launches the onboarding tutorial. It is interesting to know that this tutorial includes a simple exercise to make a sample Docker image, run it as a container, press and save the image in the Docker Hub.
How to Use Docker on Windows 10
After launching the service, the initial tutorial page will load on the Docker Desktop. It teaches the simple steps of creating an image, running it as a push container, and storing it in the Docker Hub. After installing Docker using the Windows terminal (Command Prompt or PowerShell), you can run the Docker client.
Follow the next steps for a simple tutorial:
By entering the following command, you can see the installed version of Docker:
docker --versionTo get the Image of the Hello-world project from Docker Hub and run it as a container, you have to run the following command:
docker run hello-wordAfter executing the above command, Docker first seeks to execute the image related to! Hello-world within the system itself. Since this image does not exist within the system itself, download it from the Docker repository and then run it. The result of this project is the display of the phrase Hello from Docker! in the output of the screen.
Displays the list of images installed on the system with the following command:
docker image lsBy adding -help at the end of each command, you can see more details about it. Like the following command:
docker --helpFinally, with the following command, you can pull and run the Nginx web server from the main repository:
docker run --detach --publish 80:80 --name webserver nginxBy entering the following address in the browser, you will see the following page, which is the default page of the Nginx web server:
http://localhost

Conclusion
Docker is a tool designed to make it easy to create, use, and execute applications using Container boxes. Containers allow a developer to package an application with all the parts it needs, such as a library and other components, and transfer it as a package. By doing this, and with the holders, the developer can ensure that the application runs on any other machine, regardless of the custom settings that another device may have. In this article, we tried to discuss how to install Docker on Windows. Then we taught you how to setup Docker on Windows 10 RDP.
