Looking to set up IP addresses on your MikroTik interfaces? Then you’ve come to the right place. In this ultimate guide, we will walk you through the process step-by-step, ensuring you have a clear understanding of every stage. Setting IP on MikroTik interfaces is a fundamental skill for network administrators and technicians. It allows you to establish connectivity, route traffic, and configure firewall rules. Whether you’re a beginner or have some experience with MikroTik routers, this comprehensive guide will equip you with the knowledge and techniques required to successfully set up IP addresses. In this tutorial, we will explain how to set the IP on the MikroTik router interface. You can use the packages available in Eldernode to purchase a MikroTik VPS server.
The Ultimate Guide to Setting IP on MikroTik Interfaces
IP settings in MikroTik; As you know, the router operates on the third layer of the network (IP). Having IP on router interfaces is one of the requirements of configuring a router. Throughout this article, we will cover essential topics such as IP address types, interface configurations, subnet, and troubleshooting common issues. By the end, you’ll have the confidence to efficiently configure IP addresses on your MikroTik interfaces, ensuring seamless connectivity and optimal network performance. So, grab your MikroTik router, and let’s dive into the ultimate guide on setting IP addresses.
Set IP on Routerboard Ports:
Setting the IP on the MikroTik interfaces is one of the first steps we take to configure the MikroTik router or any other router. We can set one or more IPs on each port of MikroTik, but before that, it is best to rename our Interfaces as desired.
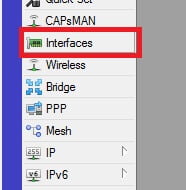
Select the interface option from the menu on the right. Then enter the “interface list” window. In this window, you will see a list of router interfaces. This list includes all real interfaces (such as Ethernet, wireless, etc.) and virtual interfaces (such as VLAN, VPN, etc.).
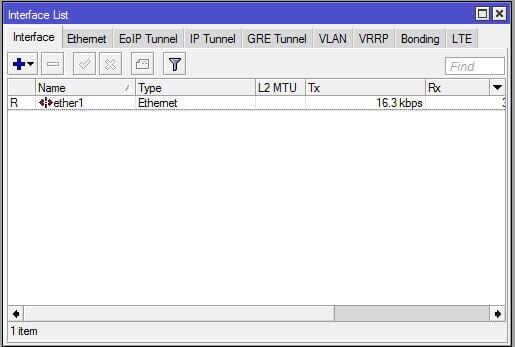
Double-clicking on the name of each interface enters the settings window of that interface. Here you can rename the interface to the desired one.

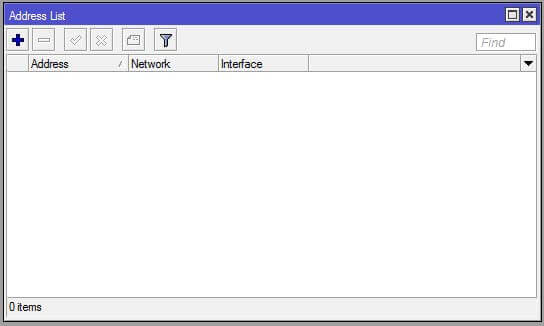
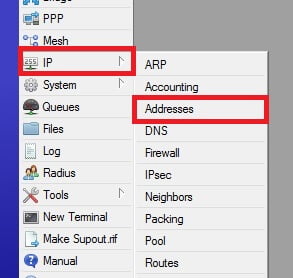
To assign the IP to the MikroTik router interface via the IP-> Address menu, you will get to the Address List window. If the D character is next to the IP, it is automatically set (using DHCP).
Clicking on the ADD button will pop up a window like the one below that we can assign an IP to a port.
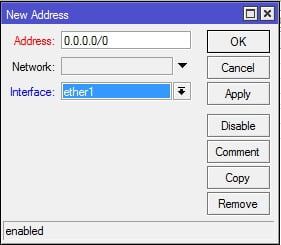
Obviously, different ports need to receive IP in different ranges; otherwise, we will get an error message.
DHCP Client:
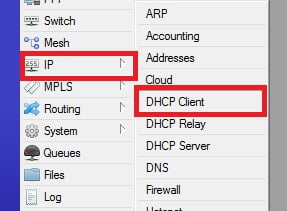
MikroTik can receive the IP of each port via DHCP. Go to the IP-> DHCP Client menu for this.
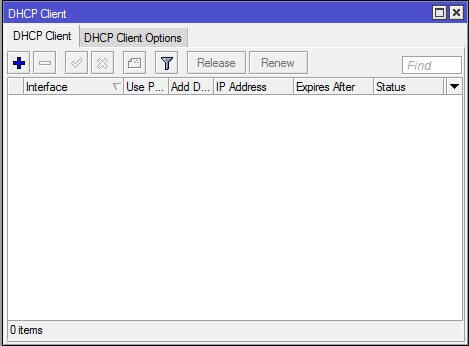
Clicking on the Add sign will bring you to a window like the one below.
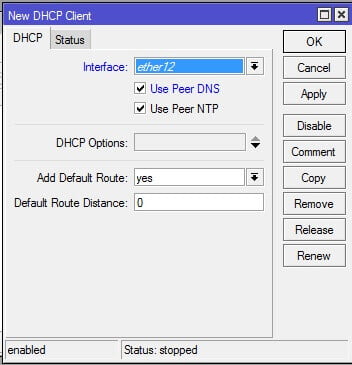
In this window, we first need to specify which port DHCP Client is enabled on. (The settings for each port must be set separately). If the Use Peer DNS option is enabled if your DHCP server can also send a DNS address, this receiving address will apply to the MikroTik. (The settings will be overwritten if you have previously manually set the DNS address).
The Use Peer NTP option is used when the DHCP Server is able to send NTP settings. If so, the NTP settings will be downloaded via DHCP and overwritten by your manual settings.
If the Add Default Route is set to Yes, the Gateway settings will be added to the root table via DHCP download but if there are already Default Route settings on the system, the new settings will be ignored.
Goodluck.