Suricata is an intrusion detection and prevention system. This tool introduces itself as a complete ecosystem for security monitoring. One of the most important features of Suricata compared to other tools is that it works up to the application layer. This allows Suricata to identify risks that other tools may ignore because they are split into multiple packages. In this article, we are going to teach you How to Install Suricata on Windows 10 RDP. It should be noted that you can visit the packages available in Eldernode if you want to buy a Windows VPS server.
Table of Contents
Tutorial Install Suricata on Windows 10 RDP
Suricata functionality is not limited to the application layer. It also works at lower levels and protocols such as TLS, ICMP, TCP, and UDP. Suricata also examines HTTP, FTP, and SMB protocols to find hidden intrusion attempts in the form of unusual requests. It should note that Suricata also uses the ability to extract files so that administrators can check for suspicious files.
Note that the Suricata is very cleverly designed and distributes its workload across multiple processor cores and chips to achieve the best performance. It also transfers some of its workloads to the graphics card, which is a great feature for servers.
In the rest of this article, join us to explain step by step how to Install Suricata on Windows 10 RDP.
Install Suricata on Windows 10 RDP Server
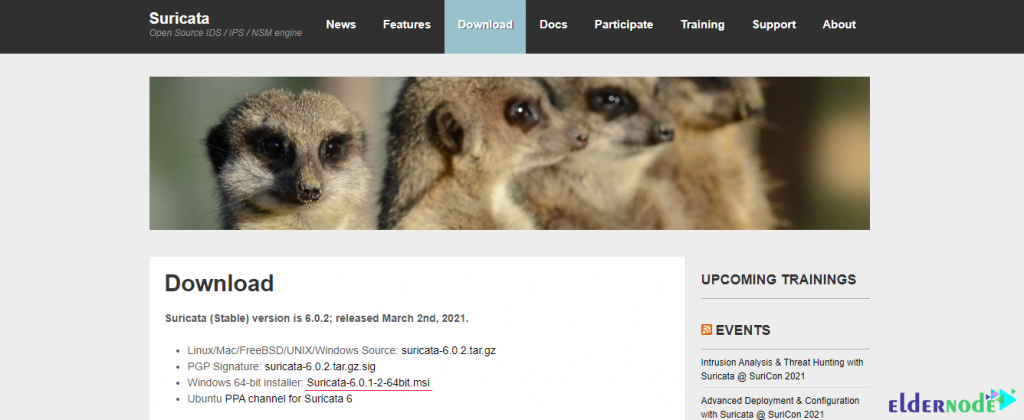
In this section, we will discuss how to Install Suricata on Windows 10 RDP. To do this, please follow the steps below in order. The first step is to download Suricata for Windows.
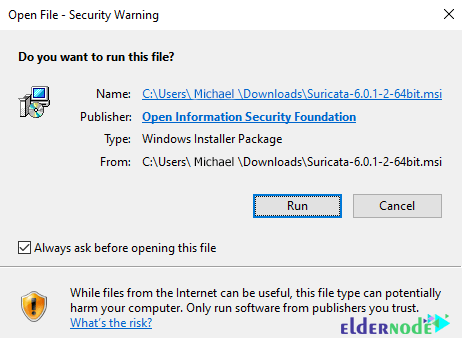
In the window that opens, click on Run.
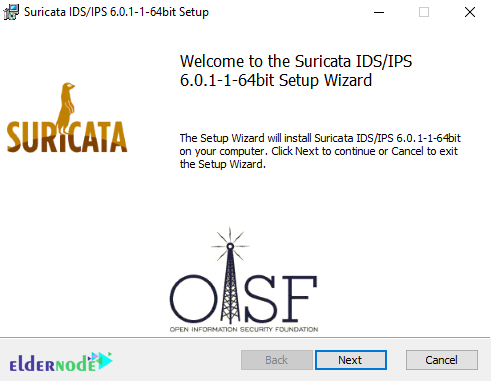
Then click Next.
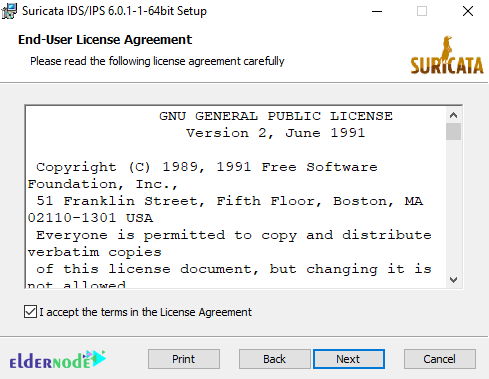
Check I accept… and click Next to accept the license agreement.
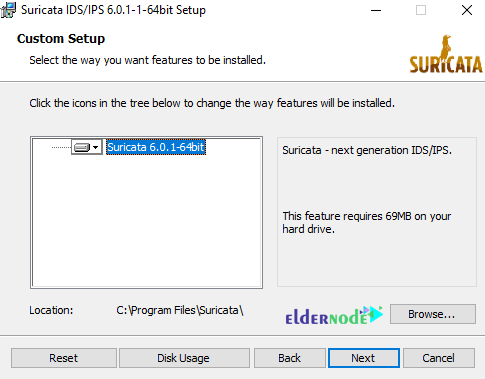
In the next step, you can choose the method you want to install. Then click Next.
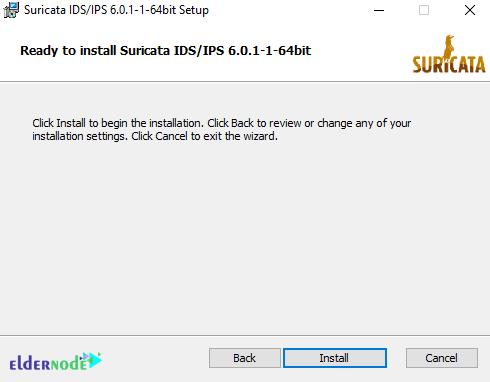
Click Install.
*
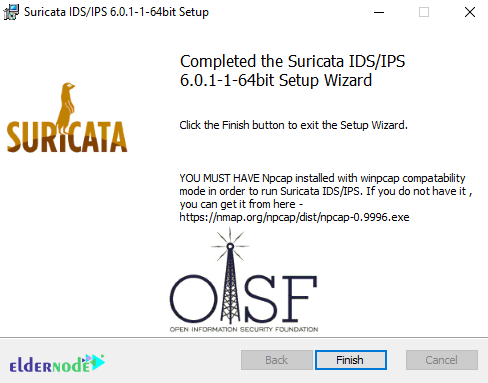
Finally, you have to click on Finish.
Once you have successfully installed Suricata, you should now create a folder with your configurations, rules, and test captures. Note that this folder is C:\Suricata. You need to create a folder log, rules, and projects in that folder.
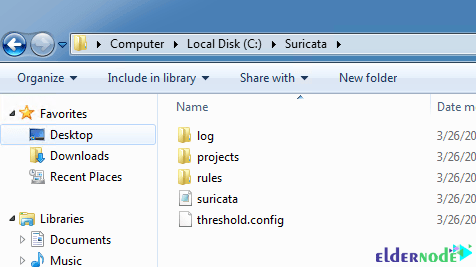
In the Rules folder, you must copy the contents of the Rules folder to the Suricata program’s directory.
Threshold.config is an empty file.
suricata.yaml is a copy of suricata.yaml found in the Suricata application list.
Note: You can find the modifications I make to suricata.yaml on GitHub.
In the next step, for each project or test, you should create a folder in folder projects. Like this mimikatz folder:

Here, we use the following BAT file to start Suricata with our rules and capture file:
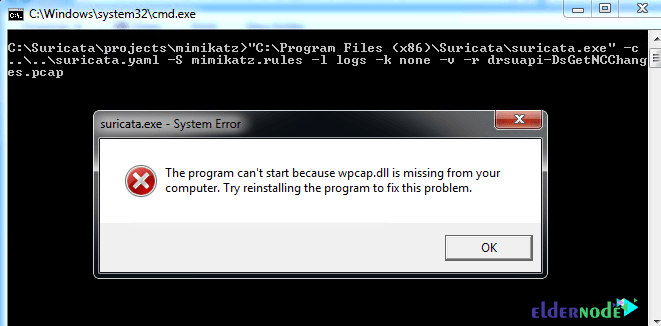
C:\Program Files (x86)\Suricata\suricata.exe” -c ..\..\suricata.yaml -S mimikatz.rules -l logs -k none -v -r drsuapi-DsGetNCChanges.pcap pause1. With option -S we can use our rule file mimikatz.rules (exclusively, no other rule file will be loaded).
2. Option -l logs uses our local logs directory to write the log files.
3. -k none disable checksum checks.
4. -v means verbose.
5. -r .pcap reads our capture file for processing by Suricata.
The important point is that if you encounter an error message like the one below, you should follow the steps below.
How to Install WinPcap on Windows 10
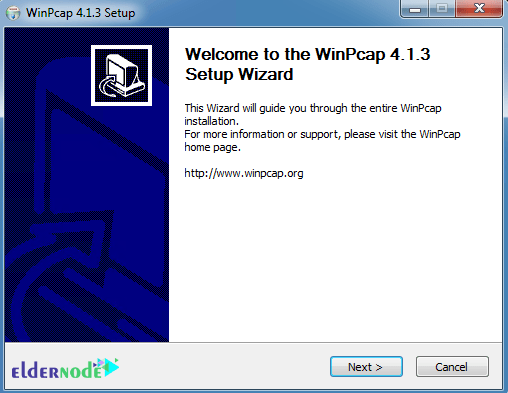
Visit the WinPcap website and download it. Then go to the place where you downloaded the file and double click on it.
In the window that opens, click Next.
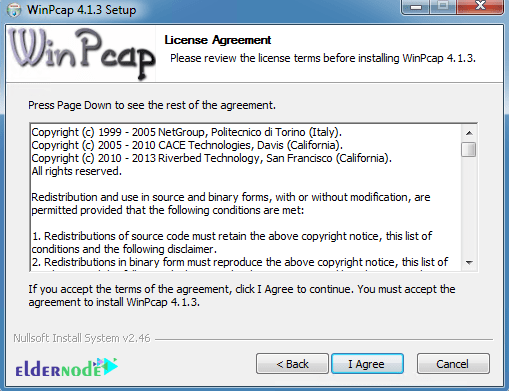
Then click on I Agree to confirm the license agreement.
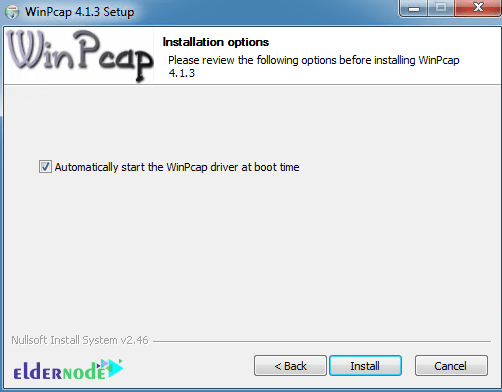
Click Install to start installing WinPcap.
Finally, click on Finish.
How to Run Suricata on Windows 10 Server
Note that you can download the rules from Emerging Threats. Then extract the files from the rules folder to the C:\Suricata\rules folder.
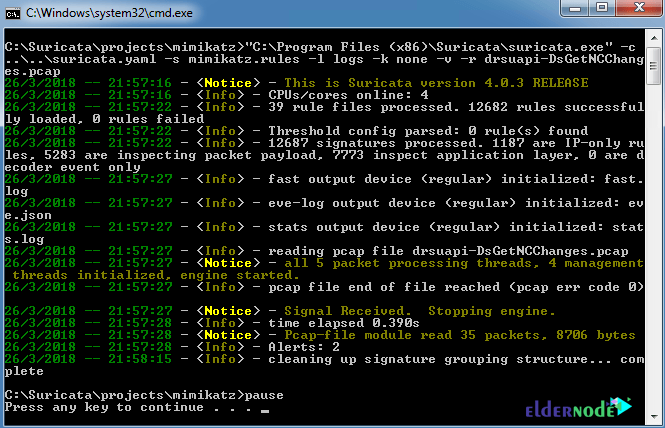
You can process your capture file without explicit rule such as the image below:

Conclusion
Suricata is an open-source intrusion detection engine developed by OISF. The Beta version was released in late 2009 and the standard version was released in mid-2010. This engine can be used as an intrusion detection system (IDS), intrusion prevention system (IPS), or as a network security monitor. Suricata monitors network traffic using an extensive set of rules and signature language. In this article, we tried to teach you to step by step how to Install Suricata on Windows 10 RDP.


I would like to know if is there any way to send the suricata logs to a wazuh server ( in linux )
Yes; section to the Linux agent configuration file:
Add the following
It should be noted that instead of directly adding the above items to ossec.conf in the Linux agent, this time you can use Wazuh manager’s centralized agent configuration features.
You will then need to add your Linux agent to a new group called “Suricata” using the following command in your Wazuh Manager:
/var/ossec/bin/agent_groups -a -g Suricata -qIn the next step, you must use the following command to list the agents registered in Wazuh manager:
/var/ossec/bin/manage_agents -lThen you should add the Linux agent to this new agent group by its ID number:
/var/ossec/bin/agent_groups -a -i 001 -g Suricata -qIn the next step, it is necessary to put the Wazuh agent configuration for Suricata in the common file agent.conf. After that, in Wazuh Manager, edit
/var/ossec/etc/shared/Suricata/agent.confand add the following configuration:Finally, you should confirm this shared config is valid by running the following command on the Wazuh manager.
/var/ossec/bin/verify-agent-conf