[Updated] The LAMP (Linux, Apache, MariaDB, PHP) stack is a popular group of open-source software that is typically installed together to enable a server to host dynamic websites and web apps. Each represents an essential layer of the stack, and together they can create a database-driven and dynamic website. Linux is an Operating System, Apache is HTTP Server, MariaDB is a database management system, and PHP is a programming language. In this article, you will learn How To Install LAMP On Debian 10. To purchase your own Linux VPS, have a look at the available packages on Eldernode and buy everything you consider.
Table of Contents
Tutorial Install LAMP On Debian 10 step by step
To help a web application work, LAMP Stack has to include an operating system, a web server, a database, and a programming language. In this tutorial, we use Mariadb as the database management system. Let’s do the following steps to start and finalize the installation. Join us with this guide to preview the required steps to install LAMP on Debian 10.
Prerequisites to Install LAMP on Debian 10 Linux
The tutorial may be more useful if you know:
_ A non-root user with Sudo privileges and a firewall configured with ufw.
_ To set up, follow our Initial Setup with Debian 10
How to Install Apache and update the firewall
As Apache is one of the most popular web servers in the world, we choose it for hosting a website.
First, you need to install Apache. So, run:
sudo apt updatesudo apt install apache2To view the list of application profiles, run the below command.
sudo ufw app listYou can use the WWW profiles for managing ports used by web servers.
Output
Available applications: . . . WWW WWW Cache WWW Full WWW Secure . . . As you see, traffic is enabled for 80 and 443
sudo ufw app info "WWW Full"Profile: WWW Full Title: Web Server (HTTP,HTTPS) Description: Web Server (HTTP,HTTPS) Ports: 80,443/tcpFor this profile, allow incoming HTTP and HTTPS traffic.
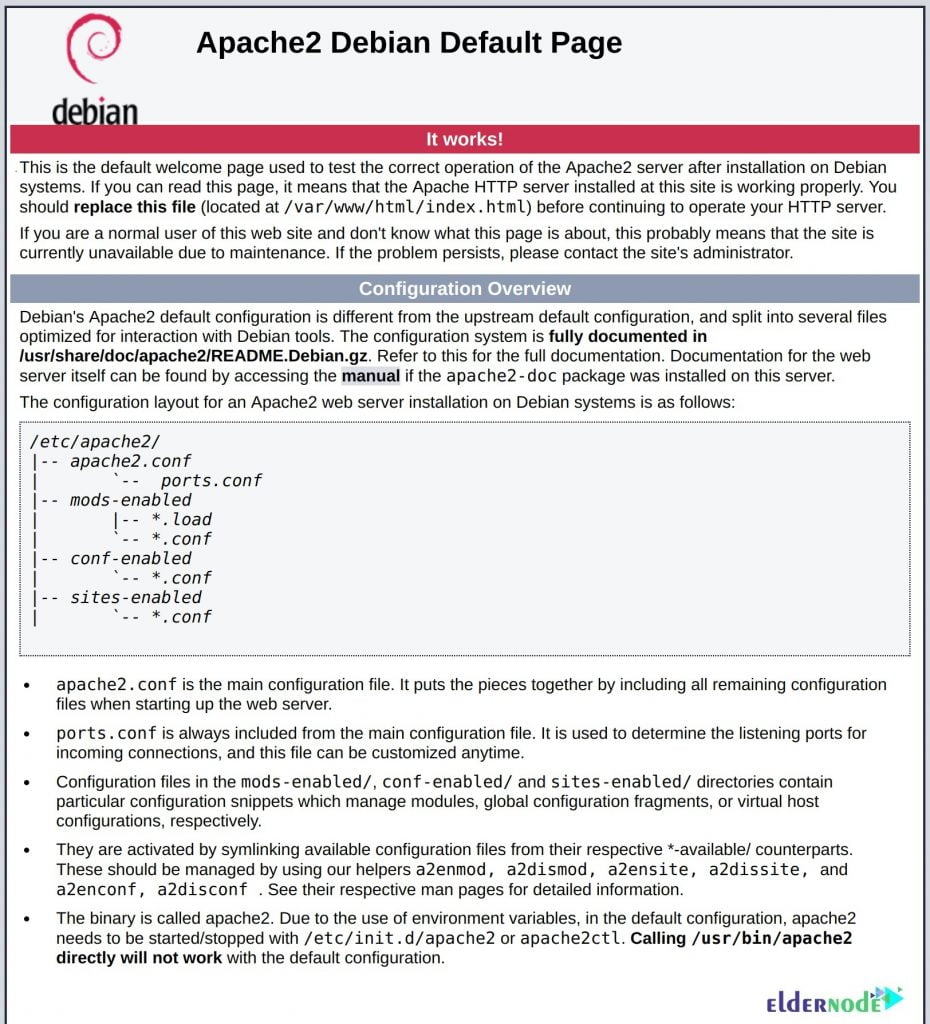
sudo ufw allow in "WWW Full" And visit your server’s public IP address in your web browser to check that everything went as planned.
http://your_server_ipIn the below, you see the default Debian 10 Apache web page that shows the informational and testing purposes.
There are many ways to find the IP address, this is the address you use to connect to your server through SSH. te first way is to use the below command:
ip addr show eth0 | grep inet | awk '{ print $2; }' | sed 's/\/.*$//' Or use this as the alternative method:
sudo apt install curl curl http://icanhazip.com How to Install MariaDB
In this step, you will install the database system to be able to store and manage data for your site. Run the following command to install this software:
sudo apt install mariadb-server Next, it’s recommended that you run a security script that comes pre-installed with MariaDB:
sudo mysql_secure_installationWhile the MariaDB is just installed, press ENTER at the prom. And as MariaDB uses a special authentication method for the root user, you need to type N and then press ENTER. After that, you can press Y and then ENTER to accept the defaults for all the subsequent questions.
Log in to the MariaDB console, when you’re finished:
sudo mariadbWelcome to the MariaDB monitor. Commands end with ; or \g. Your MariaDB connection id is 74 Server version: 10.3.15-MariaDB-1 Debian 10 Copyright (c) 2000, 2018, Oracle, MariaDB Corporation Ab and others. Type 'help;' or '\h' for help. Type '\c' to clear the current input statement. MariaDB [(none)]>It is better to have dedicated user accounts with less expansive privileges set up for every database, to increased security. To do this, you need to create a new database.
mariaDB [ (none) ] > CREATE DATABASE example_database; After creating new users and granting them full privileges on the custom database, use the following command to define this user’s password as a password.
mariaDB [ (none) ] > GRANT ALL ON example_database.* TO 'example_user'@'localhost' IDENTIFIED BY 'password' WITH GRANT OPTION; If you need to make sure they are saved and available in the current session:
mariaDB [ (none) ] > FLUSH PRIVILEGES; Then, you can exit the MariaDB shell:
mariaDB [ (none) ] > exitTo confirm that you have access to the example_database database, after logging in to the MariaDB console type the below command.
Then, you can exit the MariaDB shell:
mariaDB [ (none) ] > SHOW DATABASES;+--------------------+ | Database | +--------------------+ | example_database | | information_schema | +--------------------+ 2 rows in set (0.000 sec)Again, to exit the MariaDB shell, type:
mariaDB [ (none) ] > exitHow to Install PHP on Debian Linux
PHP process code to display dynamic content and run scripts, connect to your MariaDB databases to get information, and hand the processed content over to your webserver to display. To ensure that PHP code can run under the Apache server and talk to your MariaDB database:
sudo pt install php libapache2-mod-php php-mysql Make Apache look for an index.php file first and by below command opens the dir.conf file in a text editor with root privileges:
sudo nano /etc/apache2/mods-enabled/dir.conf <IfModule mod_dir.c> DirectoryIndex index.html index.cgi index.pl index.php index.xhtml index.htm </IfModule>After the DirectoryIndex specification, move the PHP index file to the first position after the DirectoryIndex specification.
<IfModule mod_dir.c> DirectoryIndex index.php index.html index.cgi index.pl index.xhtml index.htm </IfModule>Then you can reload Apache’s configuration with:
sudo systemctl reload apache2 Run this to check on the status of the apache2 service:
sudo systemctl status apache2● apache2.service - The Apache HTTP Server Loaded: loaded (/lib/systemd/system/apache2.service; enabled; vendor preset: enabled) Active: active (running) since Mon 2019-07-08 12:58:31 UTC; 8s ago Docs: https://httpd.apache.org/docs/2.4/ Process: 11948 ExecStart=/usr/sbin/apachectl start (code=exited, status=0/SUCCESS) Main PID: 11954 (apache2) Tasks: 6 (limit: 4719) Memory: 11.5M CGroup: /system.slice/apache2.service ├─11954 /usr/sbin/apache2 -k start ├─11955 /usr/sbin/apache2 -k start ├─11956 /usr/sbin/apache2 -k start ├─11957 /usr/sbin/apache2 -k start ├─11958 /usr/sbin/apache2 -k start └─11959 /usr/sbin/apache2 -k startHow to create a Virtual Host for your Website
To test your PHP environment, You need to create a new virtual host. It let you keep multiple websites hosted on a single Apache server. Create the root web directory for your_domain.
sudo mkdir /var/www/your_domain referencing your current system user
sudo chown -R $USER:$USER /var/www/your_domain By your favorite command-line editor, open a new configuration file in Apache’s sites-available directory
sudo nano /etc/apache2/sites-available/your_domain.conf VirtualHost *:80> ServerName your_domain ServerAlias www.your_domain ServerAdmin webmaster@localhost DocumentRoot /var/www/your_domain ErrorLog ${APACHE_LOG_DIR}/error.log CustomLog ${APACHE_LOG_DIR}/access.log combined </VirtualHost>To enable this virtual host, use a2ensite:
sudo a2ensite your_domain In case you want to disable Apache’s default website, type:
sudo a2dissite 000-default And to check your configuration syntax errors, run:
sudo apache2ctl configtestTo let the changes take effect, reload Apache:
sudo systemctl reload apache2How to Test PHP Processing on your Web Server
In this step, you will confirm that Apache is able to handle and process requests for PHP files. So, create a new file named info.php inside your custom webroot folder:
nano /var/www/your_domain/info.php<?php phpinfo();
Save and close the file when you are finished.
To test whether is your web server is able to correctly display content generated by this PHP script or not, you should visit this page in your web browser.
The address you will want to visit is:
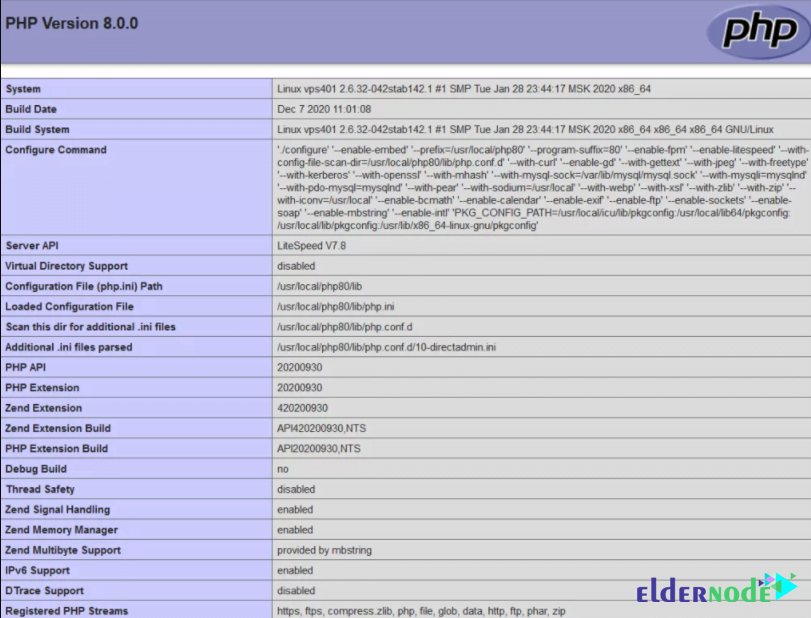
http://your_domain/info.phpWhen you checked the PHP server information, remove the file you created as it contains sensitive information about your PHP environment and your Debian:
serversudo rm /var/www/your_domain/info.php How to Test Database Connection from PHP
You can connect to the MariaDB console with the database user:
mariadb -u example_user -p mariaDB [ (none) ] > CREATE TABLE example_database.todo_list ( mariaDB [ (none) ] > item_id INT AUTO_INCREMENT, mariaDB [ (none) ] > content VARCHAR(255), mariaDB [ (none) ] > PRIMARY KEY(item_id) mariaDB [ (none) ] > );Then, insert a few rows of content in the test table:
mariaDB [ (none) ] > INSERT INTO example_database.todo_list (content) VALUES ("My first important item"); Run the following command to confirm the data was successfully saved to your table:
mariaDB [ (none) ] > SELECT * FROM example_database.todo_list;+---------+--------------------------+ | item_id | content | +---------+--------------------------+ | 1 | My first important item | | 2 | My second important item | | 3 | My third important item | | 4 | and this one more thing | +---------+--------------------------+ 4 rows in set (0.000 sec) When you can confirm that you have valid data in the table, exit the MariaDB console:
mariaDB [ (none) ] > exitBy your favorite editor, create a new PHP file in your custom web root directory:
nano /var/www/your_domain/todo_list.phpNow, copy this content into your todo_list.php script:
<?php $user = "example_user"; $password = "password"; $database = "example_database"; $table = "todo_list";try { $db = new PDO("mysql:host=localhost;dbname=$database", $user, $password); echo "<h2>TODO</h2><ol>"; foreach($db->query("SELECT content FROM $table") as $row) { echo "<li>" . $row['content'] . "</li>"; } echo "</ol>"; } catch (PDOException $e) { print "Error!: " . $e->getMessage() . "<br/>"; die(); }When the editing is finished, save and close the file. By visiting the domain name or public IP address for your website, y by visiting the domain name or public IP address for your website. Finally, you should see the content you have inserted in your test table as below:

When you reach this point, your PHP environment is ready to connect and interact with your MariaDB server.
Conclusion
In this article. you learned How to install LAMP on Debian 10. Also, you can install Composer for dependency and package management in PHP to improve your current setup. You may also wish to continue reading around this subject. So, refer to install LAMP on CentOS 8 and Ubuntu 20.04.