[Updated] LAMP Stack is an open-source Web development platform that uses Linux as the operating system, Apache as the Web server, MySQL as the relational database management system, and PHP as the object-oriented scripting language. In this tutorial, we are going to teach you How to install LAMP on ubuntu 20.04. It should be noted that you can visit the packages available in Eldernode if you wish to purchase an Ubuntu VPS server.
Table of Contents
Tutorial Install Lamp on Ubuntu 20.04 step by step
In the previous article, we talk about Install Lamp stack with tasksel on ubuntu 18.04 LTS. But in this tutorial, we manually have everything on the LAMP stack. Follow us in the continuation of this article.
Install LAMP on Ubuntu 20.04 | Ubuntu 18.04
In this post, we connected to Ubuntu 20.04 via SSH as the root user. If you don’t access with root user or use Sudo usernames, please add the Sudu command before every command we write below.
How to Setup Apache on Ubuntu 20.04
For installing the Apache webserver on Ubuntu, you have to use an apt command like the following command:
apt updateapt install apache2Once the installation is finished, you’ll need to adjust your firewall settings to allow HTTP and HTTPS traffic. UFW has different application profiles that you can leverage for accomplishing that. For opening Web server port on UFW, following command:
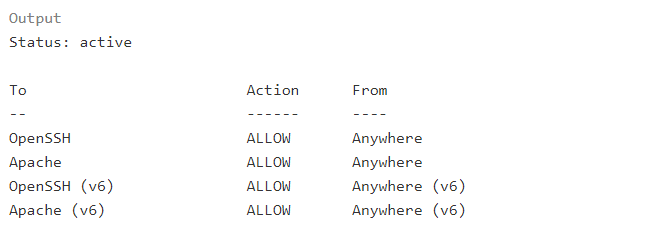
ufw allow in "Apache"After that, you can use the below command to check the status and enable the rule:
ufw statusIf you see output like below, the configuration on UFW is OK for service on ports 80 and 443:
Now, you can open the browser and use the static IP of your server to check everything is OK or not.
For example:
http://your_server_ip How to Install MySQL Ubuntu Linux
Now the Ubuntu server has a web server up and running, you need to install a database system to be able to store and manage data for your sites. For installing MySQL on ubuntu 20.04, run the following command:
sudo apt install mysql-serverWhen prompted, confirm installation by typing Y, and press Enter key.
When the installation is done, you need to run a security script that comes pre-installed with MySQL. So run the following command, for preinstalled MySQL and Secure it:
sudo mysql_secure_installationthis will ask if you want to configure the validate password plugin.
Answer Y for yes or anything else to continue without enabling.
If you answer yes, You will be asked to select a level of password validation, we are recommended answer 2 and press Enter, but you can choose any option you want. After that, you need to input your favorite password for MySQL’s root username twice. And after that press Y and Enter key for every prompt until the end. When the script is done, you can verify MySQL with log in to the MySQL console with the following command:
sudo mysqlYou will see output like below if your MySQL service installed OK.

To exit the console, you need to type exit and press Enter.
Install and Configure PHP on Ubuntu 20.04
You have Apache installed to serve your content and MySQL installed to store and manage your data. PHP is the component of our setup that will process code to display dynamic content to the final user. In addition to the PHP package, you’ll need PHP-MySQL, a PHP module that allows PHP to communicate with MySQL-based databases. You’ll also need libapache2-mod-php to enable Apache to handle PHP files. Core PHP packages will automatically be installed as dependencies.
To install these packages, please the following command:
apt install php libapache2-mod-php php-mysqlAfter the installation is finished, you can run the following command to confirm your PHP version:
php -vIF PHP successfully installed, you see output like below:
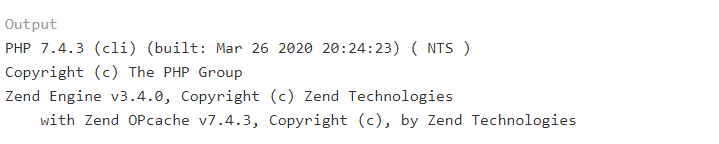
Note: With the above command, Ubuntu installed the latest version of PHP, so if you need any version on PHP, you should type the version of PHP.
Testing PHP Processing on your web server
Now that you have a custom location to host your website’s files and folders, we’ll create a PHP test script to confirm that Apache is able to handle and process requests for PHP files. Create a new file named info.php inside your custom webroot folder:
nano /var/www/html/info.phpadd below PHP command on it and save the file:
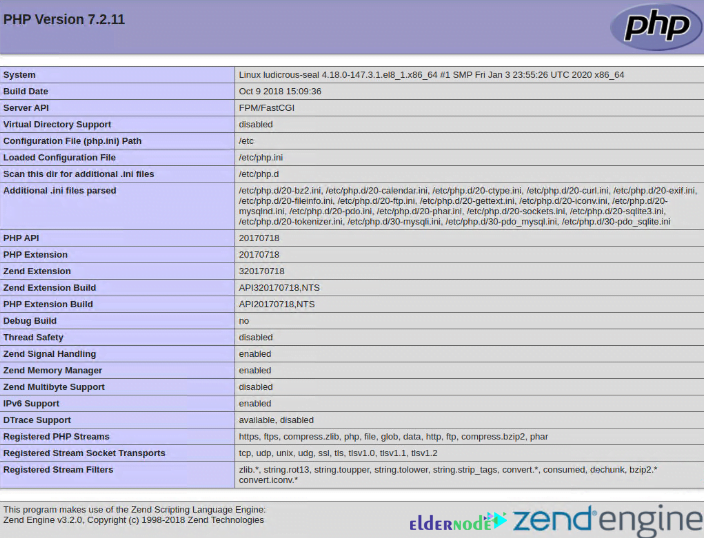
<?php phpinfo();To test this, go to your web browser and access your server’s domain name or IP address, followed by the script name, which in this case is info.php:
http://server_domain_or_IP/info.phpYou’ll see a page similar to this:
Conclusion
You succeed to install Lamp on Ubuntu 20.04 LTS VPS Server and you can create virtual hosts and use them for any CMS or PHP and HTML websites. We prepare a video from all steps, you can see the video below. You can refer to our articles on how to install Lamp on Debian and CentOS 8 if you wish.