Blender 3D is the most popular creation suite. This free and open-source toolset is used for creating and editing 3D computer graphics. Blender supports animation, rigging, rendering, simulation, compositing, motion tracking, video editing, and 2D animation pipeline. The mission of Blender company is to build a complete 3D creation pipeline for artists and small teams. This software is also well suited to individuals and small studios who benefit from its unified pipeline and responsive development process. Blender is licensed as GNU GPL and owned by its contributors. In this article, you will learn How To Setup Blender 3D On Ubuntu 18.04 LTS. If you are preparing to purchase a fully managed VPS, count on our technical team in Eldernode to buy your own Ubuntu VPS.
Table of Contents
Tutorial Setup Blender 3D On Ubuntu 18.04 LTS
Blender is cross-platform and runs equally well on Linux, Windows, and Macintosh computers. Animators, modelers, game developers, and 3D printing can use this forever free software. In the following, you will learn more about Blender and review the process of Installation, and Setup it on Ubuntu 18.04 LTS.
Blender 3D Features
Blender is free to use, free to share, free to change, and free to sell your work. Let’s read about its main features:
1- Blender comes with a powerful unbiased rendering engine that offers stunning ultra-realistic rendering.
2- Blender’s comprehensive array of modeling tools make creating, transforming, sculpting, and editing your models a breeze.
3- Digital sculpting tools provide the power and flexibility required in several stages of the digital production pipeline.
4- Blender allows artists to turn their still characters into impressive animations.
5- Combine 2D with 3D right in the viewport
6- Full Animation Support with Onion Skinning
7- Layers & Colors for Stroke and Fill
8- Sculpt brush strokes & Parent to 3D objects
9- Blender comes with a fully-fledged built-in compositor. This allows you to post-produce your renders without leaving Blender.
10- Blender comes packed with import/export support for many different programs such as image, video, and 3D.
11- Blender comes with a built-in video sequence editor that allows you to perform basic actions like video cuts and splicing, as well as more complex tasks like video masking or color grading.
12- Blender comes loaded with a vast array of extensions that you can turn on or off easily.
And Much More!
Prerequisites to Install Blender on Ubuntu 18.04
To let this tutorial work better, please consider the below Prerequisites:
A non-root user with Sudo privileges.
To set up, follow our Initial server setup on Ubuntu 18.04.
How to Install Blender 3D on Ubuntu 18.04
There are three different methods to install Blender. In this guide, we will review the third method.
1: From the official Blender website.
2: Install Blender 3D through Ubuntu Software Manager.
3: Install Blender on the command line.
Note: Also, you can install Blender through the Snap store or through the Thomas Schiex PPA repository.
Join us with this guide to go through the steps of how to install Blender using the command line.
Step 1:
First of all, update your Ubuntu 18.04 system to get ready for installing Blender 3D on it. So, use the following command to do this:
sudo apt-get updateStep 2:
Now, run the command below and install Blender 3D on our Ubuntu 18.04 system:
sudo apt install blenderYou will be asked to provide confirmation for this action by typing in “y” and then pressing the Enter key. Then, you will get to see the confirmation messages.
Step 3:
Now, you can check the version of Blender 3D that is installed on your Ubuntu 18.04. To check the Installed Version of Blender 3D, run:
blender --versionStep 4:
Finally, you can launch Blender 3D. Use the command below to launch Blender easily via the Ubuntu 18.04 terminal:
blenderHow to Setup Blender 3D on Ubuntu 18.04
Blender supports various types of input devices such as keyboard, mouse, NDOF device, and graphic tablet. Here is the way you will continue after installing Blender. When you click the Blender package, you will see a screen as below:
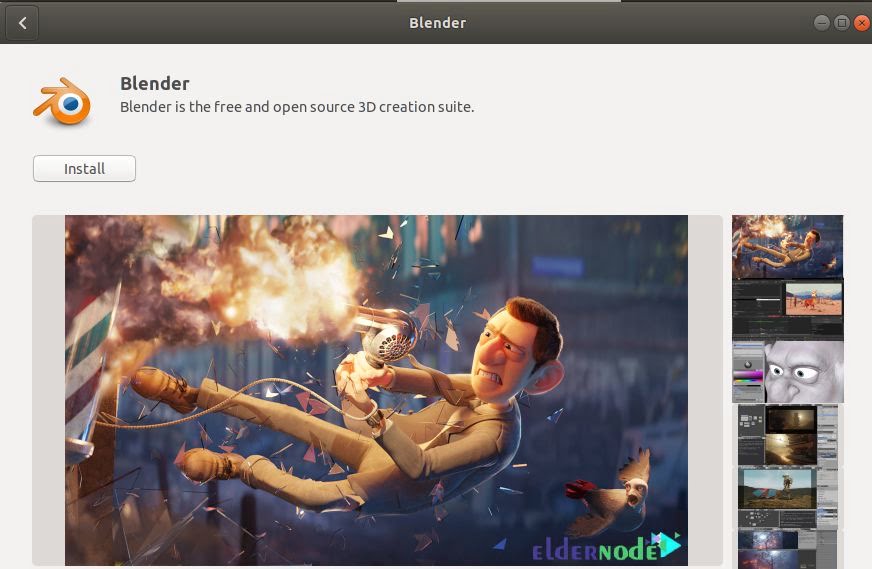
To begin setting up Blender, click on the Install button. Once you see the authentication dialog, enter your authentication details as only an authorized user can install software on Ubuntu:

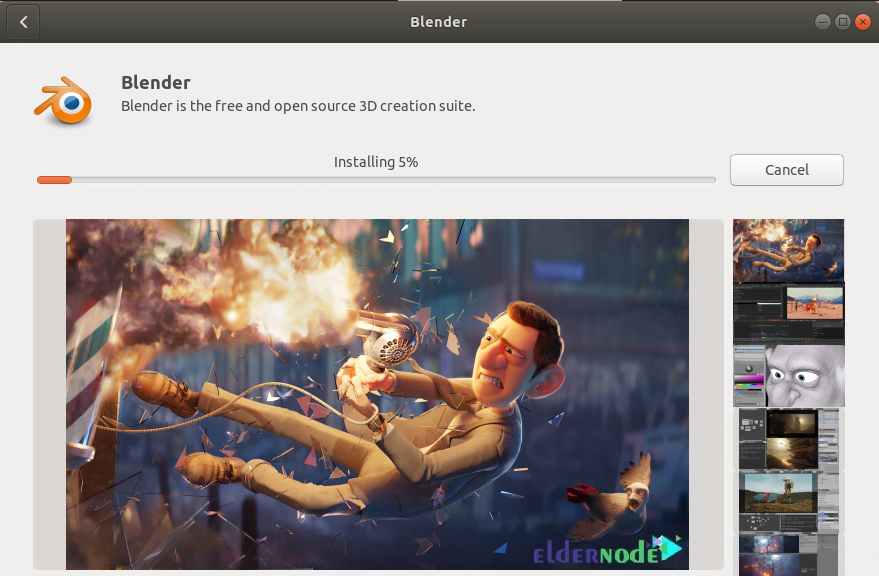
Then, enter the password and click the Authenticate button to view the progress bar as follows.
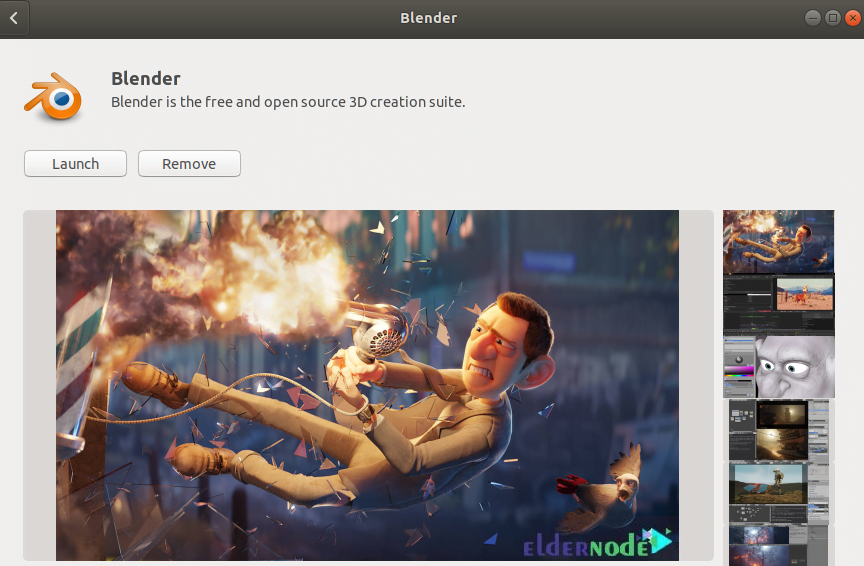
In this way, Blender is installed and setup on your system. If you get the following message, it means all is ok.
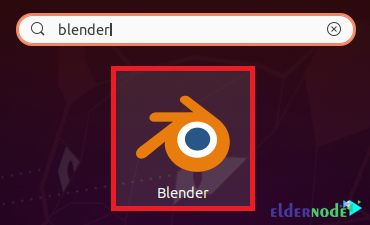
If you search for Blender in the Activities search menu, you can see it and click on the blender search result.
Once you see the screen below, it means that Blender 3D is launched successfully on your Ubuntu 18.04 system. This is what Blender looks like when you open it.
How to remove Blender on Ubuntu 18.04
If you need to remove Blender, you first should remove it along with all of its configuration files. So, run:
sudo apt-get purge blenderThen, you can also remove all those packages and dependencies that are not going to be used now after the removal of Blender 3D. To do this, type:
sudo apt-get autoremoveRunning the above command causes you to free up a large amount of your Ubuntu 18.04 system’s space.
Conclusion
In this article, you learned How To Setup Blender 3D On Ubuntu 18.04 LTS. Now, you are ready to start working with this toolset to create and edit animated films, visual effects, 3D models, video games, and much more. As an advanced or novice user, you may need to customize your layout completely. So, from simply splitting their viewport, to fully customizing it with python scripting, blender works for you.