Nessus is a vulnerability scanner that can search for different types of vulnerabilities on any device. This scanner can detect a wide range of vulnerabilities in the fastest time, with reliability and accuracy. Nessus is currently one of the most popular and advanced vulnerability scanners in the world. In this article, we try to teach you to step by step How to Install and Configure Nessus on Windows. You can see the packages available in Eldernode if you want to buy a Windows VPS server.
Table of Contents
Tutorial Install and Configure Nessus on Windows
Introduction to Nessus
When it comes to network security, most security testing tools are very sophisticated. Nessus is nothing new, but it certainly simplifies the process. It is very easy to use, works quickly, and can quickly provide you with network security reports.
If someone wants to hack your local network, the first thing they do is do a vulnerability scan. It then performs a penetration test. It scans for vulnerabilities on various devices on your network and looks for potential holes such as open ports, outdated software with known vulnerabilities, or default passwords on devices. If they find something, a hacker tests these vulnerabilities and then finds a way to exploit them. Testing for these vulnerabilities is a two-step process because the scan only shows the possibility of problems. A penetration test confirms that this is actually exploitable.
Nessus is a proprietary software built to explore vulnerabilities, but the free home version also offers many tools to help you discover and strengthen your network. This vulnerability scanner is developed and supported by Tenable Network Security. From its inception to date, Tenable Network Security offers Nessus tools for free only for personal and non-corporate environments.
Nessus Features
Some of the most important features of Nessus are:
1. High-speed asset discovery
2. Configuration auditing
3. Target profiling
4. Malware detection
5. Sensitive data discovery
6. Vulnerability analysis
Examples of vulnerabilities and exposures that Nessus can scan for include the following:
– Vulnerabilities that could have unauthorized control or access to sensitive data on a system.
– Wrong configuration
– Default passwords, some common passwords, and blank/absent passwords on some system accounts. Nessus can also contact Hydra (an external tool) to attack the dictionary.
– Deny service vulnerabilities!
– Nessus scans cover a wide range of technologies, including operating systems, network devices, applications, databases, web servers, and critical infrastructure.
Install Nessus on Windows
In this section, we are going to discuss how to Install Nessus on Windows. To do this, just follow the steps below.
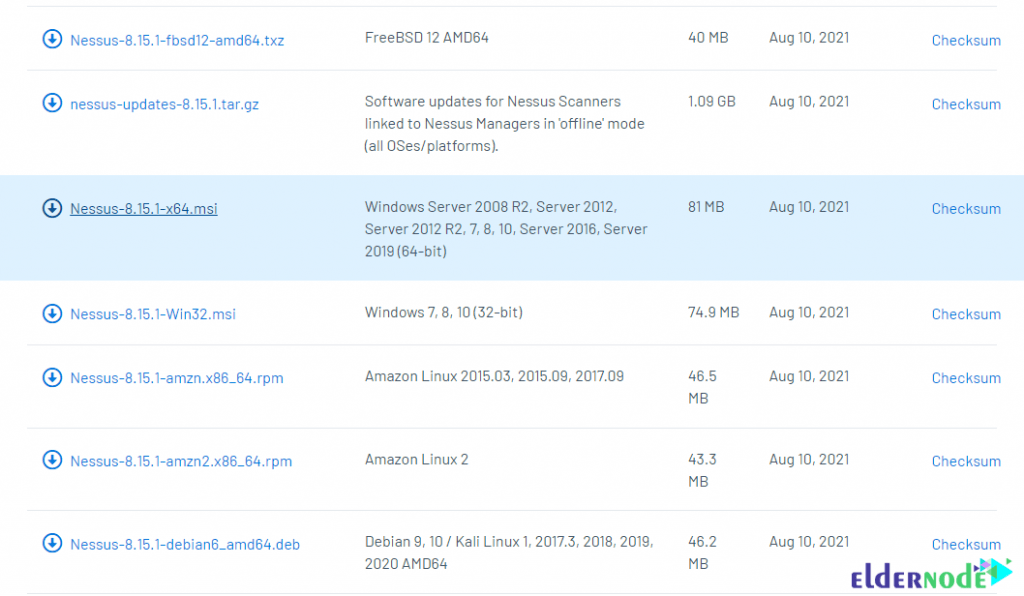
First, you have to open one of your favorite browsers and go to the Nessus website to download Nessus:
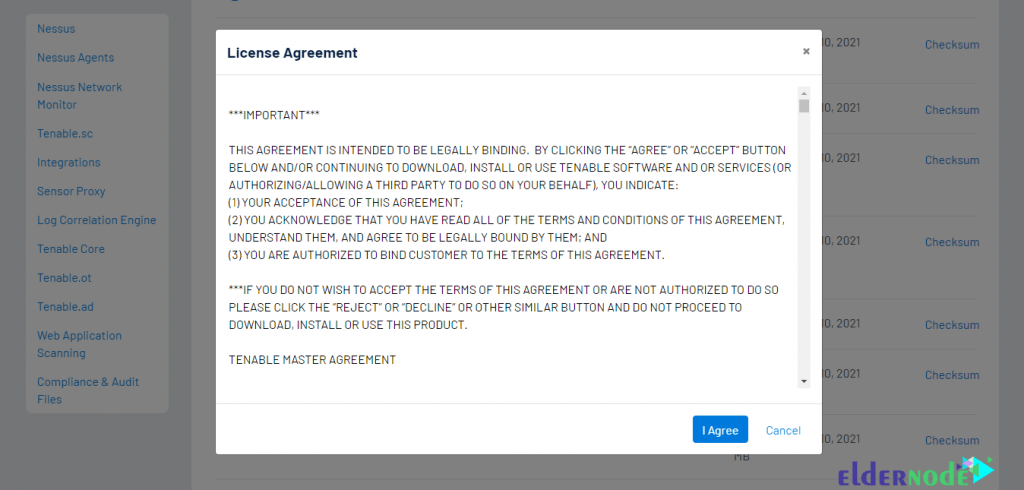
Click I Agree in the window that opens to confirm the license agreement. Doing so will start downloading the installation file.
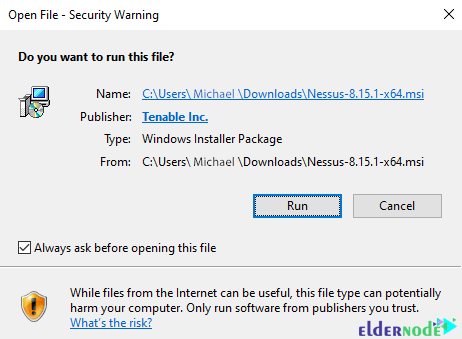
Now you need to go to the place where you downloaded the file and double-click on it to start the installation process. To start the installation in the window that opens, click on Run:
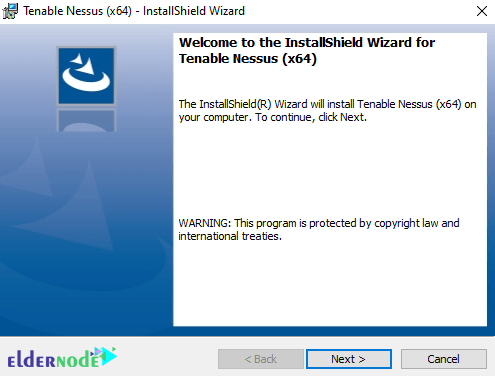
Click Next to start the installation:
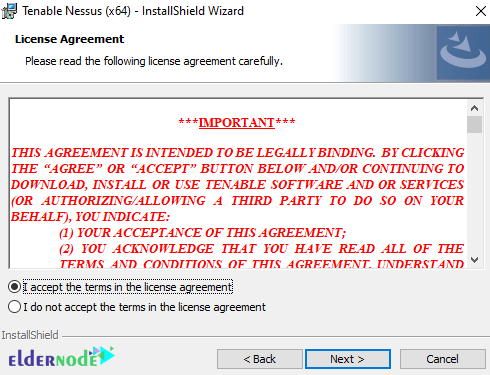
In the next step, check the I accept the terms… option and click on Next:
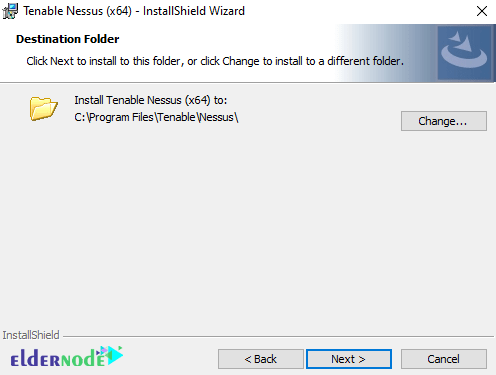
Here you can click on Chang… to determine the installation location of Nessus. After doing this, click on Next:
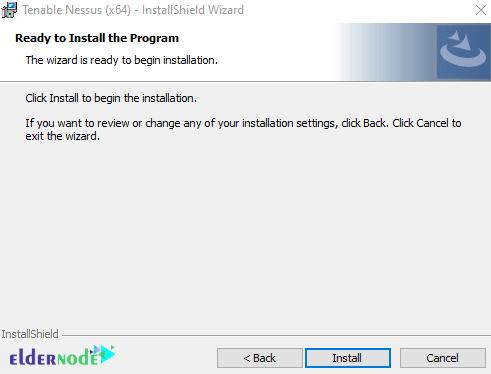
Now you need to click on Install:
*
Finally, click on Finish to complete the Nessus installation process:
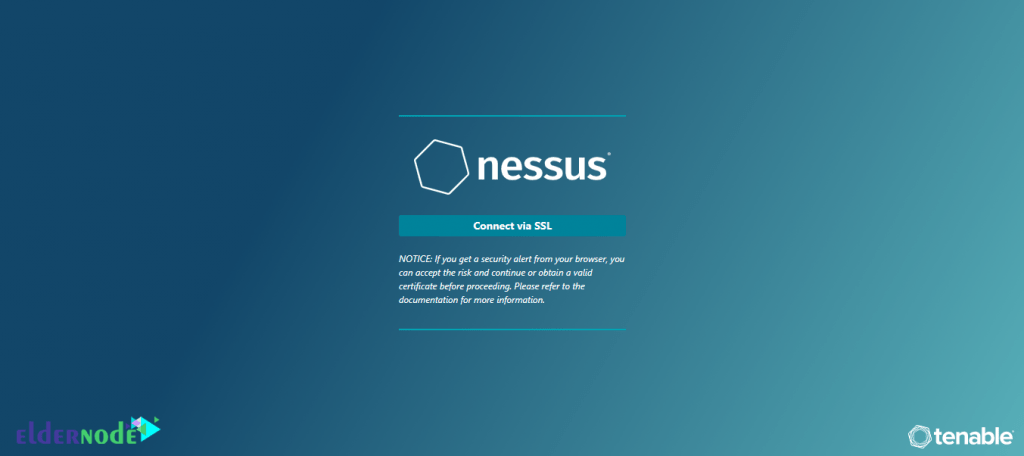
After clicking on the finish, you will see the following image in your browser:
Note: If you have not already installed WinPcap on your system, you should follow the steps below to install WinPcap.
How to Install WinPcap on Windows
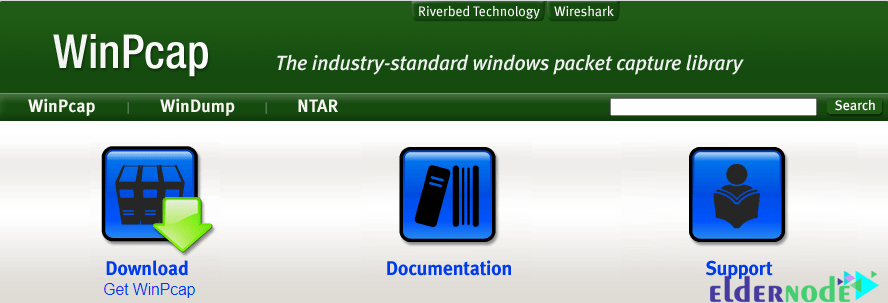
In this section, we want to teach you how to install WinPcap on Windows to use Nessus. To download WinPcap, first, open one of the browsers you want and go to the WinPcap website. Click on the Download as shown below:
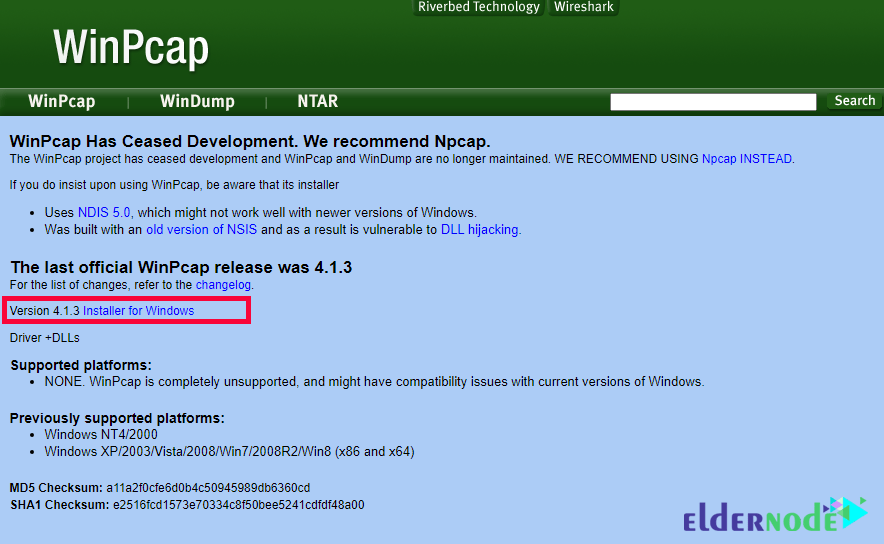
Then click on Installer for Windows:
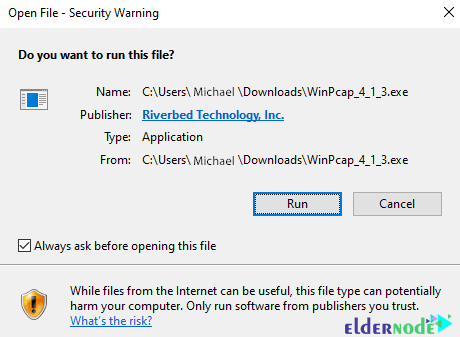
Now go to the place where you downloaded the installation file and double-click on it in the window that opens and click on Run:
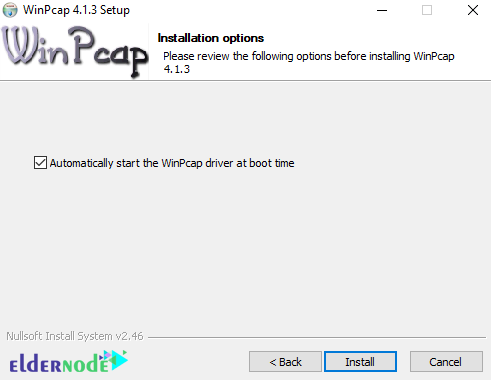
Click Next to start the installation process:

In the next step, click on I Agree:

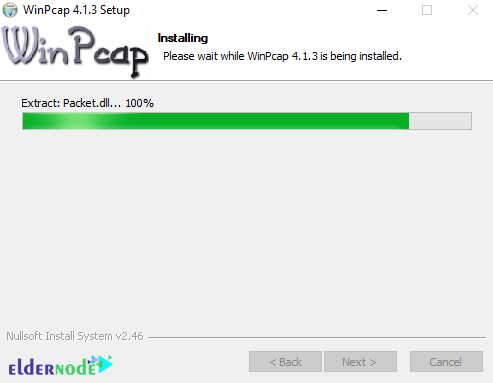
Now click on Install:
*
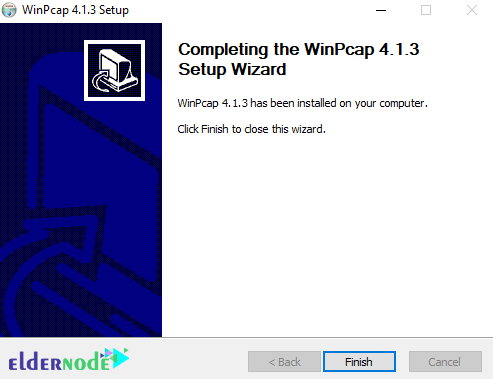
Finally, click on Finish:
How to Configure Nessus on Windows
After you have successfully installed Nessus in the previous sections, we are now going to teach you how to configure it.
1_ The first step is to select how to install Nessus on the Welcome to Nessus page. (Nessus Essentials, Nessus Professional and Nessus Manager)
2_ In the next step, you must click Continue.
Note that if you selected Nessus Professional or Nessus Manager in the previous section, the Register Nessus page will appear.
Also, if you select Nessus Essentials, the activation code download screen will appear.
3_ Now if you have selected Nessus Essentials, do one of the following:
If you need an activation code, type your name and email address on the activation code download page. Then click on the Email. You can now check your email for your free activation code.
Note that if you already have the activation code, click Skip.
4_ After completing the above steps, you must now type your activation code on the Register Nessus page.
5_ Click on Continue to create an account page.
6_ You can now create a Nessus Admin account that you use to log in to Nessus. Here you have to click on Submit after entering a username and password.
Nessus completes the configuration process by doing the above.
Conclusion
Scan results can be reported in a variety of formats including plain text, XML, HTML, and LaTeX. Results can also be stored in a knowledge base for debugging. In UNIX, scanning can be automated using the command line client. There are various commercial, free, and open-source tools for both Unix and Windows to manage Nessus personal or distributed scanners. In this article, we tried to teach you How to Install and Configure Nessus on Windows. You can refer to the article Tutorial Setup And Configure Nessus On Ubuntu 20.10 if you wish.