OwnCloud is a collection of client-server software for creating and using file hosting services. OwnCloud is similar in performance to the widely used Dropbox. The main functional difference between ownCloud and Dropbox is that OwnCloud is primarily server software. The OwnCloud server version is free and open-source, so it allows anyone to install it on their own private server at no cost. In this article, we are going to teach you How to Configure OwnCloud on Rocky Linux. You can see the packages available in Eldernode if you want to buy a Linux VPS server.
Table of Contents
How to Configure OwnCloud on Rocky Linux
What is OwnCloud?
OwnCloud is open-source software that was first developed in 2010. This software allows you to run a personal cloud storage service. OwnCloud has features that are comparable to other cloud storage services such as Dropbox. OwnCloud server software can be installed on Linux for free. The client software can also be installed on computers running Windows, OS X, or Linux. Mobile apps are also available for Android and iOS.
How to Install OwnCloud on Rocky Linux
In this section, we want to teach you How to Install OwnCloud on Rocky Linux. To do this, you can follow the steps below in order
You must first update the system using the following command:
yum update -yYou can now download OwnCloud using the following command:
cd /tmpwget https://download.owncloud.org/community/owncloud-complete-20210326.tar.bz2Now you need to extract the downloaded file in the directory /var/www/html/:
yum install bzip2tar -xvf owncloud-complete-20210326.tar.bz2 -C /var/www/html/You must configure your OwnCloud directory permissions using the following commands:
chown apache:apache -R /var/www/html/owncloud/chmod -R 755 /var/www/html/owncloudFinally, you must use the following commands to create a new MySQL database. Note that in the following commands replace YOUR-PASSWORD with the actual password:
mysql -u root -pmysql> CREATE DATABASE ownclouddb;mysql> GRANT ALL PRIVILEGES ON ownclouddata.* TO 'ownclouduser'@'localhost' IDENTIFIED BY 'YOUR-PASSWORD' WITH GRANT OPTION;mysql> FLUSH PRIVILEGES;mysql> exit;Configure OwnCloud on Rocky Linux
In this section, we want to teach you how to configure OwnCloud on Rocky Linux. Follow the steps below.
You must first open the port in the firewall using the following commands:
firewall-cmd --zone=public --add-port=80/tcp --permanentfirewall-cmd --reloadNow you need to set the SELinux mode to permissive using the following command:
setenforce 0Open the configuration file using your favorite editor:
vi /etc/selinux/configAfter opening the configuration file, update the commands as follows:
# This file controls the state of SELinux on the system.# SELINUX= can take one of these three values:# enforcing - SELinux security policy is enforced.# permissive - SELinux prints warnings instead of enforcing.# disabled - No SELinux policy is loaded.SELINUX=permissive# SELINUXTYPE= can take one of these two values:# targeted - Targeted processes are protected,# mls - Multi Level Security protection.SELINUXTYPE=targetedYou can now run the following command. Execute the following command to allow the Apache Web Server to write in the Owncloud directory:
setsebool -P httpd_unified 1Finally, you can type the following command in the URL to complete your ownCloud installation:
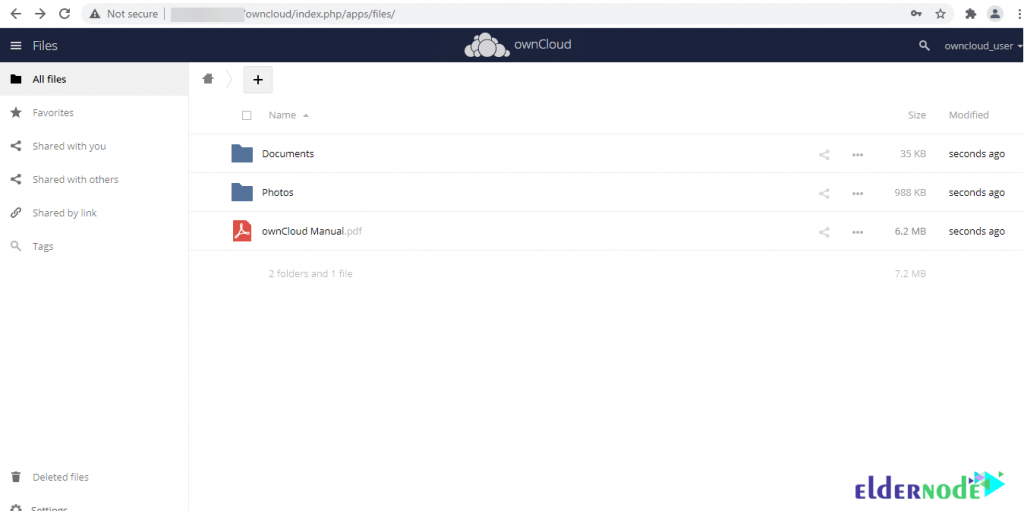
http://server_IP/owncloudThe last step is to create an admin account for OwnCloud. You must enter the username and password you want to set as shown below:

Click Finish setup to complete the installation and configuration steps:
Conclusion
By installing OwnCloud on the server, you can securely store and access files. You also have the ability to share and collaborate on content that allows teams to easily work on data from anywhere and on any device. In this article, we tried to teach you how to Configure OwnCloud on Rocky Linux.