Using the Wamp program, just like the Xampp program, you can set up a site offline without the need for hosting and domain on your personal computer. By using the Wamp program, just like the Xampp program, you can set up a site offline without the need for hosting and domain on your personal computer.
Using the Wamp program, you can install any type of script and site builder, including WordPress. Easily implement a site and after finalizing it, make a backup with all the settings and transfer it to the host you bought. In this article, we will discuss the steps of installing Wamp Server on RDP admin 2016 environment. You can view and purchase various packages by visiting the RDP Admin page in Eldernode.
What is LocalHost? And why should we use it?
Localhost allows you to easily install the required software on your PC by using the required software, which is the same Apache interpreter and server on your personal computer, and using Mysql database and install php and other requirements to process information and view the output of php code. In the Wamp program, you can also access the local environment by designing a localhost address in your browser and designing and implementing a site there.
Surely by now you have realized that the wamp program provides you with the ability to provide a suitable platform for php, Mysql database and finally an Apache server to launch a site offline on your personal computer.
The biggest advantage of using localhosts is that you do not need to spend money to buy hosts and domains. You can create an exact site on your computer and work with it. The only difference is that others are not able to view the site by entering the site address in the local through their own computer.
How to install Wamp Server on RDP admin 2016
To get started, first go to the official website of the wamp server and download the latest version of the wamp program for your operating system similar to the image below.
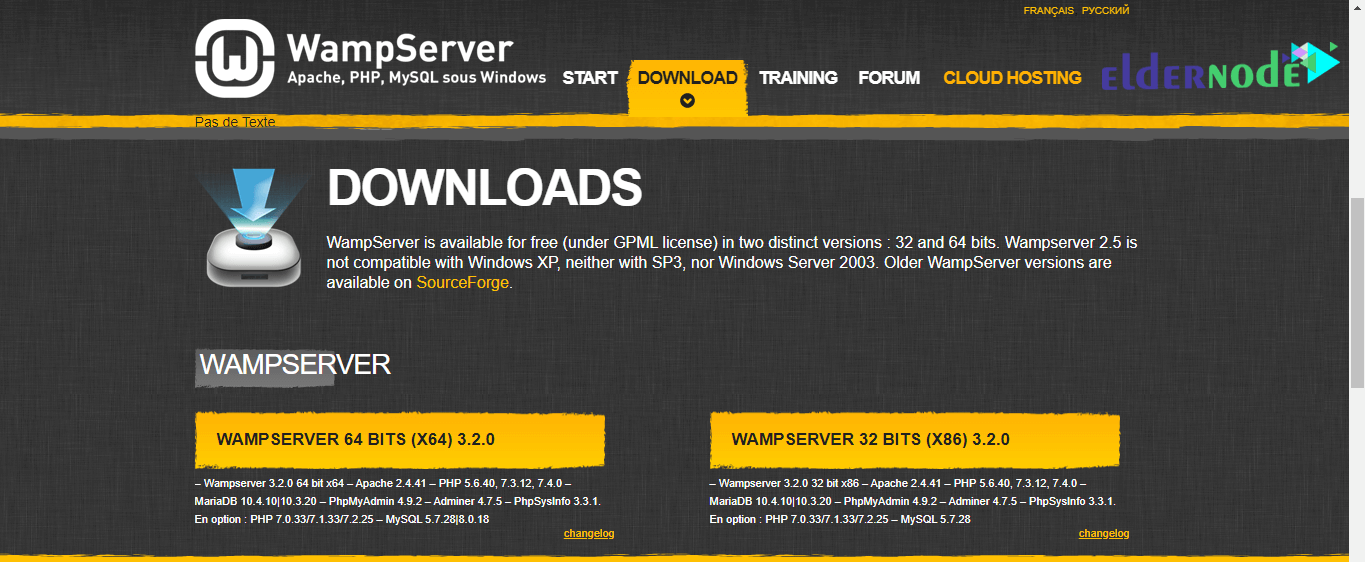
As indicated in the red box, you can download the program based on the version of the Windows operating system, which is 32-bit or 64-bit.
Note that if your version of Windows is 32-bit, you should not use the 64-bit version, but if your version of Windows is 64-bit, you can use both versions.
My version of Windows is 64 bits and I click on the yellow button for this version. By clicking on this button, a window will open for you, as shown in the image below. By clicking on the download button, it will be directed to the direct download link of the program, and in the page that opens, wait for the program to start downloading and save it.

To install the wamp program, after downloading the file similar to other Windows software, just double-click on the EXE file to be ready for the installation operation.
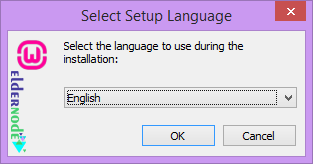
After clicking on the installation file, a window similar to the one below will open, where you must select the language you want. By default, the language of the program is in English, which we select without changing it and enter the next step by selecting the Ok button.
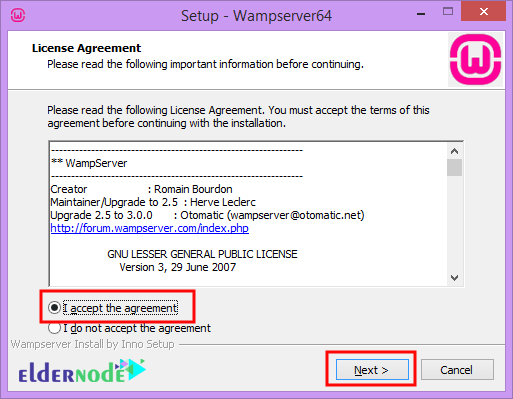
In the next step, the rules and regulations related to the program are described, which you need to approve in order to use the program. So in the window that opens as shown below, first select the I accept the agreement option.
Then click the Next button to be taken to the next step.
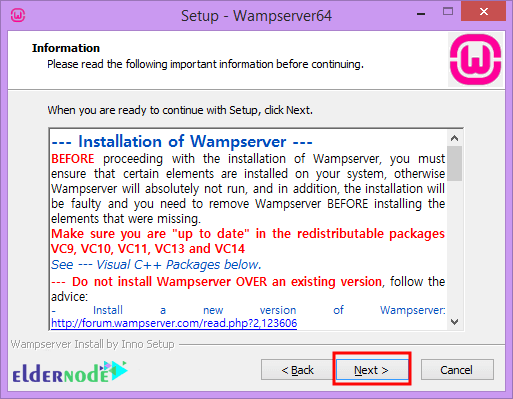
In the next step, the program information and items needed to run the wamp program are displayed, which you must install on your Windows, and also use the most up-to-date version available. So in this step, like the image below, just click on the Next button to enter the next step.
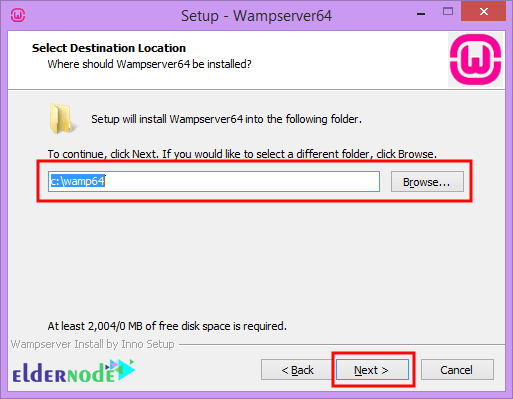
Going through this step, you will reach the step where you have to select the drive and folder where you want to install the wamp program.
Click the Brows button from the specified section of the desired folder on the drive to select the partition of the computer space and click the Next button.
After passing this step, in the next step, you can also specify the name of your favorite folder to place the wamp program in the Windows Start menu of your choice.
By clicking the Brows button, you can browse through the directories in Windows Startup and select the folder you want.
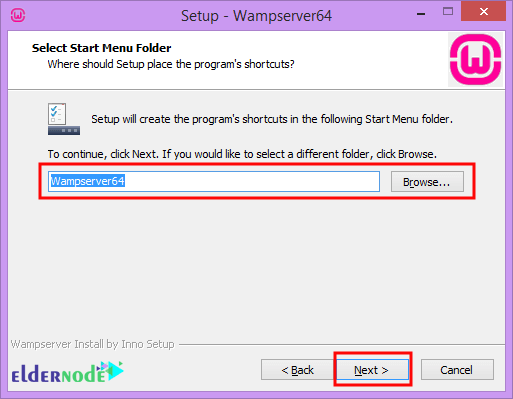
Click the Next button to enter a step that tells you if you are ready to install.
If all the items needed to install Wamp are properly installed and activated on your system, you will reach this option and you will not receive an error.
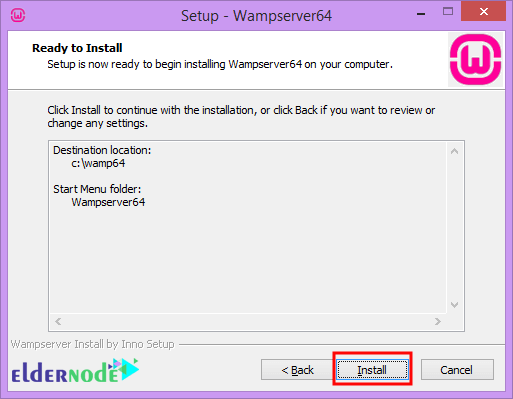
After passing this step, by clicking on the Install button, you will be directed to the next step, which will start the installation of Wamp in Windows.
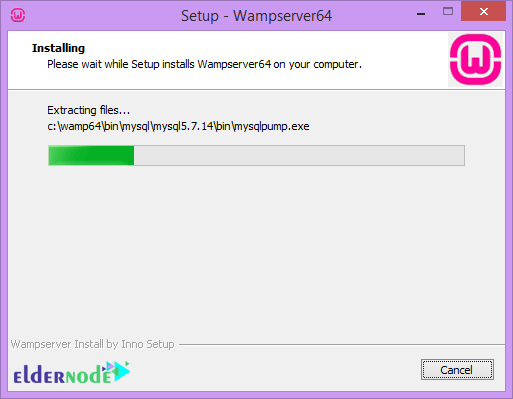
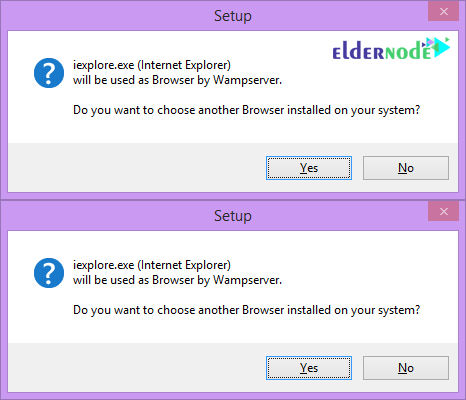
While installing Wamp in Windows, you will see two consecutive windows asking you to select the default browser to display the localhost in the program and your default text editor. To do this, just click the Yes button in both windows to select the default browser and text editor such as notepad or sublime text, and any type of text and code editor program that you have installed in Windows.
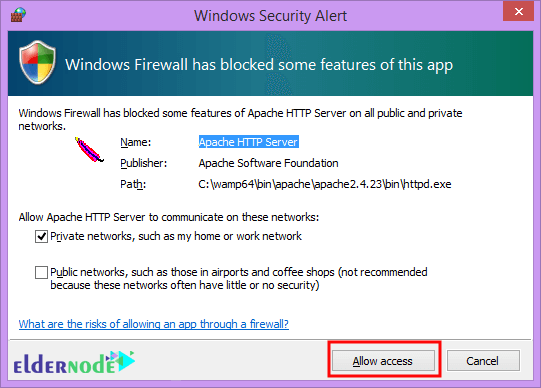
If the wamp program does not have access to the firewall, a window may be displayed asking you to grant the firewall access to the wamp program. To do this, just click the Allow access button to determine the accessibility of the firewall.
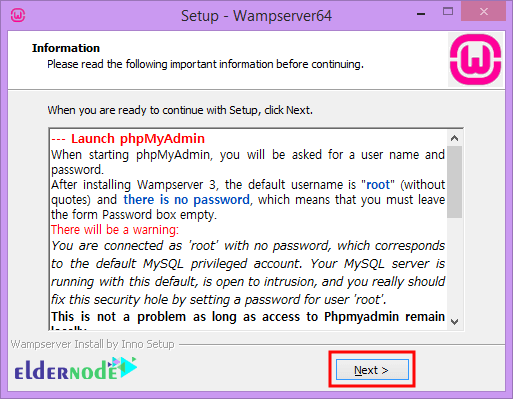
After completing the loading step when installing the wamp program, a window containing information will be displayed when installing the program, which is similar to the image below, so that you can be directed to the final steps of installing the wamp in Windows by clicking the Next button.
Now just click the Finish button to complete the installation process.
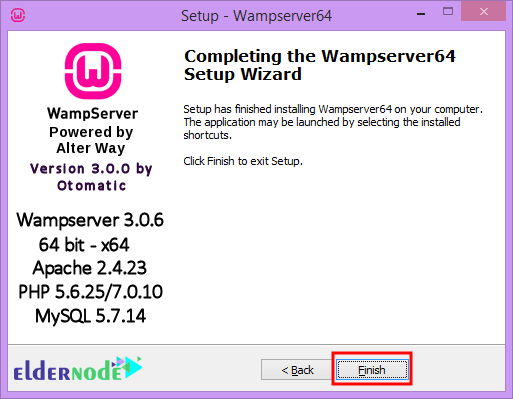
Well the installation was completed successfully!
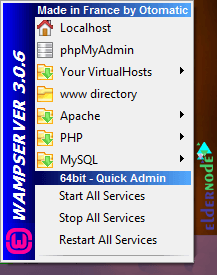
Now to run the Wamp program, just run it by double-clicking it, or by going to the Windows Taskbar, click on the Wamp icon, which is initially red.
Note: The red icon means that the Apache and mysql servers are off and you need to run and start them to run them.
Click on the icon to select the start all services option to clear all the items related to running the local wamp host environment. Wait for the Wamp icon to turn green after the yellow icon indicates that the local host is running correctly and completely on your PC.
After turning on localhost, open your browser and go to localhost to make sure the installation and setup steps are completed correctly. Or go to the local environment from the wamp menu on the Localhost option next to the home icon, similar to the image above. If the wamp program works properly, the localhost environment will be displayed to you as follows, which you will be able to manage the localhost environment settings in the wamp by referring to its various sections and apply your changes to it.
Conclusion
In this tutorial, we examined how to download, install and set up Wamp Server on RDP admin 2016. With the help of Wampserver, which is a server emulator, you will be able to run WordPress or any other content system on your local system for free.