
How to Disable the Startup Delay in Windows 10. You may be wondering what Startup programs are. There are sections in the system that, when you turn it on, run a series of programs and files at the same time as Windows starts. This will make your system run a little longer.
When your Windows starts up, you will see a number of Startup programs, a series of which will be displayed in the lower right part of the Windows bar and in the icons section. This will delay the execution of Windows and its full boot.
In this article, we will teach you how to Disable the Startup Delay in Windows 10.
Tutorial Disable the Startup Delay in Windows 10
To disable the Windows 10 startup delay, you just need to make a few edits in the Windows Registry.
Note: Registry Editor is a powerful tool and misusing it can render your system unstable or even inoperable. This is a pretty simple hack, and as long as you stick to the instructions, you shouldn’t have any problems.
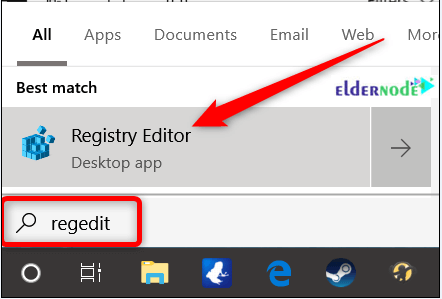
1. Open the Registry Editor by hitting Start and typing regedit.
2. Press Enter to open the Registry Editor.
3. Permit it to make changes to your PC.
In the Registry Editor, use the left sidebar to navigate to the following key. You can copy and paste it into the Registry Editor address bar:
HKEY_LOCAL_MACHINE\SOFTWARE\Microsoft\Windows\CurrentVersion\Explorer\Serialize

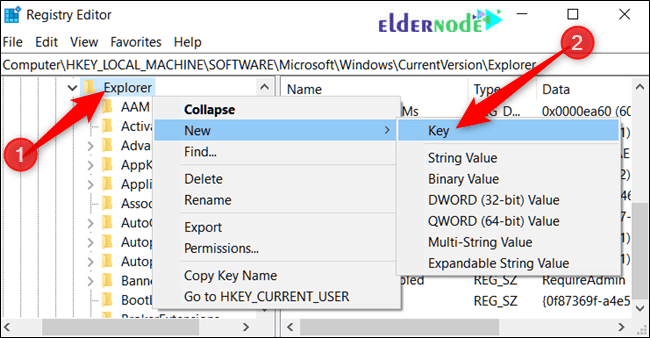
If the Serialize key doesn’t already exist, you’ll need to create it.
Right-click on the parent key ( Explorer ) and choose New >> Key.
Name it Serialize.
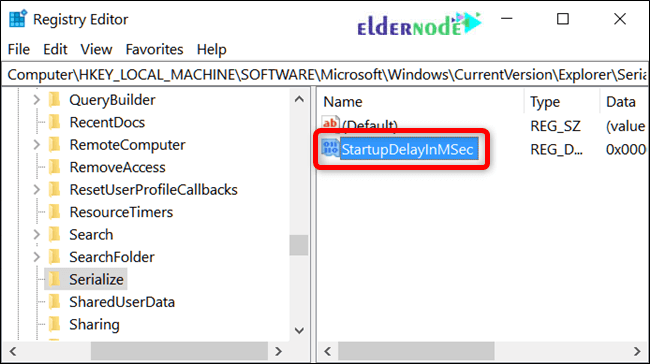
Now, right-click the Serialize key and choose New >> DWORD (32-bit) Value.
Name the new value StartupDelayInMSec .
Next, you’re going to modify that value.
Double-click the new StartupDelayInMSecvalue and make sure the value is set to 0 in the Value data box.

Click OK and then exit Registry Editor.
For the changes to take effect, you’ll need to restart your computer.
Cheap VPS Hosting in Eldernode
You should no longer experience the delay forced upon you by Windows.
If you ever want to re-enable this delay because your startup programs are demanding too many resources upon signing in, head back into the Registry Editor and delete the StartupDelayInMSec value by right-clicking it and then clicking Delete.

Dear user, we hope you would enjoy this tutorial, you can ask questions about this training in the comments section, or to solve other problems in the field of Eldernode training, refer to the Ask page section and raise your problem in it as soon as possible. Make time for other users and experts to answer your questions.
Goodluck.