
Arch Linux is a free and open-source distribution of the Linux operating system, which provides many possibilities for personalization to its users. On the other hand, different aspects can be controlled. Also, Arch Linux is a relatively light distribution, and its minimal nature is one of the main reasons for its popularity. In this article, we are going to teach you How to Install Arch Linux on VMware Workstation. If you want to buy a Linux VPS, you can visit the plans offered by Eldernode.
Table of Contents
Tutorial Setup Arch Linux on Vmware Workstation
Introduction to Arch Linux
Arch Linux is an independent Linux distribution that is simple, modern, functional, user-oriented and flexible. Arch Linux is a lightweight yet modern operating system and aims to encourage as many experts and professional Linux users as possible to use this distribution. It should note that Arch Linux introduces the idea of do-it-yourself (DIY) to its users. It has also tried to give the users of this operating system the necessary freedom to personalize the system so that they can allocate their resources according to their needs.
Undoubtedly, the high popularity of Arch Linux has not been without reason and there are major reasons for users to choose it. However, some of the main advantages of Arch Linux are as follows:
– Possibilities related to personalization
– Up-to-date and new technology
– Arch Linux User Repository (AUR)
– Arch comprehensive guide (Wiki)
– A bridge between different distributions
– Increasing the level of knowledge related to Linux
Prerequisites to Install Arch Linux on Vmware Workstation
1) Installing VMware Workstation on the system
2) Root access to Linux system
How to Create and Configure the Virtual Machine
In this section, we are going to teach you how to create a virtual machine first. After that, we will teach you how to configure step by step. In the first step, you need to download Arch Linux ISO.
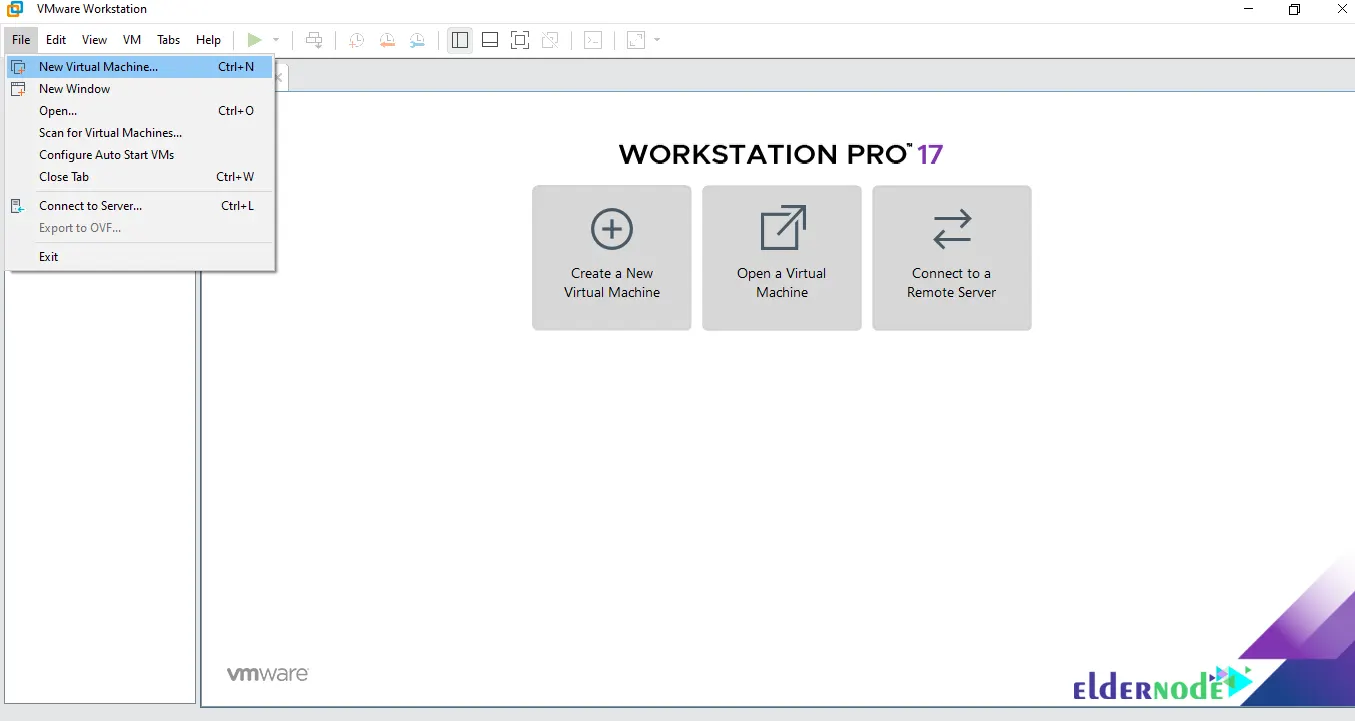
To create a virtual machine, you need to open VMware Workstation. After doing this, click on New Virtual Machine from the File menu:
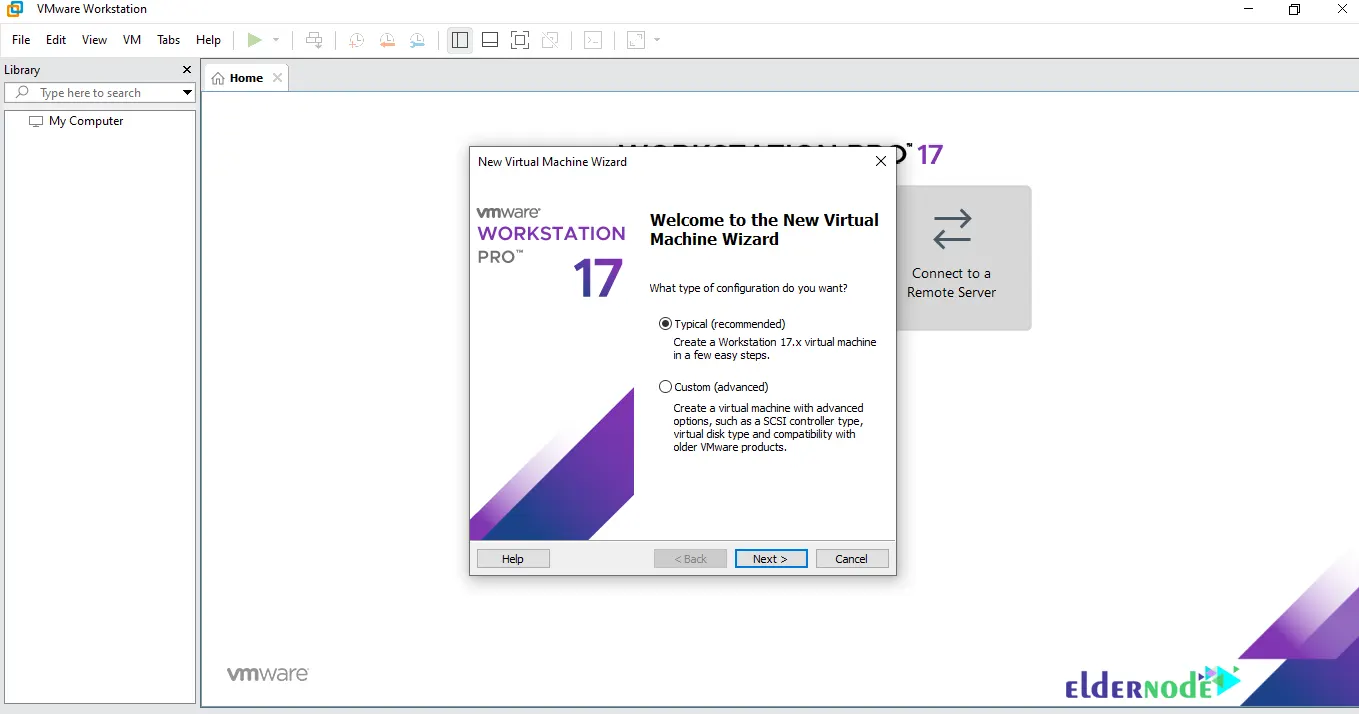
Click on Typical to select the configuration type and then click Next:
You will see the following screen, choose Use ISO image and click on Browse to select the arch Linux ISO. Once you choose, press Next:

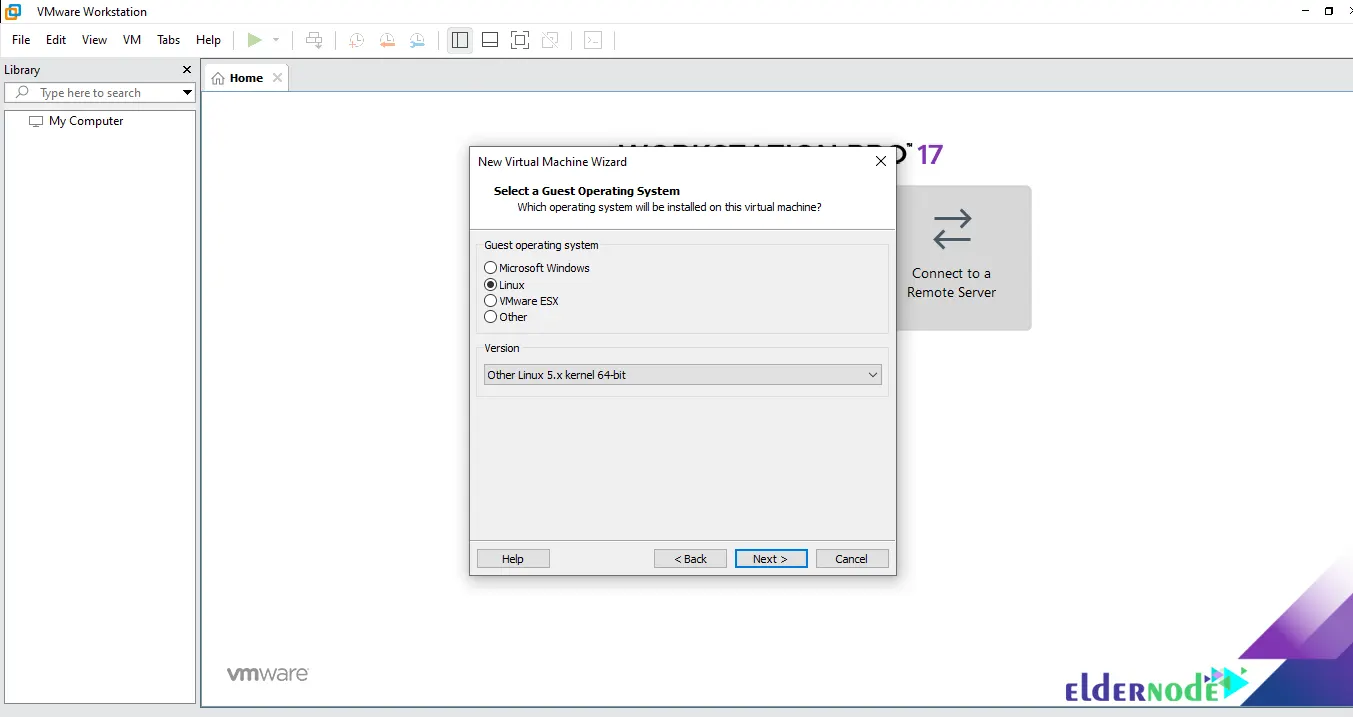
Now you should choose the operating system to install on the virtual machine. Click Linux and choose Other Linux 5.x and later kernel 64-bit. Finally, click Next:
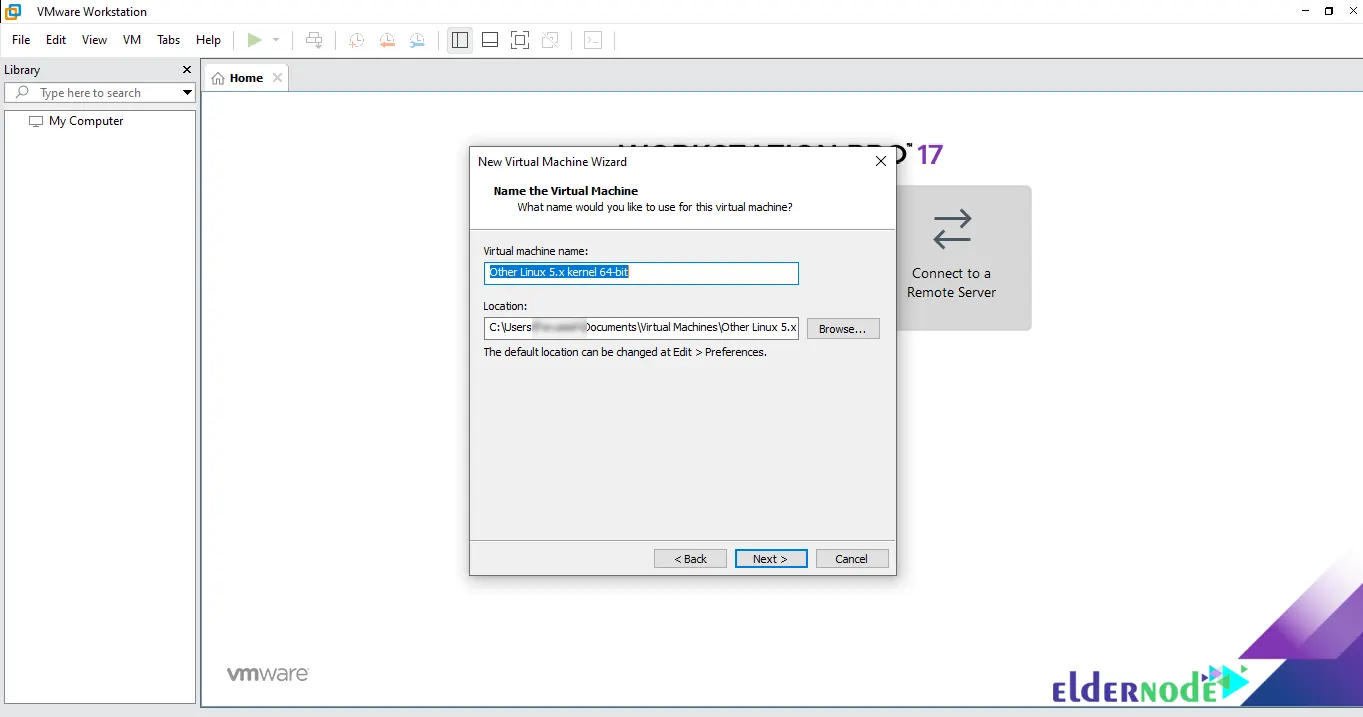
Then, Click on Next:
You can increase the size to at least 20 GB in the Disk Size section. Then click Next:

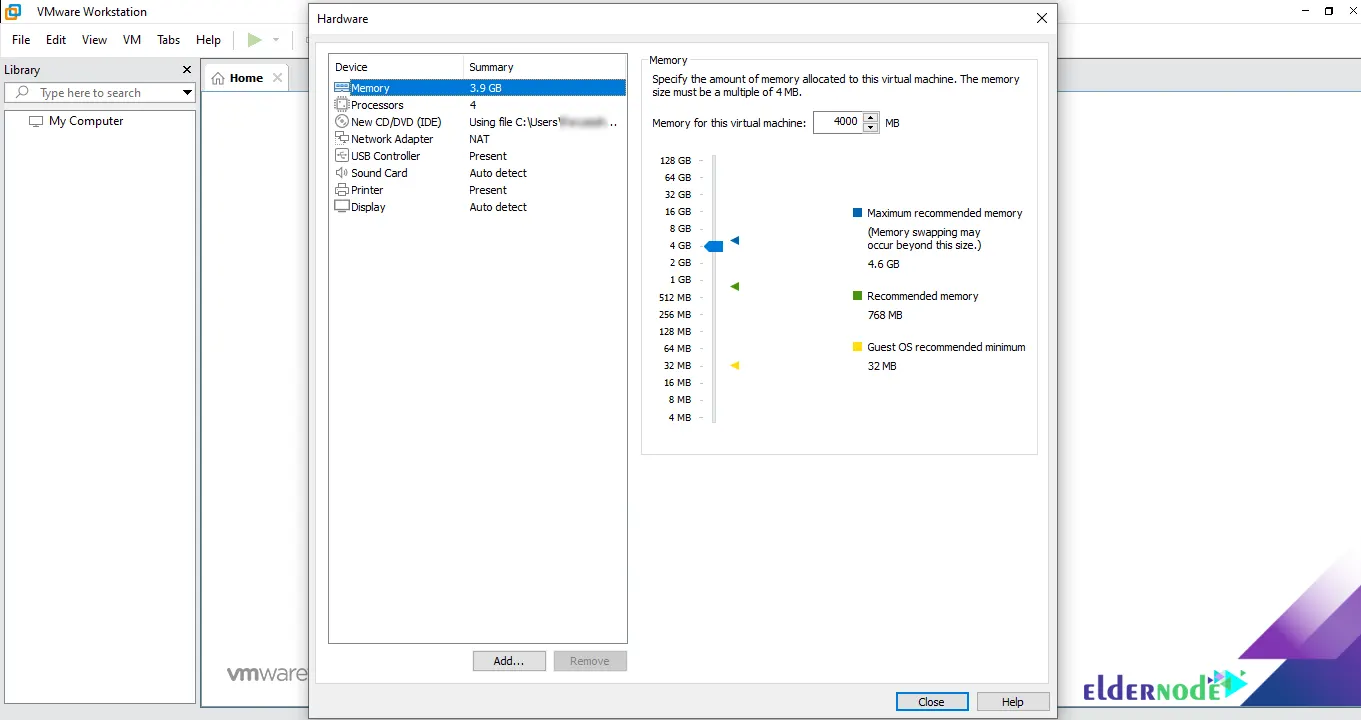
In the next step, click on customize hardware. It should be noted that you can set the memory and the number of processors to whatever you can and then save. Click Close in the lower right corner:
Finally, click Finish:

As you can see in the image below, you must right-click on the virtual machine in the Library section and click on settings. After doing this, click on the options tab. Then you can change the operating system type to UEFI in the advanced section. After you have completed all the steps successfully, you can click on Save.
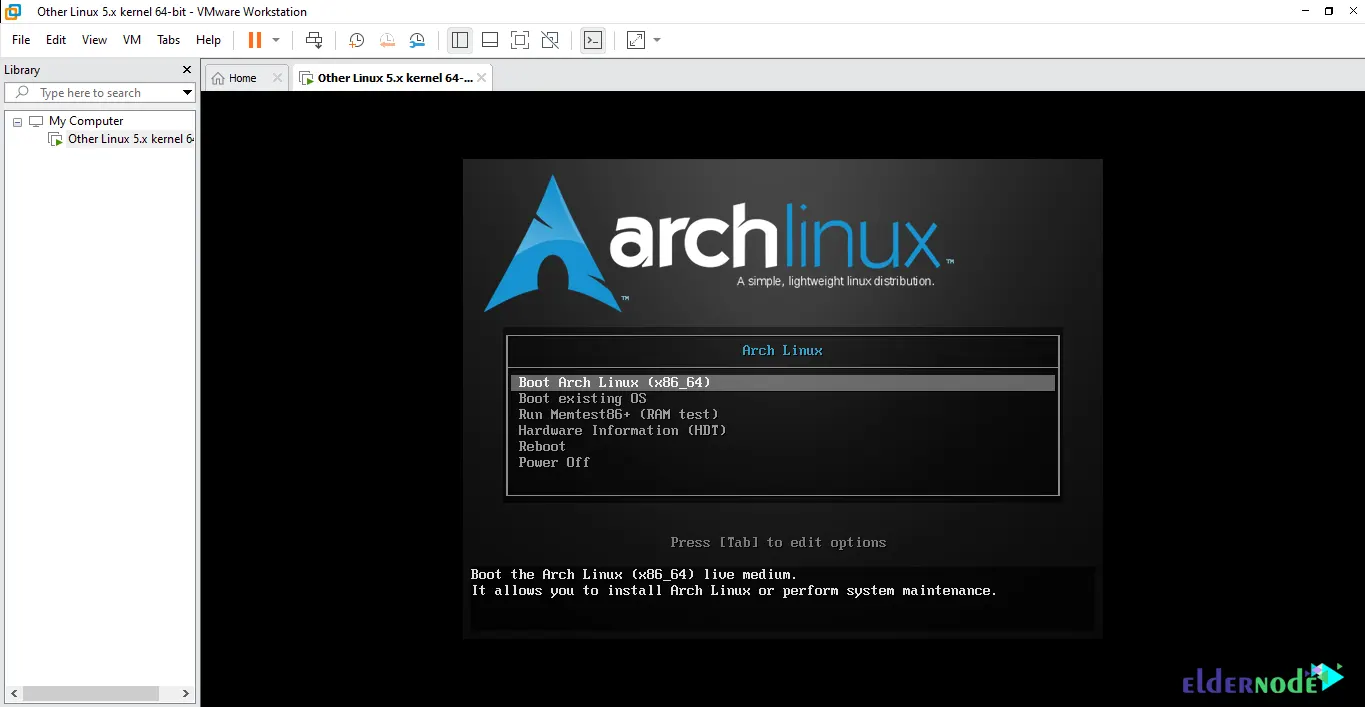
Now you can start the virtual machine:
It may seem difficult to read the console’s default tty font after opening the command line environment. So you can change it in the list by running the following command:
setfont /usr/share/kbd/consolefonts/ter-g32n.psf.gzHow to Install Arch Linux inside the Vmware Workstation
In this section, we intend to teach you step by step How to Install Arch Linux inside the VMware Workstation. To do this, just follow the steps below.
You can check that you are in UEFI mode by running the following command and then create a list of files:
ls /sys/firmware/efi/efivarsTo confirm the Internet connection, you can enter the following command:
ping -c 4 www.eldernode.comNow it’s time to update the system clock by running the following command:
timedatectl set-ntp trueIn the next step, you should use the following command to view the current disk layout. It should be noted that doing this is necessary to partition and then install Arch:
lsblkNow you need to create the required partitions. Considering that the system disk is sda in this tutorial, we will use the following command:
cfdisk /dev/sdaIn this tutorial, we created 3 partitions named sda1, sda2 and sda3. You can run the lsblk command again to confirm and see your partitioning. After creating the partitions, you need to create the appropriate file systems on them. Therefore, you can create and activate the swap file system using the following command:
mkswap /dev/sda3swapon /dev/sda3Use the following command to create the root file system:
mkfs.ext4 /dev/sda2Create the EFI file system with the help of the following command:
mkfs.fat -F32 /dev/sda1Mount the file systems you created by running the following commands:
mount /dev/sda2 /mntmkdir /mnt/bootmount /dev/sda1 /mnt/bootYou can install the necessary packages using the following command:
pacstrap /mnt base linux linux-firmwareNow you can generate an fstab file using the following command to determine where to mount the partitions:
genfstab -U /mnt >> /mnt/etc/fstabAfter installing the base system, chroot it by running the following command:
arch-chroot /mntAfter completing the previous steps, it is now necessary to set the timezone, localization and hostname:
ln -sf /usr/share/zoneinfo/Region/City /etc/localtimeInstall the vim editor using the following command:
pacman -S vimIt is necessary to edit the /etc/locale.gen file with the vim text editor. After running the configuration file, uncomment any locale you need to use by removing the # before it. Run the following command to generate locales:
locale-genOpen the configuration file again and type the following command to set the language you want:
vim /etc/locale.confLANG=en_US.UTF-8Edit the /etc/hostname file and add the hostname of your choice and then save it. Next, edit the /etc/hosts file with the hostname of your choice as follows:
127.0.0.1 localhost ::1 localhost 127.0.1.1 archvm.localdomain archvmIn order for networking to continue working after rebooting into the new installation, you must now enable them by running the following commands:
systemctl enable systemd-networkdsystemctl enable systemd-resolvedThen you can specify the name of your network interface by entering the following command:
ip addrYou need to add the following values by editing the following path and save it:
[Match] Name=ens33 [Network] DHCP=yesYou can set the desired password for the root user by running the following command:
passwdIn the last step, you need to install the bootloader using the following command:
pacman -S grub efibootmgrThen you can install the bootloader by running the following command in the EFI partition:
grub-install --target=x86_64-efi --efi-directory=/boot --bootloader-id=GRUBCreate the main grub configuration file using the following command:
grub-mkconfig -o /boot/grub/grub.cfgIf you have followed all the steps mentioned in this tutorial carefully, you will see that the Arch Linux virtual machine is installed successfully. Now you can remove the partitions and restart your system with the help of the following commands:
exitumount -R /mntrebootConclusion
If you are a novice user but still insist on using Arch Linux, it is better to install it on a virtual machine first. If you can acquire the necessary skills to use it, then you can use this operating system as your main option. In this article, we tried to teach you step by step How to Install Arch Linux on VMware Workstation. If you have any comments or questions about this post, you can post them in the comments section.