
OPNsense is a powerful and feature-rich open-source firewall that provides robust network security and management capabilities. In this article, we will walk you through the process of installing an OPNsense Firewall on a Linux system. By following these steps, you’ll be able to enhance your network security and take advantage of OPNsense’s extensive range of features. If you intend to buy a Linux VPS server, check out the packages offered on the Eldernode website.
Table of Contents
How to Install OPNsense Firewall on Linux
OPNsense is an open-source, fully-featured, and FreeBSD-based firewall and routing platform developed by Deciso. It is designed to provide network security and control by acting as a firewall, router, and VPN solution. Generally, this firewall provides a web-based graphical user interface (GUI) that makes it easier to manage and configure the firewall rules and settings. Also, OPNsense offers a wide range of features, including stateful packet inspection, virtual private networking (VPN), intrusion detection and prevention (IDS/IPS), web filtering, traffic shaping, and more.
Downloading OPNsense Firewall on Linux
Firstly, visit the OPNserver Download page to acquire your copy. From there, select your desired architecture and image type, such as ISO, and choose a nearby mirror for a quicker download.
Once the download is completed, decompress the downloaded file using the command below:
bunzip2 -d OPNsense-<version>-OpenSSL-dvd-amd64.iso.bz2The ISO file is ready now.
Installing OPNsense on Linux
You can install OPNSense on a Linux server. Ensure that your server has a minimum of two network interfaces: one for LAN connection and another one for WAN.
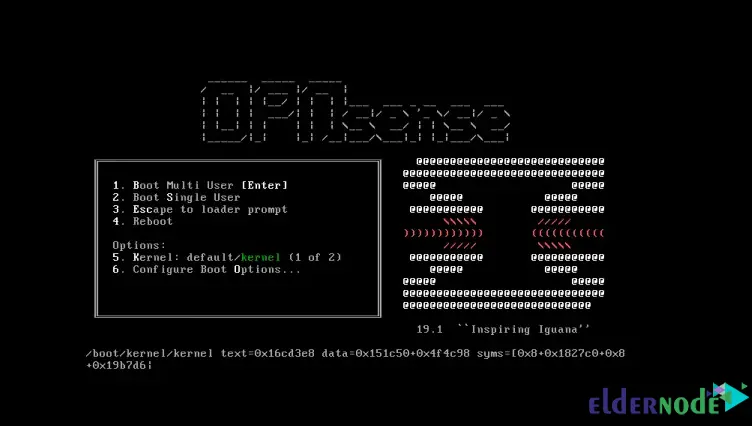
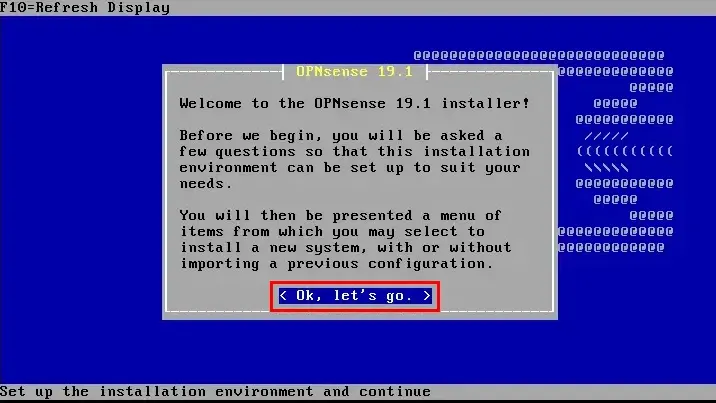
To initiate the OPNSense installation, boot from the ISO image. Once the boot process is complete, you will be prompted to select the installation type on the first window:
Simply click on ”Ok, let’s go” to proceed:
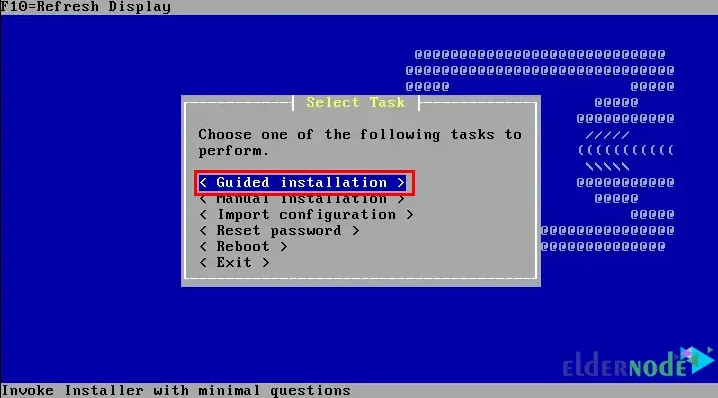
Select the installation type according to your preference. You can choose “Guided Installation” for a straightforward setup or for the “Manual” option for advanced installation. The remaining options are applicable to existing installations:
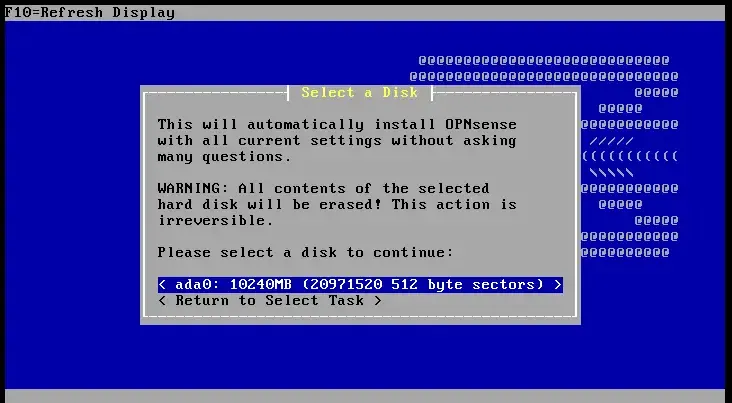
Now choose the disk you want to install OPNsense:
Please wait for the installation process to complete.
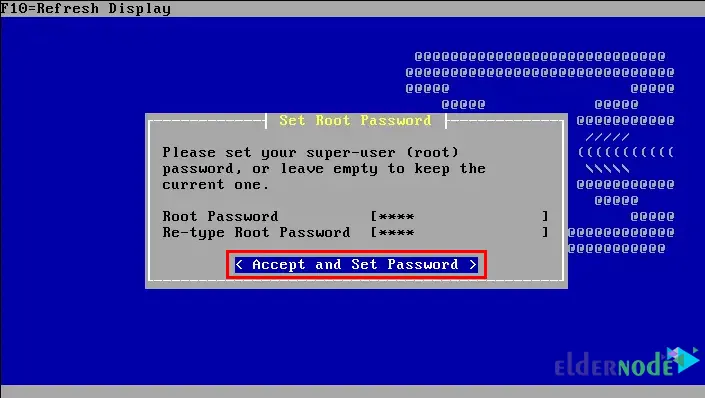
Next, you should set the root password OPNSense firewall appliance:
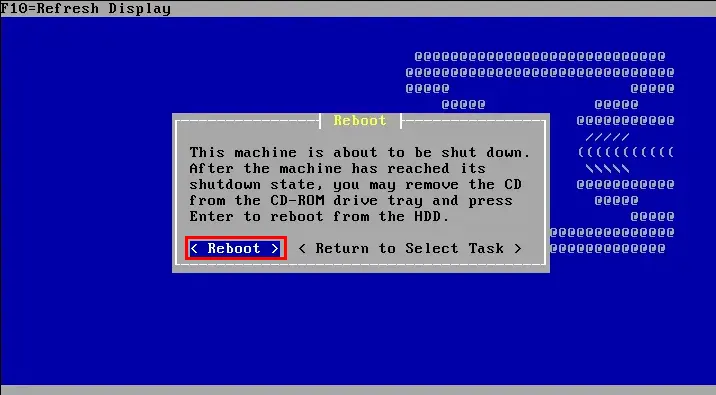
Lastly, reboot the server by clicking Reboot:
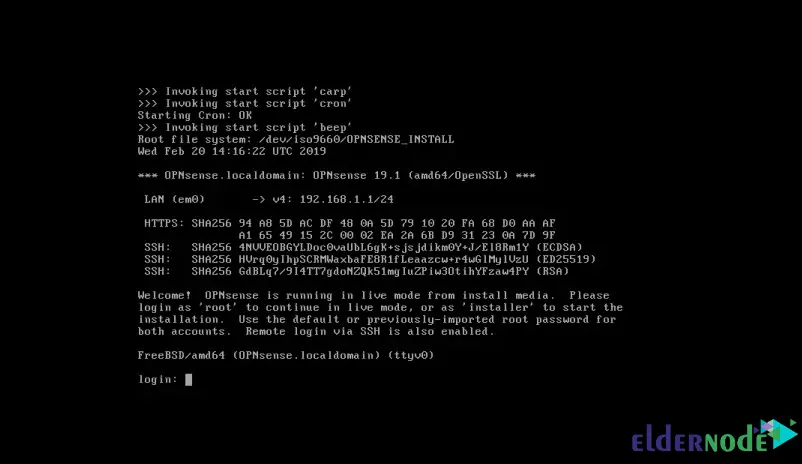
After the reboot finishes, log in with username root and password opnsense:
Configuring OPNsense on Linux
After reboot, an ”Options” page will appear to begin your configurations:
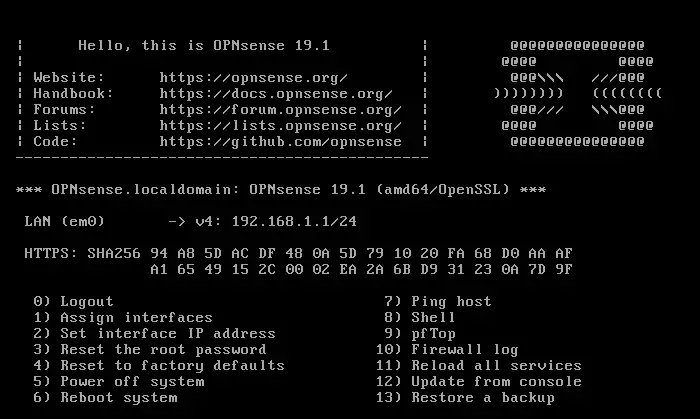
Now assign interfaces as option 1:
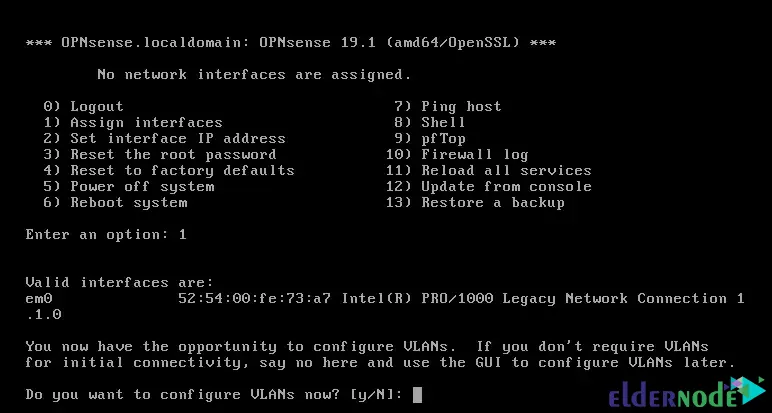
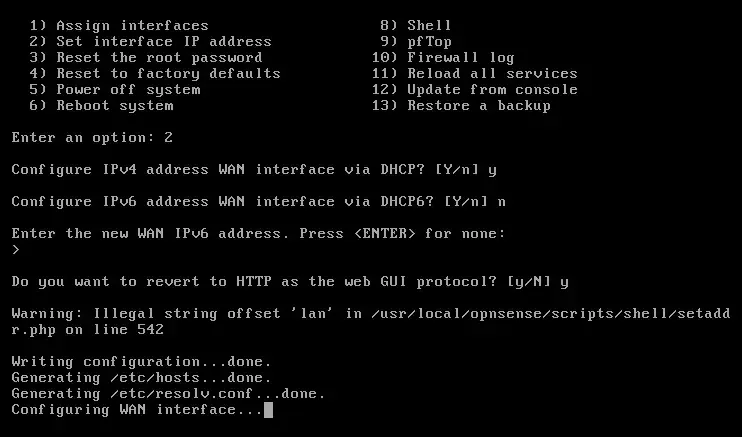
In OPNSense, the default interface is typically labeled as em0. Once it has been assigned as the WAN interface, you can proceed to the “Set Interface IP Address” step (option 2). Lastly, you have to choose DHCP or enter the IP Manually:
Accessing OPNSense WebGUI
Once you have obtained an IP address, either through assignment or manual configuration, you can proceed to launch the OPNSense Web GUI. Simply open a web browser and enter the IP address you have acquired in the following format:
http://ip-addressReplace “ip-address” with the actual IP address you have assigned or received.
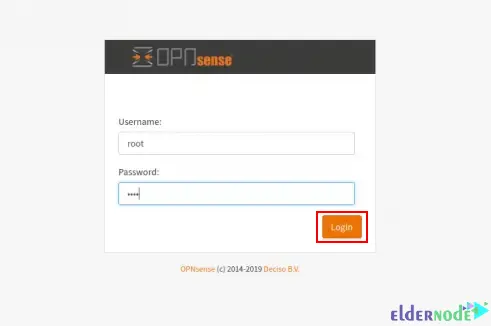
To access the OPNSense Web GUI, please enter the username as “root” and use the password that you set up during the installation process:
Lastly, you gain the flexibility to customize various configurations according to your preferences:

That’s it!
Conclusion
By following this step-by-step guide, you successfully installed OPNsense on your Linux system. You can now leverage OPNsense’s extensive capabilities to enhance your network security and effectively manage your network infrastructure. Remember to regularly update and maintain OPNsense to ensure optimal performance and protection for your network.