GNS3 software is a network simulation software that allows you to design complex network topologies. With the latest version of this powerful program, you can run simulation operations or configure simple workstations and powerful Cisco routers. GNS3 software is based on the performance of Dynamips, Pemu/Qemu and Dynagen tools. In this article, we try to learn you how to install GNS3 on Windows Server 2012 and 2016. You can visit the packages available in Eldernode to purchase a Windows VPS server.
Tutorial Install GNS3 on Windows Server 2012 and 2016
GNS3 software is a free software for simulating complex networks. This software tries to be as close as possible to real networks that do not require physical network hardware. GNS3 has a graphical environment for building complex networks. The GNS3 emulator is based on the Dynamips code and allows the user to run Cisco IOS virtually on a computer instead of running on expensive Cisco equipment. GNS3 software is a Cisco tool that allows the user to use Cisco IOS. In the continuation of this article, join us in learning how to install GNS3 on Windows Server 2012 and 2016.
Install GNS3 on Windows Server 2012 and 2016
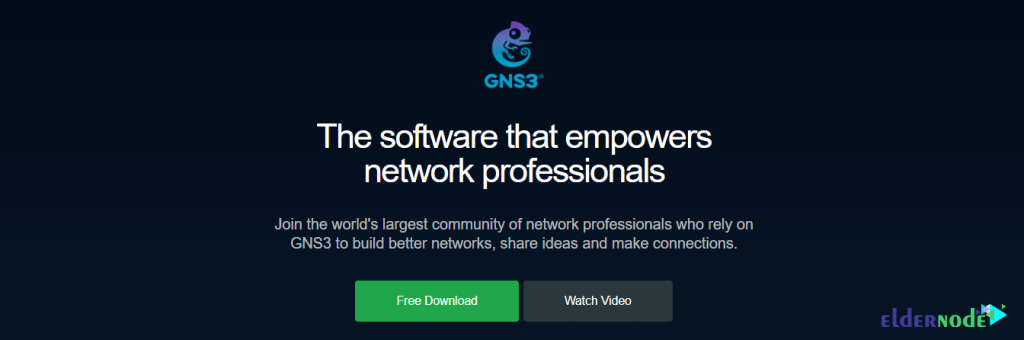
To install GNS3 on Windows Server 2012 and 2016, you must first go to the GNS3 website. Then click on Free Download.
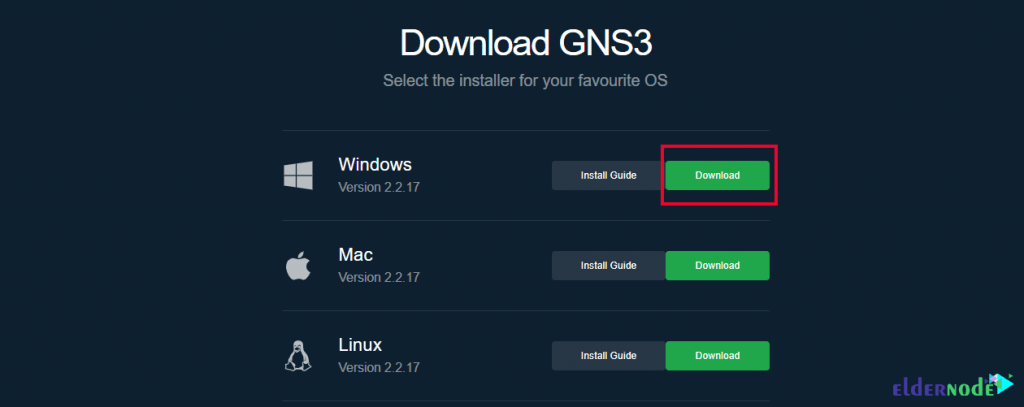
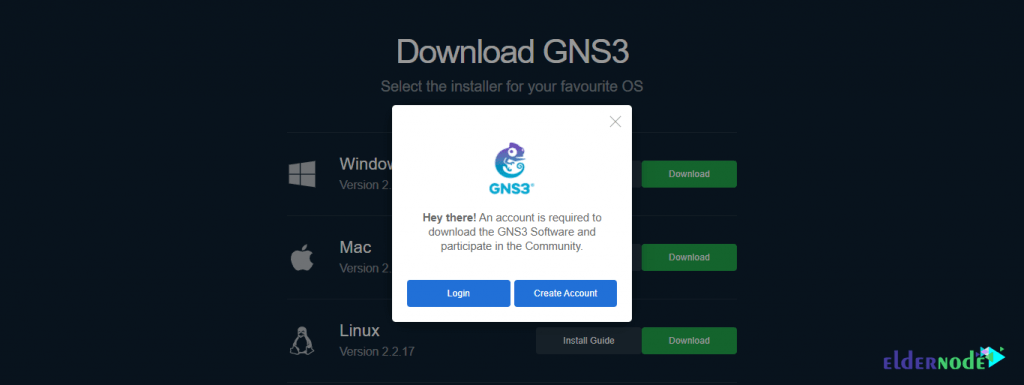
On this page, you must select the desired platform, which is Windows. To do this, click on the Download button in front of Windows.
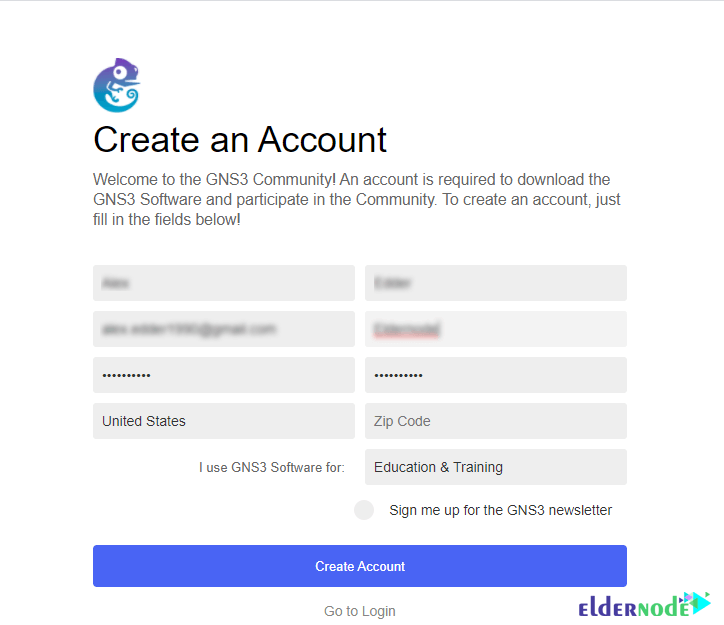
After clicking on the download, the following window will be displayed. If you do not have an account in GNS3, you must create an account.
Fill in the required information and click on Create Account.
Go to the download page again. After selecting the Windows platform, the program download will start.

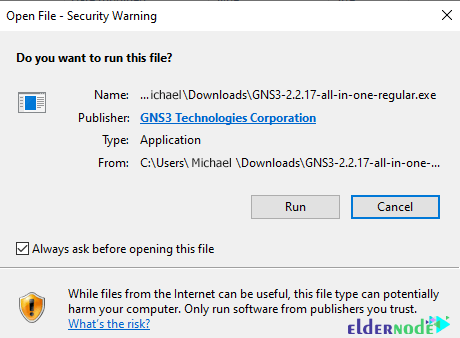
Refer to the installation file storage location. Then double-click on it to start installing GNS3.

In the window that opens, click on Run.
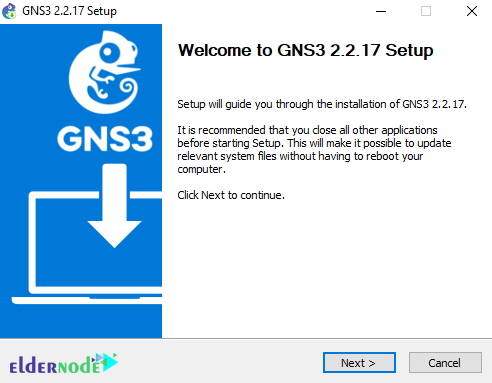
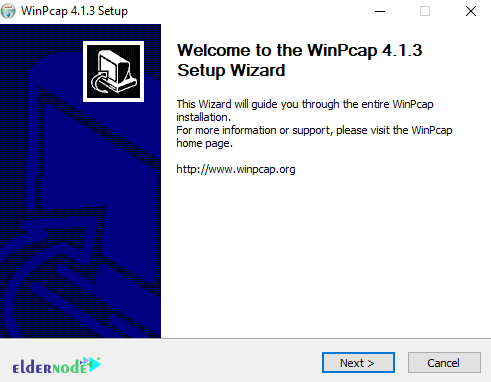
Click Next to start the installation.
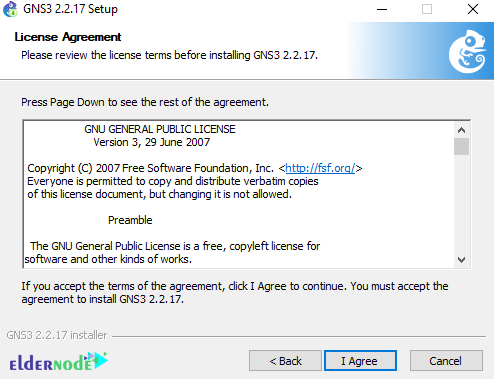
In the next step, after reading the agreement, you must confirm it. So click on I Agree to enter the next step.
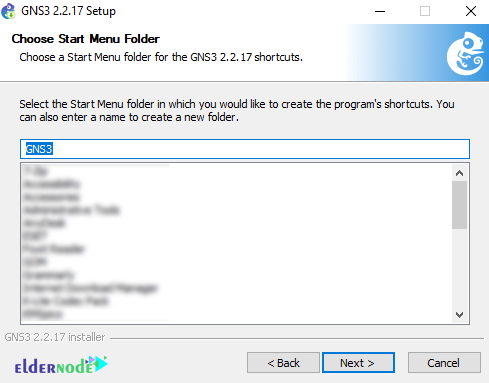
Now you need to select a Start menu folder. GNS3 is selected by default. So click on Next.
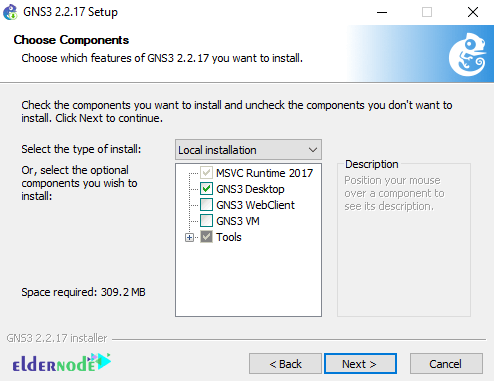
In the next step, you must select the required installation type and components. Then click Next.
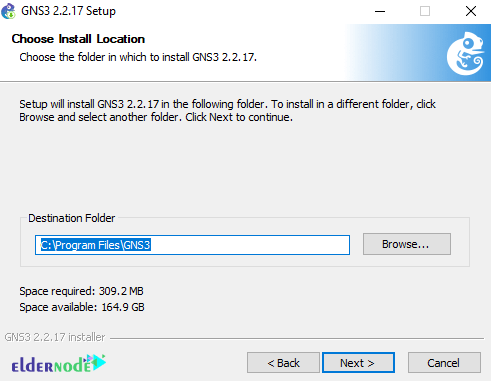
Specify the installation location of the file and click Next.
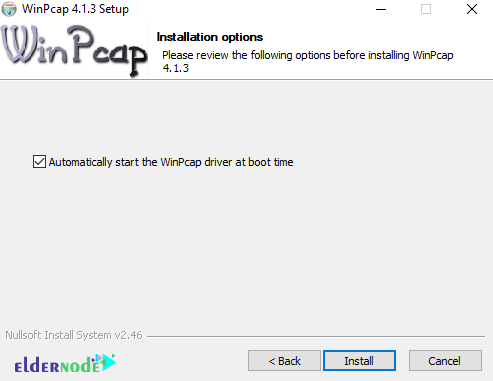
In the next step, the WinPCAP installation window will appear. Click on Next.
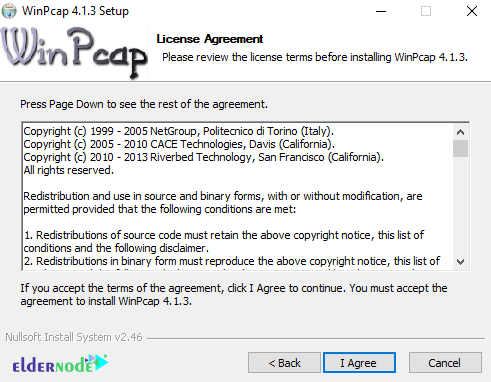
Click I Agree to accept the terms of the agreement.
Then click on Install.
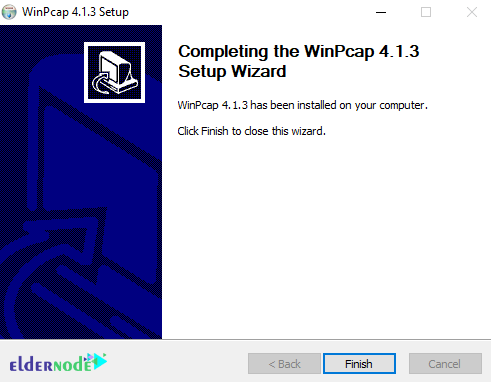
Click Finish to complete the WinPCAP installation.
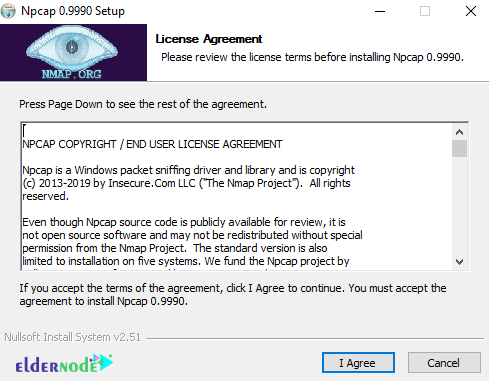
You must now approve the Npcap license agreement.
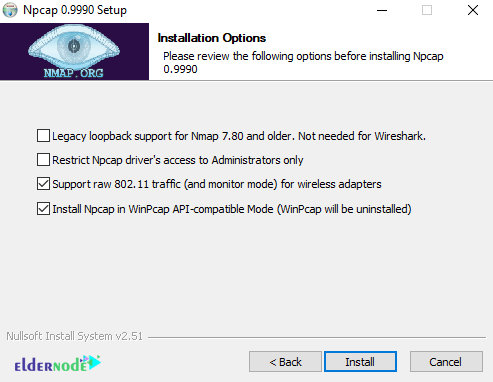
After selecting the desired options, click on install.
Note: When installing Npcap with WinPcap, make sure to enable the “WinPcap API-compatible Mode” option before completing the installation:
Finally, click on Finish.
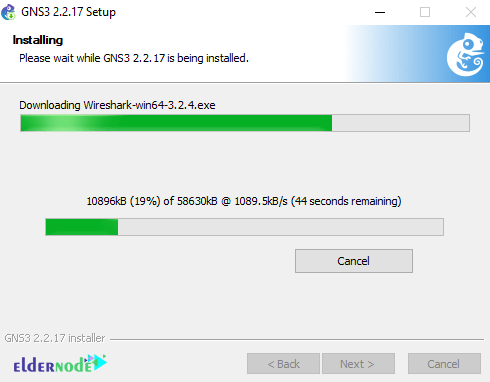
Note that if you choose to install Wireshark, the GNS3 startup software will download the Wireshark installation files.
Click Next again.
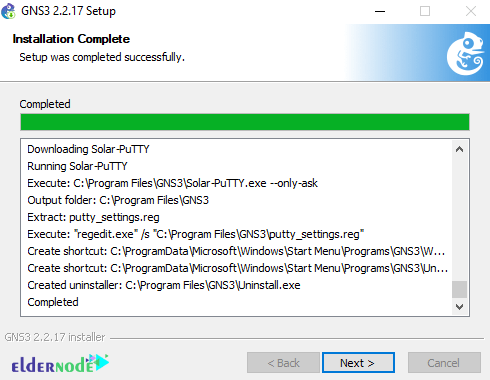
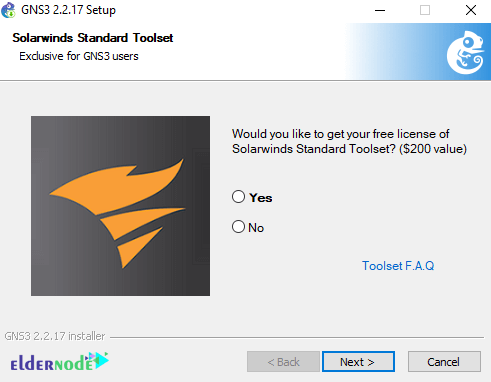
Note that in the next step, if you are interested, install the Solarwinds Standard Toolset. Otherwise select No and click Next.
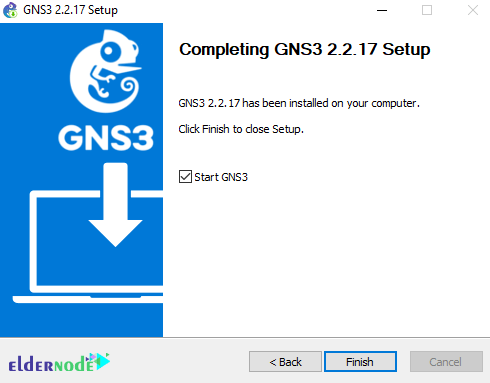
Finally, click Finish to complete the GNS3 installation process.
Conclusion
When building a new network project, there is a simple way to simulate it before the main project starts. To do this, a network simulator software called GNS3 is designed. This software allows you to simulate a network on your computer. GNS3 is an open source emulator software. While it is very similar to real networks and without network dedicated hardware such as routers and switches make network design possible. In this article, we tried to learn you how to install GNS3 on Windows Server 2012 and 2016.