If you are not a fan of DropBox or Google Drive, OwnCloud is a cool alternative. In this article, you will learn how to install OwnCloud in Debian 10. In case you need to have a market-leading online file sharing system that lets you back up and shares your files with ease, Owncloud is a good choice.
Table of Contents
How to install OwnCloud in Debian 10
Let’s review 5 steps to complete the tutorial install OwnCloud in Debian 10.
1- Install LAMP Stack on Debian
First, you should install the LAMP stack, as the OwnCloud runs on the browser and the back-end too by storing data on the database.
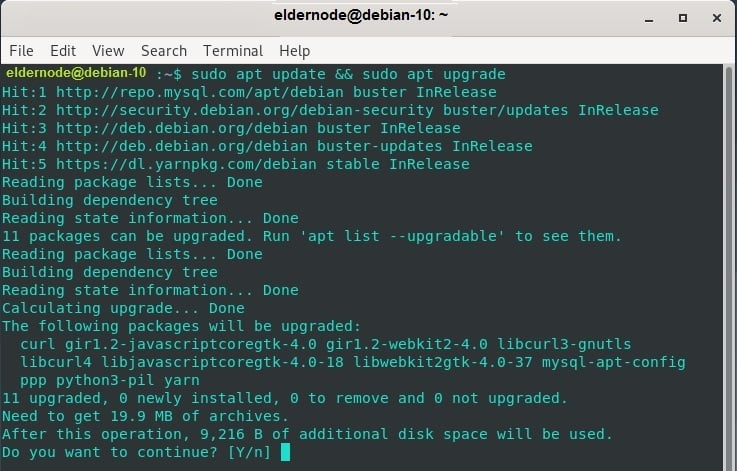
To continue, update your system repositories.
sudo apt update && sudo apt upgrade 
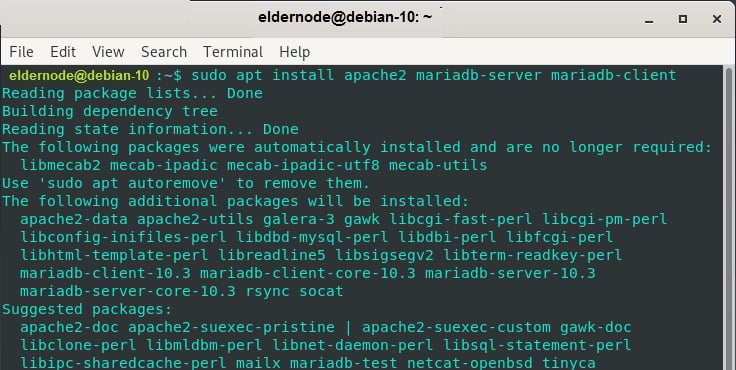
Now, run the below command to install the Apache webserver and MariaDB database server by running the command.
sudo apt install apache2 mariadb-server mariadb-client 
Then, to enable the repository.proceed and install PHP 7.2, when the installation is complete.
sudo wget -O /etc/apt/trusted.gpg.d/php.gpg https://packages.sury.org/php/apt.gpg sudo echo "deb https://packages.sury.org/php/ $(lsb_release -sc) main" > /etc/apt/sources.list.d/php.listAlso, you should update your system packages & repositories for the new PHP repository to take effect when you created the repository for PHP.
sudo apt updateYou can install PHP and the required dependencies now.
sudo apt install php7.2 libapache2-mod-php7.2 php7.2-{mysql,intl,curl,json,gd,xml,mb,zip} 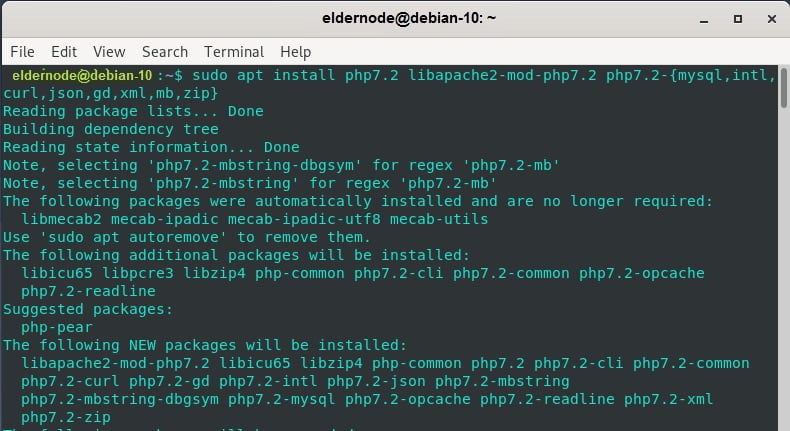
Check the PHP version after this installation.
php -v Also, if you want to check the Apache webserver, you can use the following command.
systemctl status apache2And then, you would get the below output, if Apache is up and running.

Make sure to start and enable it on boot, if Apache is not started. Use the below command.
systemctl start apache2 systemctl enable apache22- Create a database for OwnCloud files
To handle OwnCloud’s files during and after the installation, you need to create a database. So, log in to the MariaDB server.
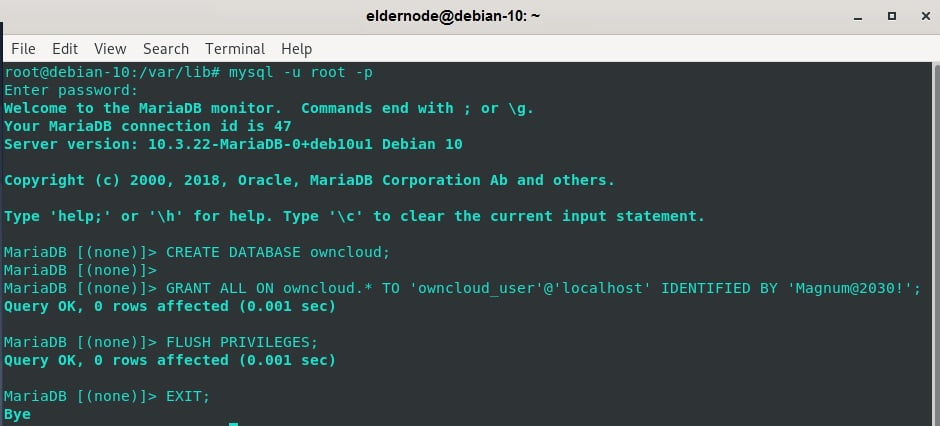
mysql -u root -pWhen you are logged in, start to create a database for OwnCloud.
MariaDB [(none)]> CREATE DATABASE owncloud; Now, create a user for the OwnCloud database and grant all privileges to the user.
MariaDB [(none)]> GRANT ALL ON owncloud.* TO 'owncloud_user'@'localhost' IDENTIFIED BY 'StrongP@ssword'; MariaDB [(none)]> FLUSH PRIVILEGES; MariaDB [(none)]> EXIT 
3- Install OwnCloud in Debian
While you do not have the OwnCloud in Debian 10 repositories and OwnCloud maintains a repository for each distribution, you can use the repository of Debian 9.
But first, install the PGP signing key.
sudo curl https://download.owncloud.org/download/repositories/10.2.1/Debian_9.0/Release.key | apt-key add - After you installed the signing key, enable OwnCloud’s repository.
sudo echo 'deb http://download.owncloud.org/download/repositories/10.2.1/Debian_9.0/ /' > /etc/apt/sources.list.d/owncloud.list Then, to resynchronize the system packages and install Owncloud, update your system again.
sudo apt update sudo apt-get install owncloud-files4- Configure Apache for OwnCloud
It is better to know, OwnCloud stores its files in the /var/www/owncloud directory. So you need to configure our webserver to serve OwnCloud’s files. To do this, create a virtual host file for Owncloud.
sudo vim /etc/apache2/sites-available/owncloud.conf Add the configuration below and save.
Alias / "/var/www/owncloud/" <Directory /var/www/owncloud/> Options +FollowSymlinks AllowOverride All <IfModule mod_dav.c> Dav off </IfModule> SetEnv HOME /var/www/owncloud SetEnv HTTP_HOME /var/www/owncloud </Directory>Just as you would any virtual host, enable the OwnCloud site by typing the following command.
sudo ln -s /etc/apache2/sites-available/owncloud.conf /etc/apache2/sites-enabled/ Next, Owncloud may require additional Apache modules that you should enable them. Also, to reload the configuration and effect the changes, restart the Apache webserver.
sudo a2enmod rewrite mime unique_id sudo systemctl restart apache2
5- Finalizing OwnCloud installation
Browse your server’sIP address, to complete the OwnCloud setup.
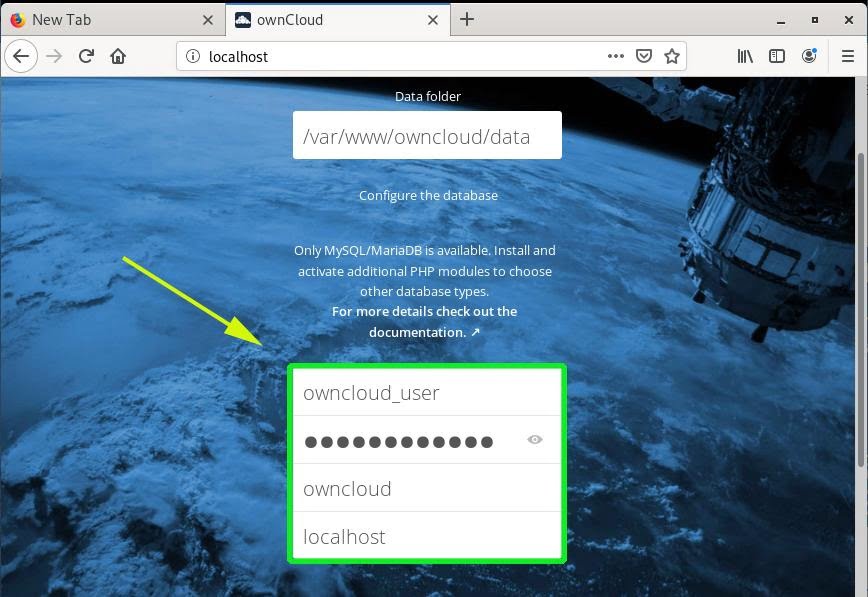
http://server-ipAs you see below, the username and password will be asked.
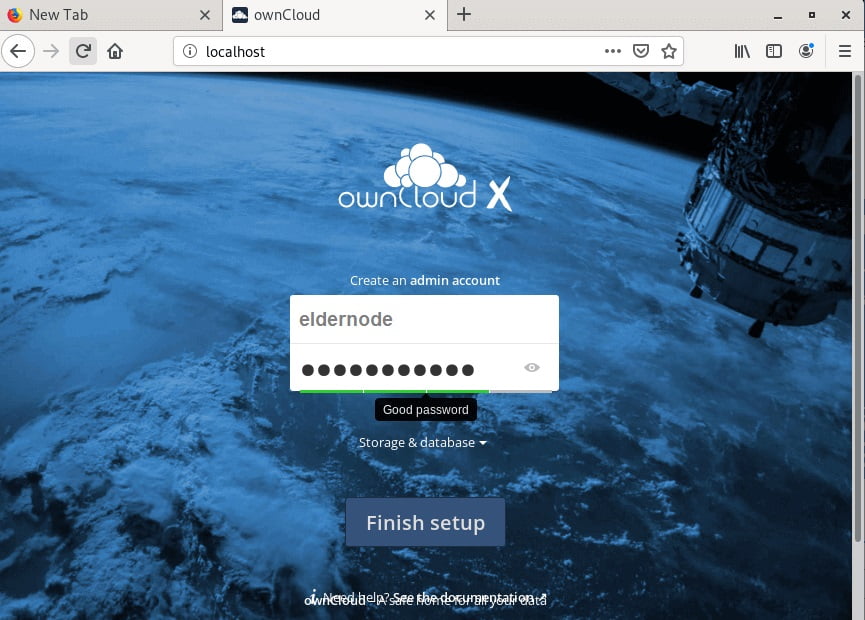
Then, provide the database details such as database user, database name, and password by clicking on the ‘Storage and database’.
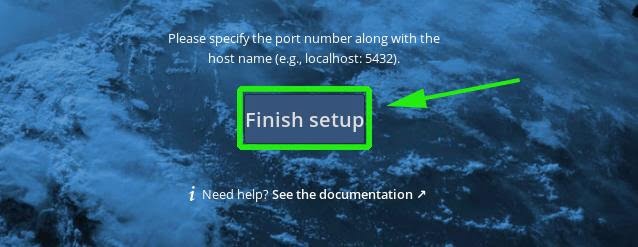
As it is clear, you will click on the ‘Finish Setup’.
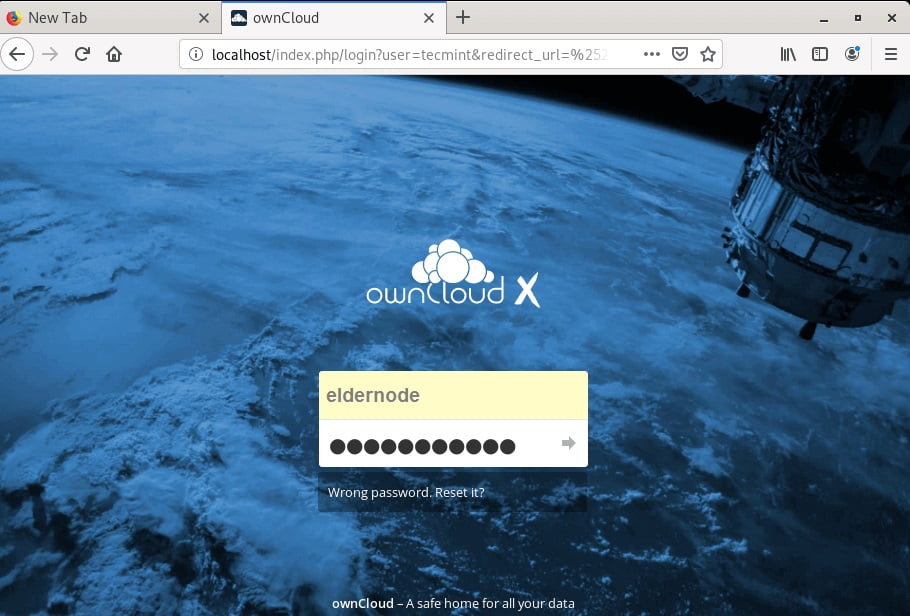
Enter your username and password and hit ENTER, to go to the login page.
In the beginning, you will get a pop-up with information about OwnCloud’s Desktop, Android, and iOS app that you can install on your devices. This allows you to access your data on the go.
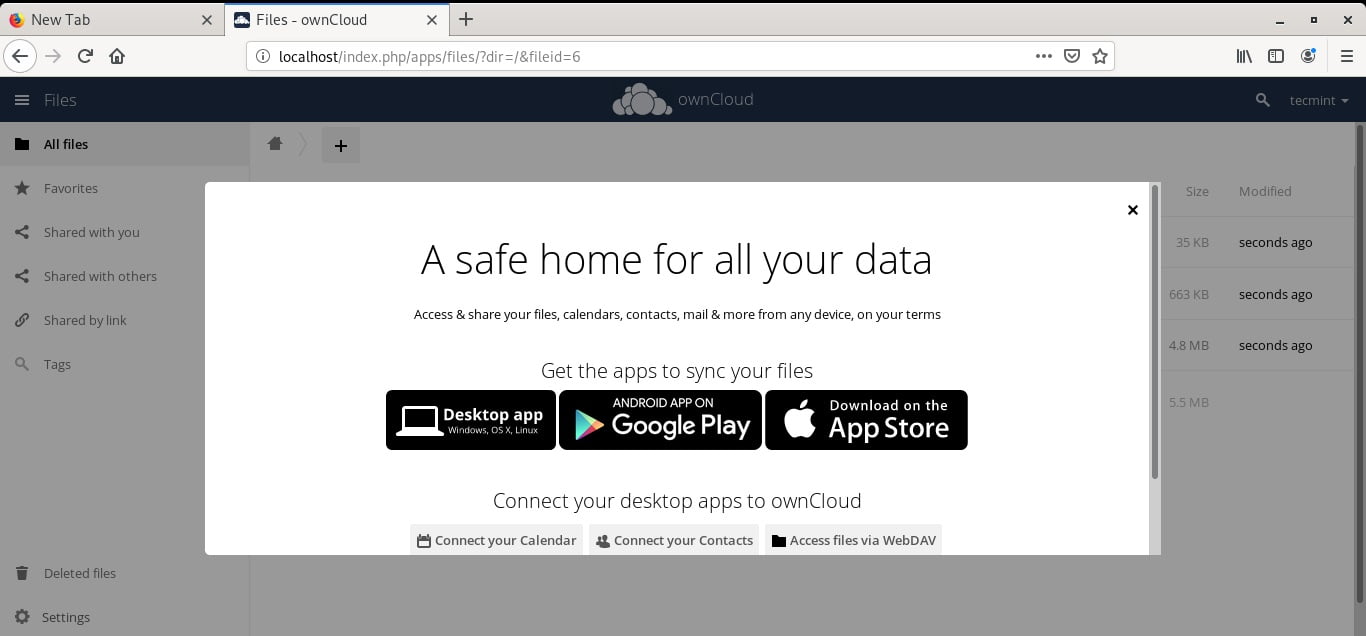
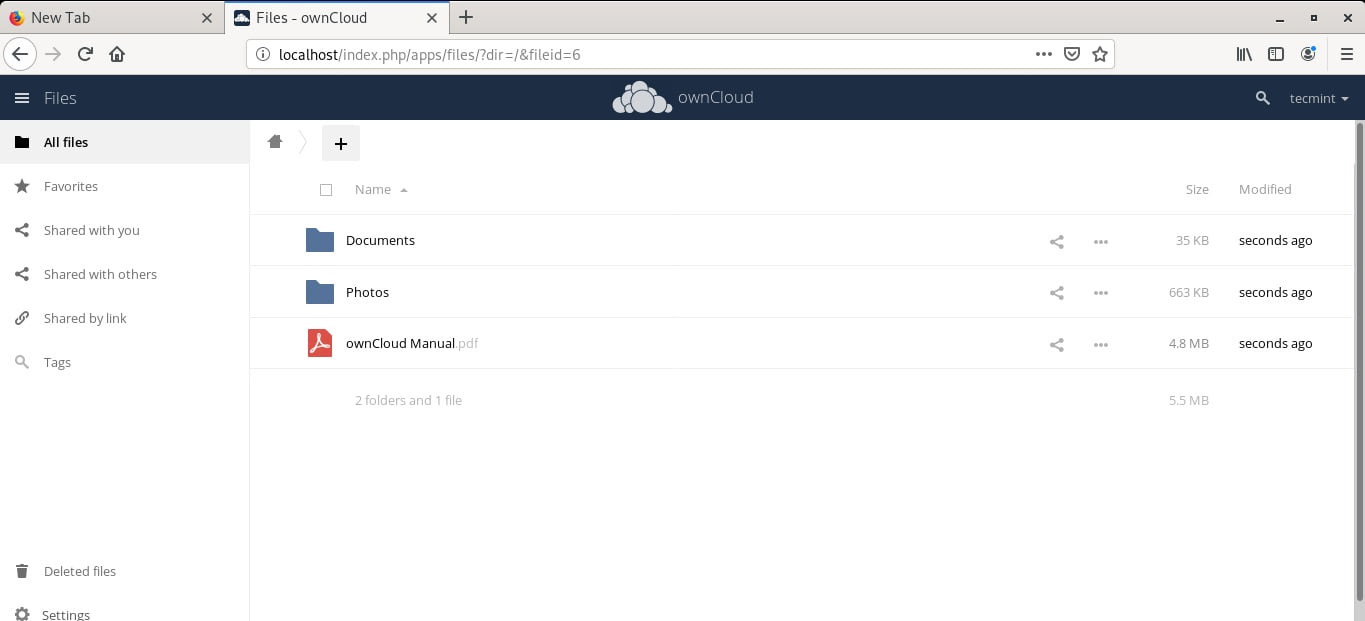
Here’s the dashboard.
In conclusion,
You can now save and share your files with ease using OwnCloud.