
The vulnerability scanner is software for detecting damage and security holes in networks, operating systems, and websites. They contain a database of all known vulnerabilities and scan your device or network to see if these vulnerabilities exist on your network or system. Vega vulnerability scanner is one of the popular vulnerability scanners. This article will explain A Few Steps to Scan a Website with Vega on Kali Linux. If you want to buy your own Linux VPS server, you can check out the packages offered on the Eldernode website.
Table of Contents
How to Scan a Website with Vega on Kali Linux
Vega vulnerability scanner is an open-source and free web security scanner to test the security of web applications. It runs on Windows, Linux, and OS X and is written in Java. This scanner allows you to find and validate SQL Injection, Cross-site Scripting, inadvertently disclosed sensitive information, and other vulnerabilities. The Vega scanner has a well-designed graphical user interface, probes for TLS/SSL security settings and identifies opportunities for improving your TLS server’s security.
Installing Vega on Kali Linux
First, update your system package using the commands below:
sudo apt updatesudo apt upgradeYou can install the Vega scanner by running the following command:
sudo apt install vegaNow enter the following commands to install some dependencies and tools:
sudo dpkg --configure -asudo apt install libwebkitgtk-1.0-0 default-jdk unzipThen navigate to Subgraph’s website and download your desired Vega version:
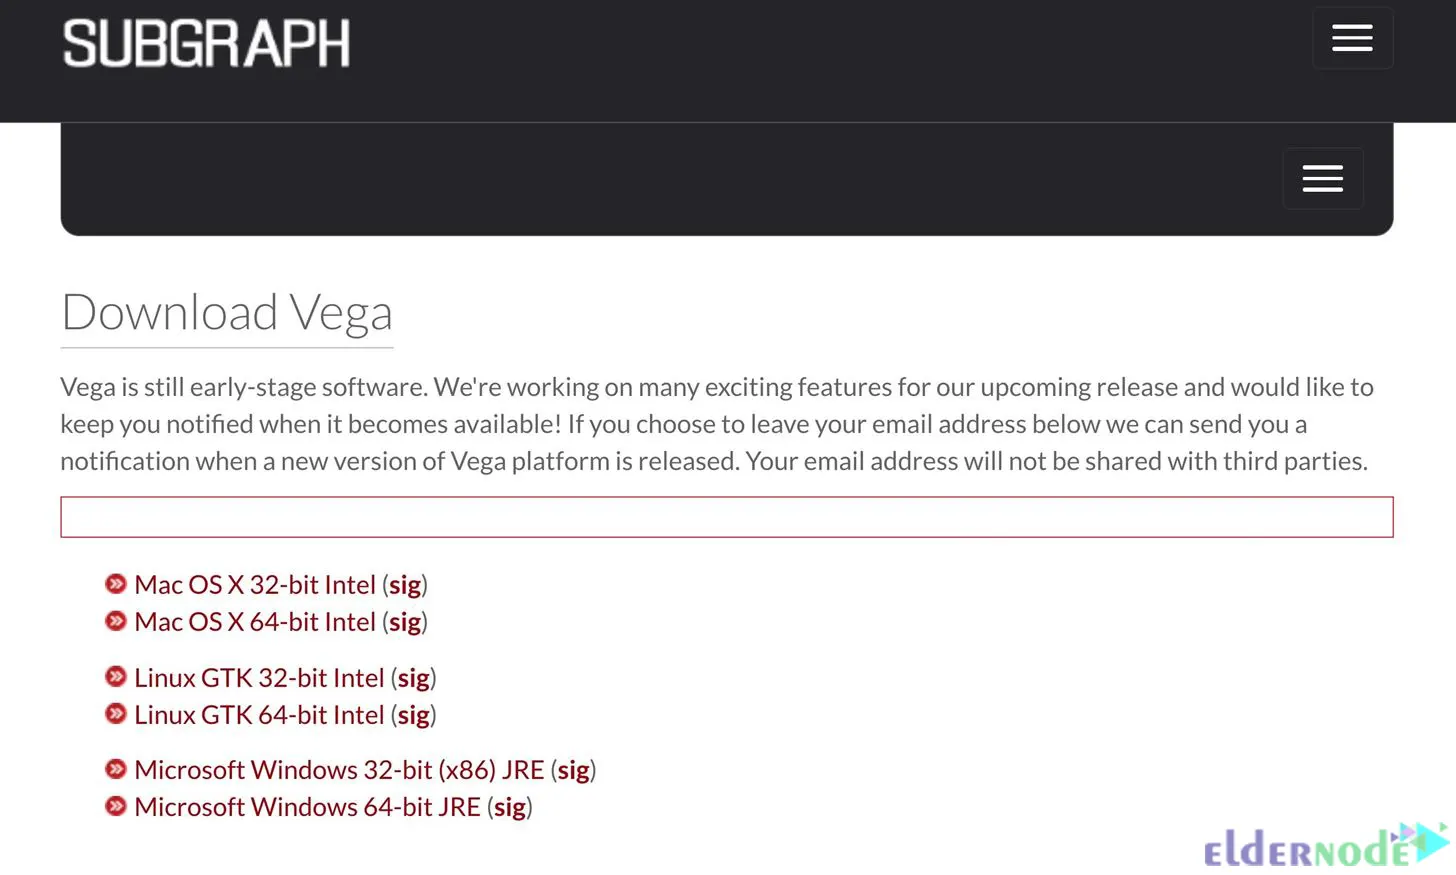
Now install the zip file with the command below:
wget https://support.subgraph.com/downloads/VegaBuild-linux.gtk.x86_64.zipYou can unarchive the downloaded file using the following command:
unzip VegaBuild-linux.gtk.x86_64.zipNote: Newer versions of Java will not work with Vega and you may need to change the Java version you are using. To switch to Java 8, just run the following command:
sudo update-alternatives --config javaStarting Vega on Kali Linux
Navigate to Applications >> Web Application Analysis >> Vega path. Then cd into the Vega folder and enter the ls command:
cd vegalsYou can start Vega using the command below:
sudo ./VegaNow you will see Vega’s start screen:

Scanning a Website with Vega on Kali Linux
All you have to do to start scanning the website is hit the Ctrl-N shortcut, click Scan in the menu bar and choose Start New Scan.
You will see the Select a Scan Target window. Enter the target URL into the Scan Target box and press Next:
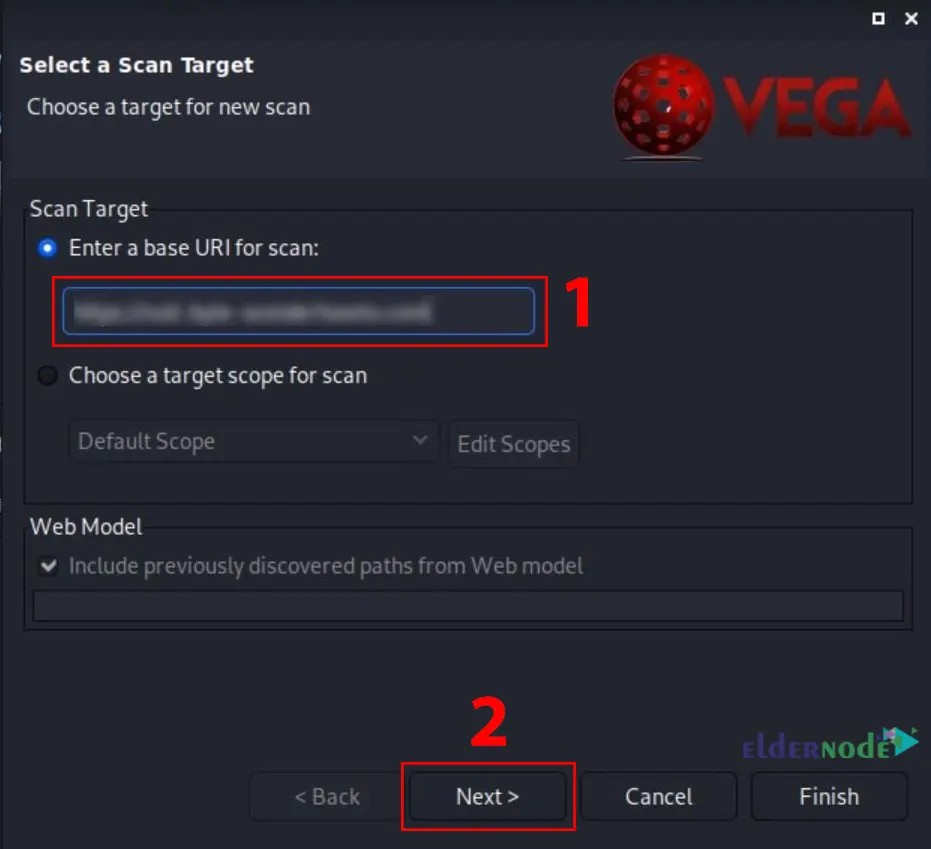
You can set authentication options or parameters by clicking Next a few times.
Click Finish to start scanning the website:
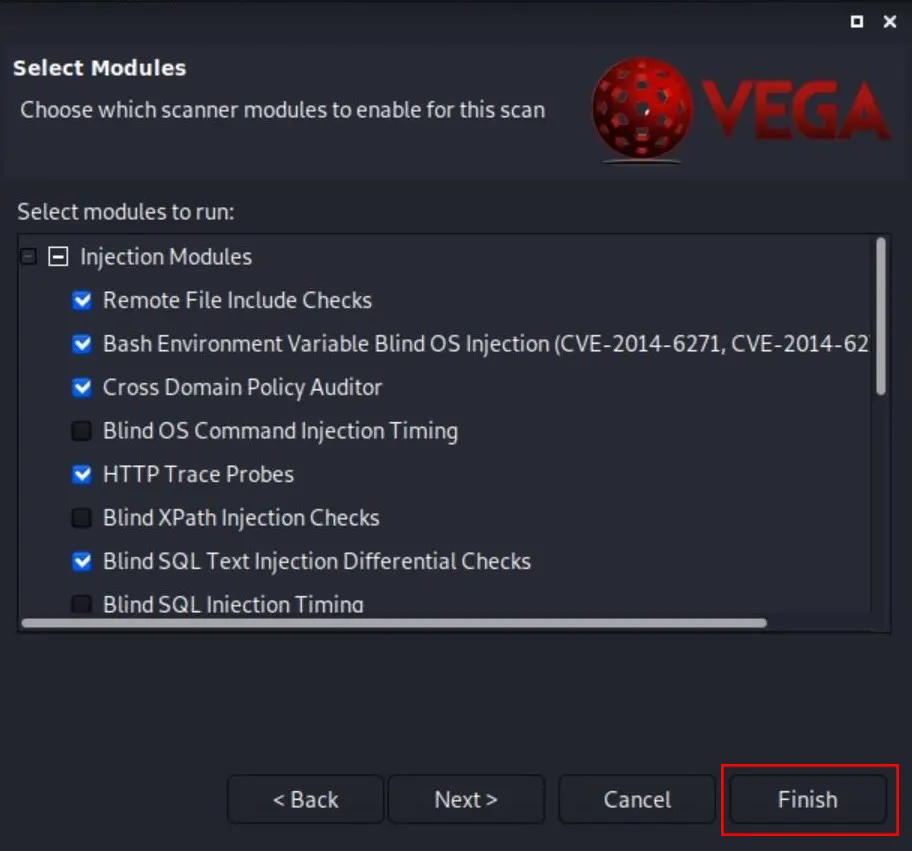
You have to wait a while for the scan to finish. The appearance of the website in the Scan Alerts tab and the release of alerts indicate that the scan has started. Once the scan is finished, you will receive a report detailing the vulnerabilities found.
Interpreting Alerts of Vega
After the scan is finished completely, you will see a summary of the alerts.
Note: Vega modules are sensitive and sometimes generate false positive alerts for vulnerabilities that may not actually exist. Comb through the report and manually investigate each alert.
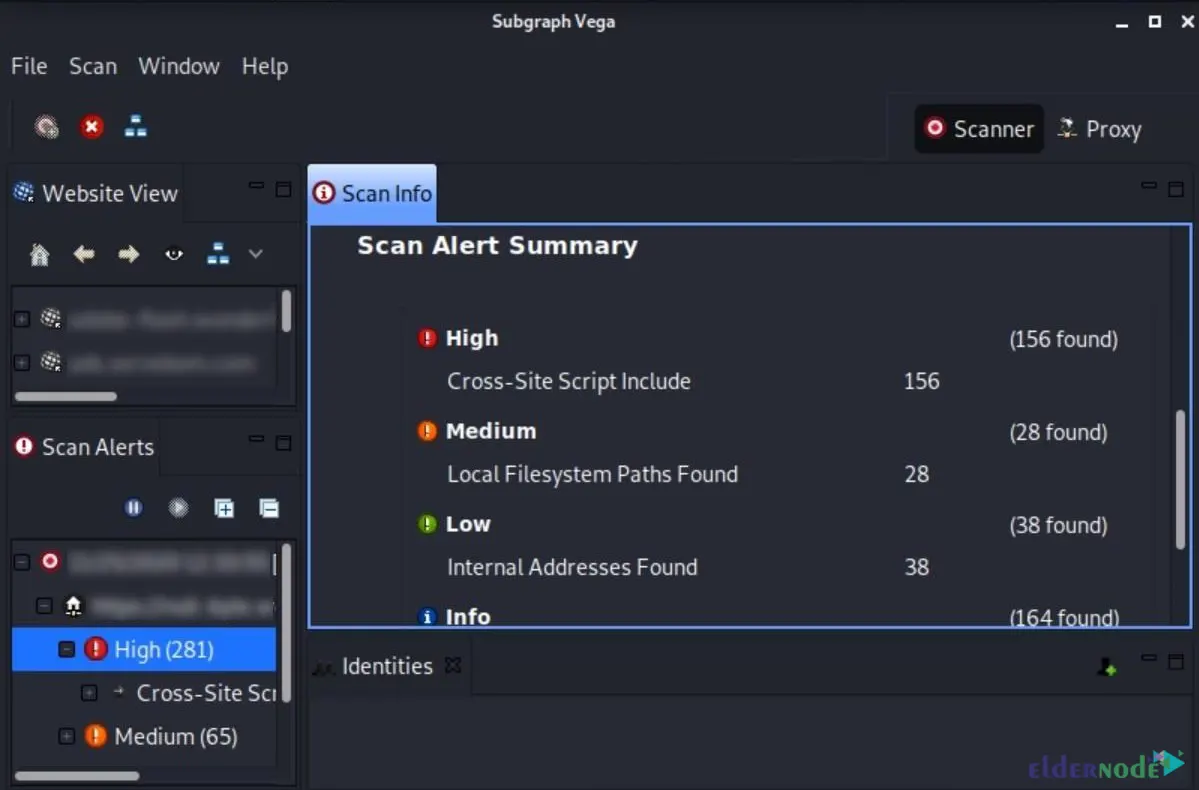
Vega explains what each warning means, how they affect your websites, and ways to fix vulnerabilities. You can get a lot of information about the vulnerabilities by clicking on one of the alerts.
That’s it!
Conclusion
Vega simplifies finding and understanding the severity of web application vulnerabilities by clearly displaying useful resources with each scan. In this article, we explained a few steps to scan a website with Vega on Kali Linux. I hope this tutorial helps you to scan your website using the Vega vulnerability scanner. If you have any questions or problems, you can contact us in the Comments section.

