Learn how to Install and Configure kali linux on VPS step by step. Kali Linux is a Debian-based Linux distribution designed to develop penetration testing and identify vulnerabilities in a variety of computer systems. Kali Linux operating system includes hundreds of different tools for performing security tests and hacking into computer systems, each of which has high power and special features. This powerful operating system has a very high penetration ability and all those who work in the field of hacking and security should be fully familiar with this operating system and its various tools. In this article, we try to teach you how to Install and Configure kali linux on VPS. You can visit the packages available in Eldernode to VPS server.
Table of Contents
Tutorial Install and Configure Kali Linux on VPS
What is Kali Linux?
Kali Linux has great tools for hackers to easily use to infiltrate other systems. It is also very useful for security professionals to identify vulnerabilities using these tools and work to address them. For a complete introduction to Kali Linux and everything you need to know about it, refer to the article Introduction Kali Linux Server and its applications. In the rest of this article, we will teach you how to install and configure Kali Linux on a VPS server.
Install and Configure Kali Linux on VPS
In this article, we will try to teach you how to install and configure Kali Linux on VPSs with Debian Based Systems. It should be noted that this tutorial has been tested on Debian and Ubuntu based systems. To start the installation, please follow the steps below:
You can easily run Kali Linux on non-Kali systems such as Debian and Ubuntu. The first step is to update the system. Then you need to install the latest versions of Kali live-build packages. Therefore, execute the following commands in order:
sudo apt updatesudo apt -y upgradewget https://http.kali.org/pool/main/k/kali-archive-keyring/kali-archive-keyring_2018.1_all.debwget https://archive.kali.org/kali/pool/main/l/live-build/live-build_20180618kali1_all.debOnce the packages have been downloaded, it is time to install the downloaded files as well as some of the dependencies. Therefore, you need to execute the following commands in order:
sudo apt -y install git live-build cdebootstrap debootstrap curlsudo dpkg -i kali-archive-keyring_2018.1_all.debsudo dpkg -i live-build_20180618kali1_all.debNow you need to do the build script and build config settings to start the live-build process using the following commands:
cd /usr/share/debootstrap/scripts/ (echo "default_mirror http://http.kali.org/kali"; sed -e "s/debian-archive-keyring.gpg/kali-archive-keyring.gpg/g" sid) > kali sudo ln -s kali kali-rolling cd ~ git clone git://gitlab.com/kalilinux/build-scripts/live-build-config.git cd live-build-config/In order not to check the version, it is necessary to skip this step. To do this you need to edit the build.sh script using the following commands. In the following commands, this is done with “exit 1”:
# Check we have a good debootstrap ver_debootstrap=$(dpkg-query -f '${Version}' -W debootstrap) if dpkg --compare-versions "$ver_debootstrap" lt "1.0.97"; then if ! echo "$ver_debootstrap" | grep -q kali; then echo "ERROR: You need debootstrap >= 1.0.97 (or a Kali patched debootstrap). Your current version: $ver_debootstrap" >&2 exit 1 fi fiAfter you edit the build.sh script commands above, these commands should change as follows:
# Check we have a good debootstrap ver_debootstrap=$(dpkg-query -f '${Version}' -W debootstrap) if dpkg --compare-versions "$ver_debootstrap" lt "1.0.97"; then if ! echo "$ver_debootstrap" | grep -q kali; then echo "ERROR: You need debootstrap >= 1.0.97 (or a Kali patched debootstrap). Your current version: $ver_debootstrap" >&2 # exit 1 fi fiNow enter the following command to easily create your ISO:
sudo ./build.sh --variant light --verboseTo test ISO after installing Kali Linux, you can install and use several packages in Ubuntu using the following commands:
sudo apt -y install qemu-kvm libvirt-bin ubuntu-vm-builder bridge-utils sudo adduser $(id -un) kvm newgrp kvmNow you need to create a dynamic disk image to maintain the Kali Linux installation. To do this, you can use the following commands:
qemu-img create -f qcow2 kali-disk.img 100G kvm --name Kali -m 1024 -hda kali-disk.img -cdrom kali-linux-light-rolling-amd64.iso -boot dAfter executing the above commands, the following image will appear where you can run a live instance of Kali. You can also install it on a virtual disk.
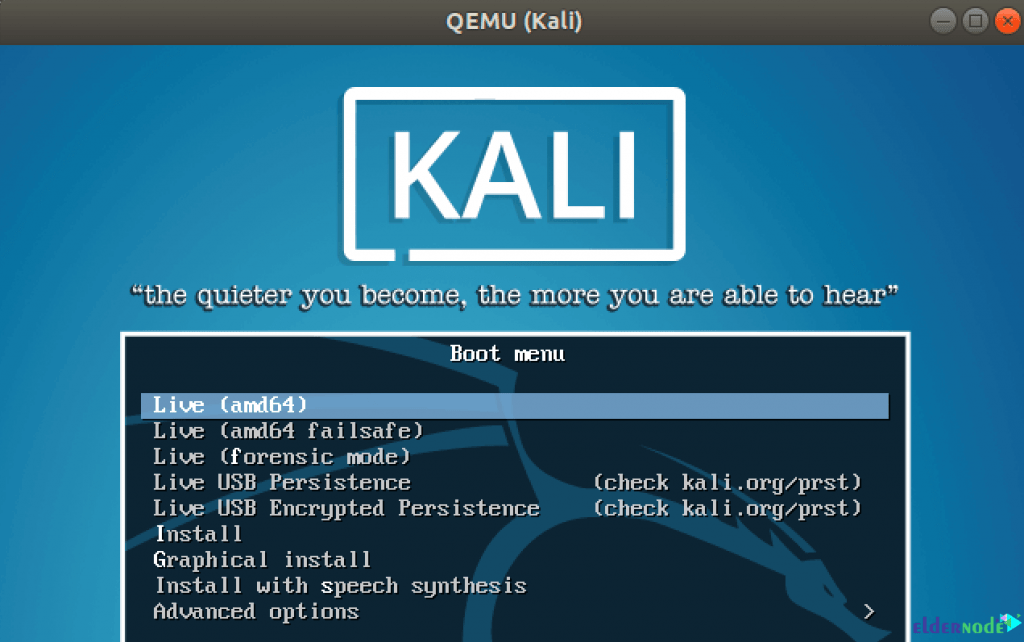
After the installation is complete, you can run the created machine using the following command:
kvm --name Kali -m 1024 -hda kali-disk.img -boot cLearn How to Install kali Linux on VPS
The second way to install Kali Linux on a VPS server is to use Converto. This way you can install Automated Kali Linux or Parrot OS Installer on VPS. It should be noted that this method has been tested on systems based on Debian and Ubuntu. To do this, you need to type and execute the following commands in order:
sudo apt-get update sudo apt-get install git git clone https://github.com/developerkunal/Converto.git cd Converto. chmod +x converto.sh ./converto.sh
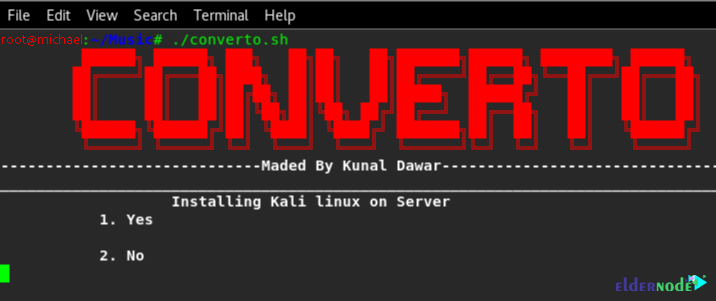
As you can see, you are asked if you want to install Kali Linux on the server or not? Type 1 to confirm the installation and 2 to exit. If you want to read more information about this, you need to type note.
Now you have to type 1 to start installing Kali Linux and then you can enter the next step:
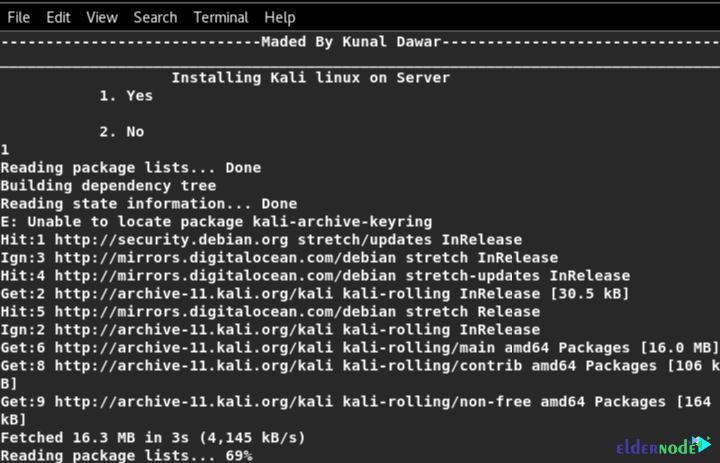
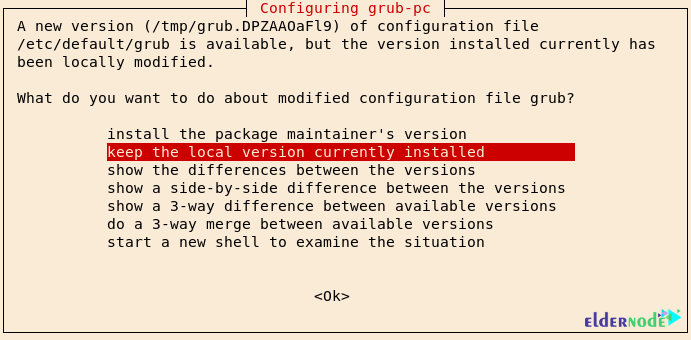
In the next step, you will see how many options to choose from. Press Y to install the package maintainer’s version.

Now select Yes to restart the system once:

It’s time to install the package maintainer’s version. So select the desired option and then press Enter.
Do the same again:
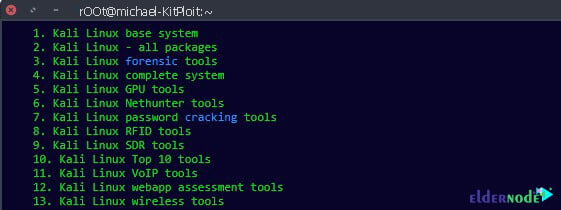
As you can see in the picture, several options are offered to you. Choose the package you want from the available options:
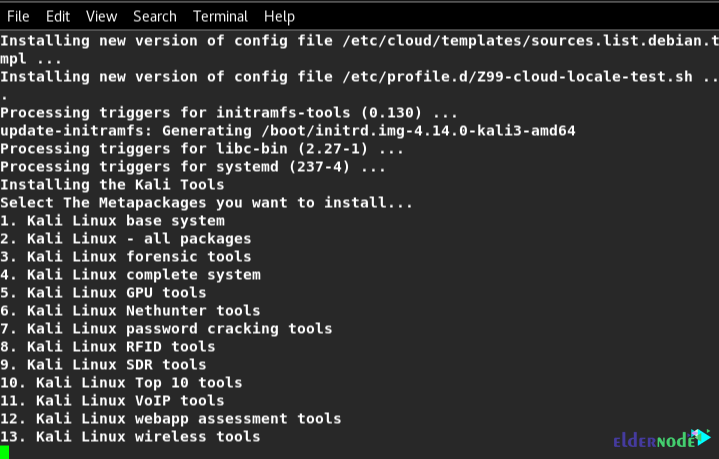
In the next step, select Kali Linux – all packages:
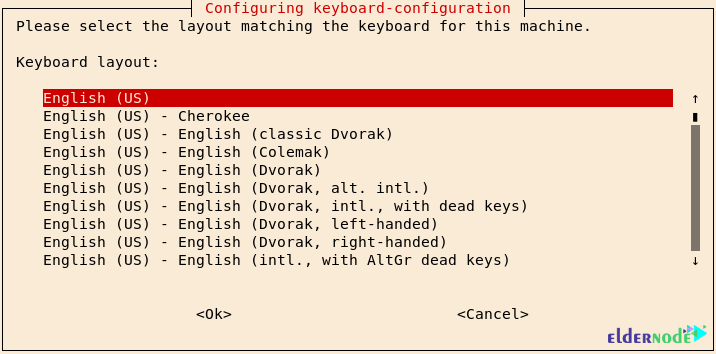
The next step is to select the language you want:
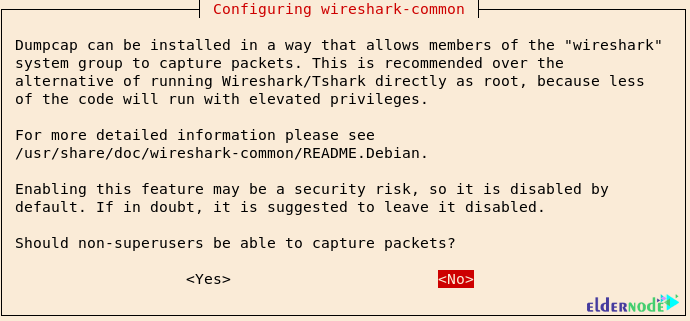
In the next step, you will be asked a question like the one below, which you should select on “No“:
You will then be asked if the Mac will change automatically. Select “Yes“:

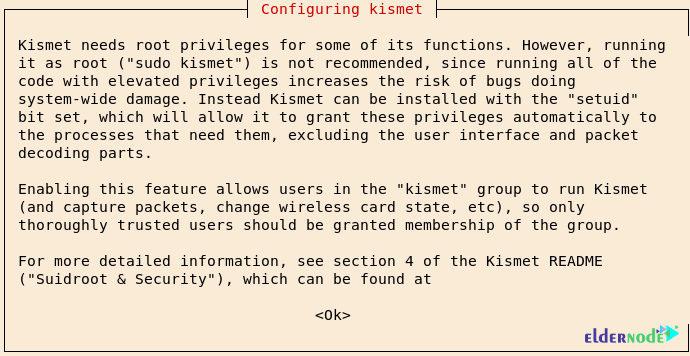
Press Enter:
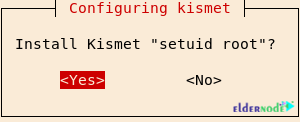
You are asked to Install kismet setuid root? Select Yes:
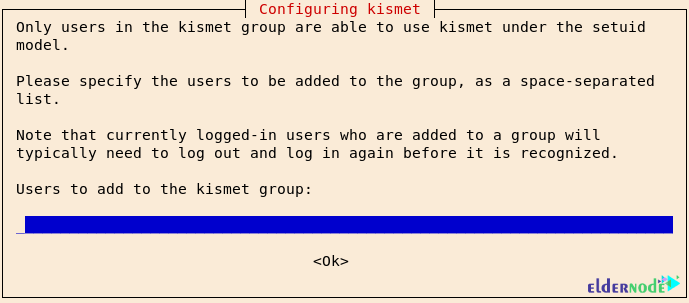
If you do not want to add a user to the kismet group, you have to press Enter:
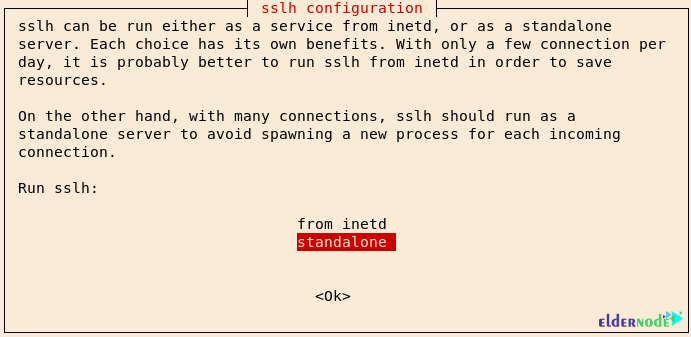
You will see the following window in the next step where you have to select From inetd and then press enter:
Conclusion
Nowadays, one of the most important aspects of information security is having a security-focused operating system. A good operating system will increase your performance in getting things done. There are many Linux-based operating systems available right now, but Kali Linux is definitely one of the best options. This operating system is used by cybersecurity experts at offensive security to perform hacking, ethical hacking, and network security assessments. In this article, we tried to fully teach you how to install and configure Kali Linux on VPS.


great content i like your website a lot
We are happy with your encouraging comment and try to provide the highest quality.