Multicraft is a Minecraft server control panel. This control panel allows users to manage multiple servers using a web-based user interface. It is interesting to know that these servers can be on several physical or virtual machines depending on the version. In this article, we are going to teach you How to Setup Multicraft on Windows. Also, if you want to buy a Windows VPS server, you can visit the packages offered on the Eldernode website.
Table of Contents
How to Install Multicraft on Windows VPS
Introduction to Multicraft
MultiCraft is an adventure game that has been released for fans of pixel games and has been downloaded more than 10 million times on Google Play. In this game, you can build or destroy blocks like Minecraft. Collect resources and create various tools, blocks and weapons to survive with these crafted weapons. Create unique buildings. Choose your side in this world, whether you want to be a creative builder or a ruthless hunter who does everything to survive (survival mode).
Play in this world with unlimited opportunities and win battles with terrible monsters and get valuable resources. Swim the seas to discover new lands and resources. Lands are unlimited so explore and discover other lands. If you decide to survive, be careful not to starve and feed yourself in time and look for food, grow plants and kill animals like cows, pigs and sheep to get meat. Build your shelter to protect you from monsters like giant spiders, zombies, skeletons and other wild animals at night and survive. Here your actions and tasks can only be limited by your imagination and do not require skill. You can play this game anytime and anywhere. Join one of the servers (single player, multiplayer or create server) and play with your friends.
Requirements to Install Multicraft on Windows
1) Java runtime
2) Webserver with PHP 5.2-7.x support and the following PHP extensions: PDO, mysql, sqlite3, curl, xml, gd
3) SQLite or MySQL PDO extension for PHP
Installing Multicraft on Windows
In this section, we intend to teach you how to install Multicraft on Windows. To do this, just follow the steps below. In the first step, you need to download the Multicraft standalone installer. You can visit the official Multicraft download page for the latest version.
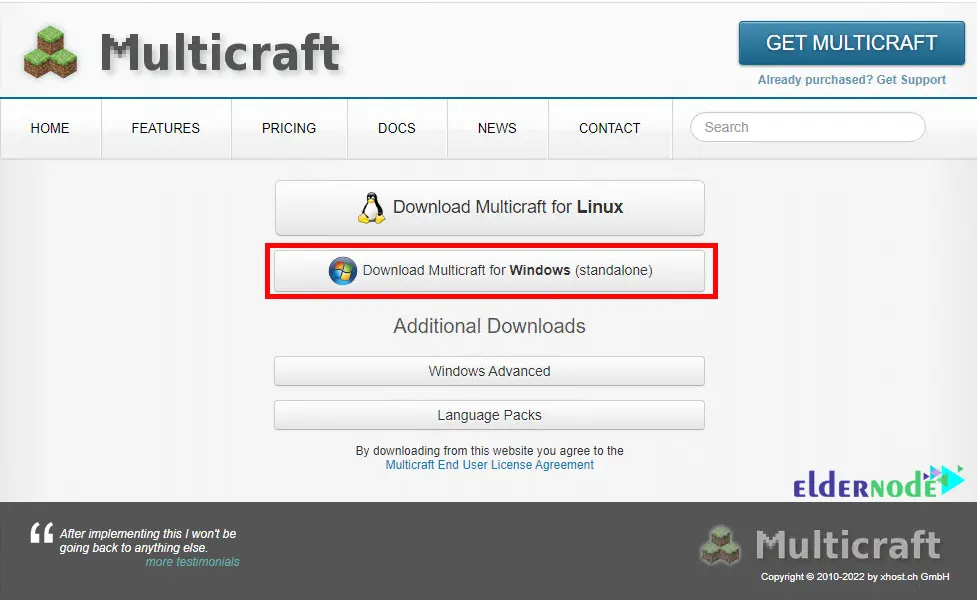
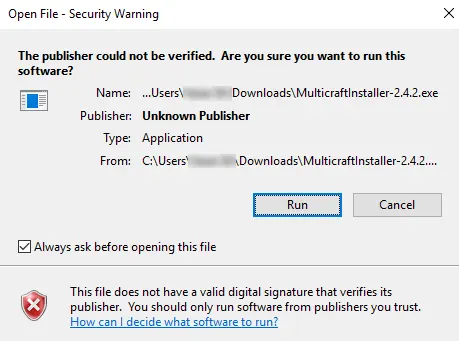
After you’ve downloaded the standalone installer, navigate to the location where you downloaded the file and double-click to run it:
***
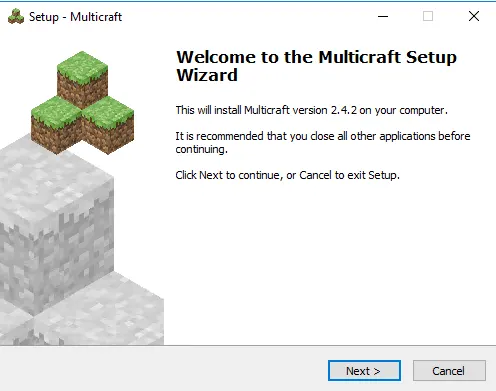
In the window that opens, click Next:
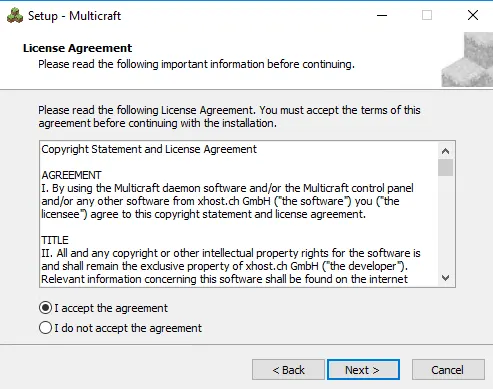
On the license agreement page, click on I accept the agreement:
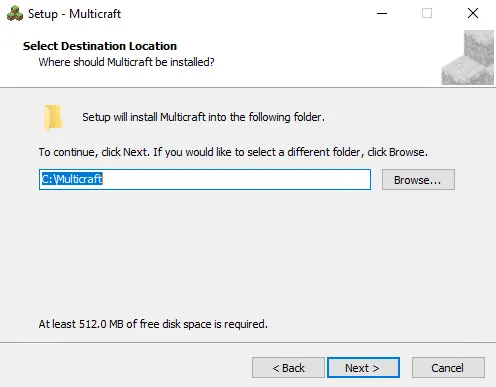
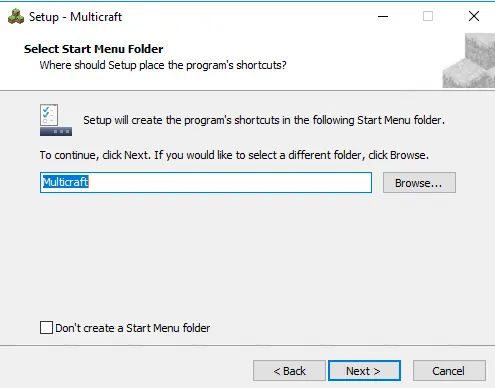
Then you must Select the destination location:
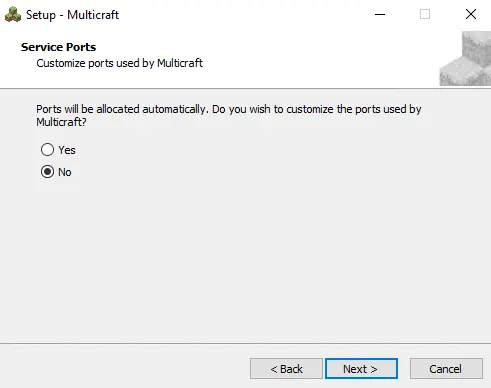
In the Service Port section, select No and click Next:
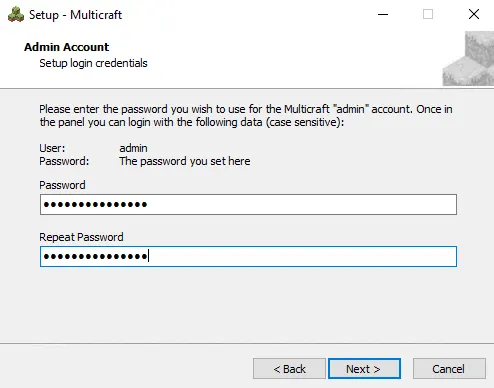
Now it’s time to enter your desired password and then click Next. Note that this password will be required when entering the control panel:
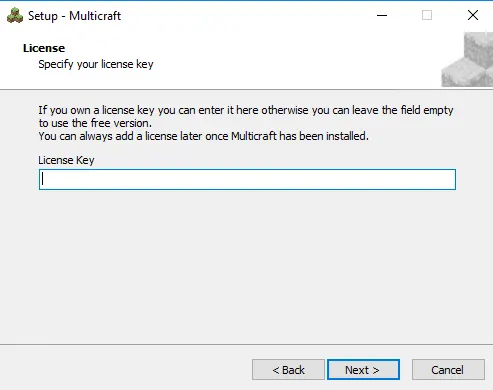
If you want to use the free version, you should click Next here. If you have a license key, you can type it and then click on Next:
Click Next again:
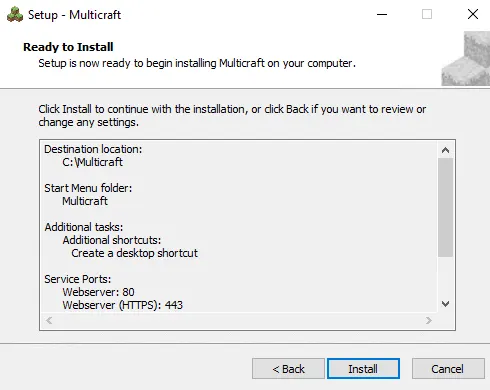
If you want to have the desktop shortcut, check the checkbox and click Next:

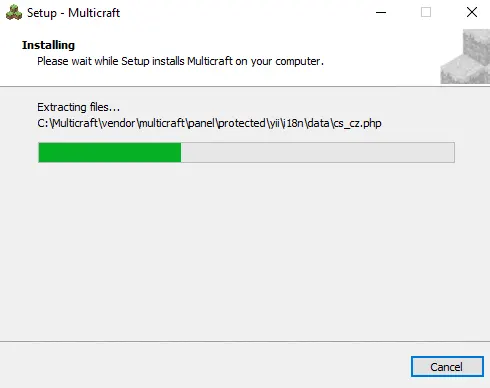
Finally, click on Install and wait for the installation to finish:
***
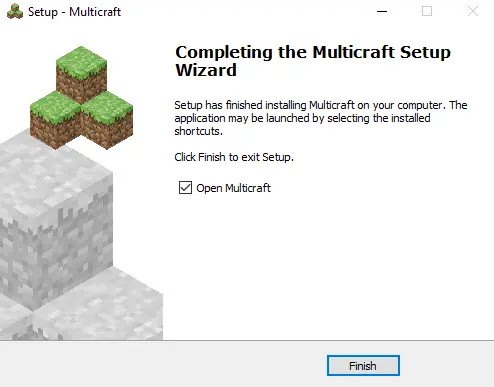
By clicking Finish, Multicraft installation will be completed:
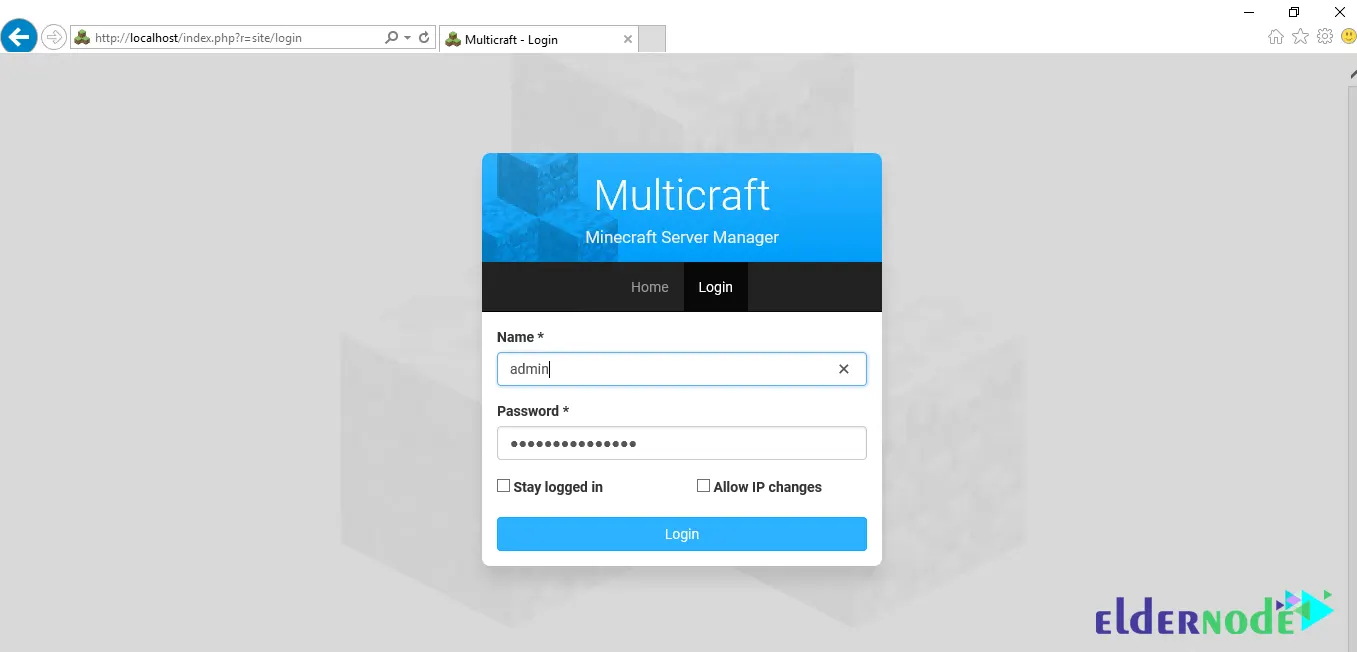
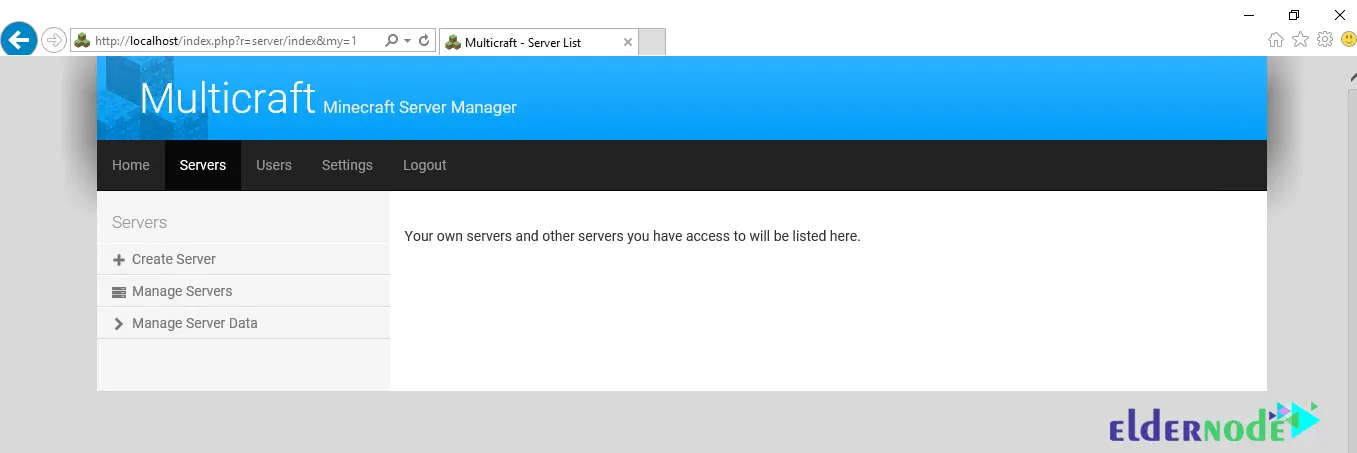
In the images below, you can see the Multicraft control panel login page and its environment:
***
How to Configure Multicraft on Windows
In the previous section, you learned how to install Multicraft on Windows. At this stage, we are going to accompany you with Multicraft configuration training. So follow the steps below.
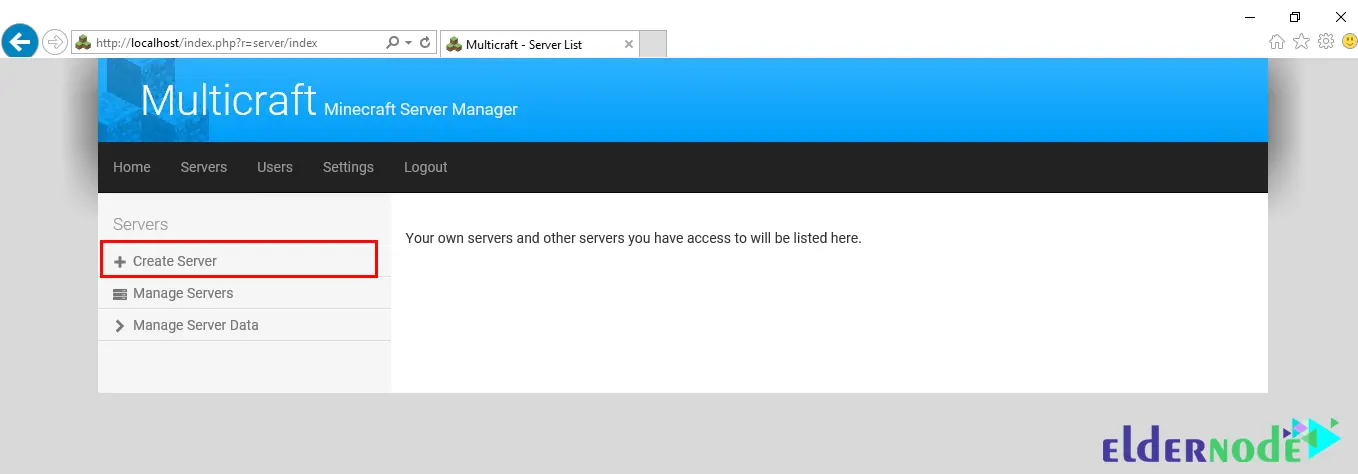
Open the Multicraft control panel and click on Servers from the menu bar. Then, as you can see in the picture, click on Create Server:
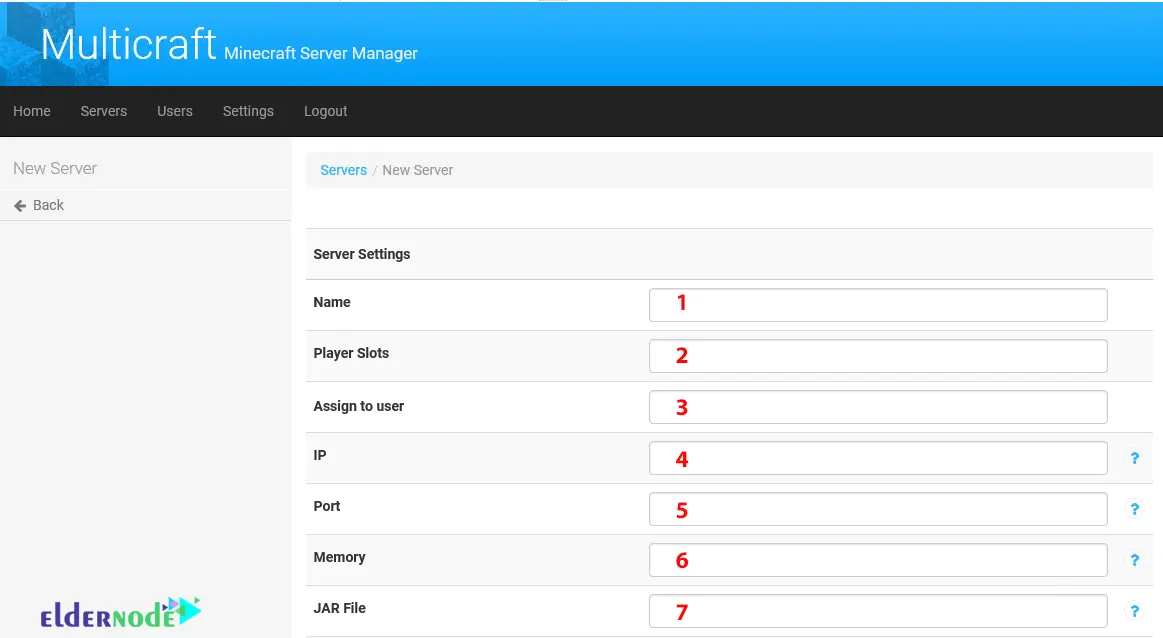
1- In the picture below, you can see the Server Settings. Enter the Name or label you want for the Minecraft server in the corresponding field.
2- You can enter the number of players allowed to connect to the server in the Player Slots field. One thing to note is that if you are using the free version of Multicraft, you can have up to 10 players.
3- In the next field, you can assign the server to the administrator user. Note that if you have already created a new user, you can assign the server to that user.
4- In the IP address field, type the IP address of your Windows server.
5- In the Port field, enter port 25565.
6- In the Memory section, enter the amount of RAM you want (in megabytes).
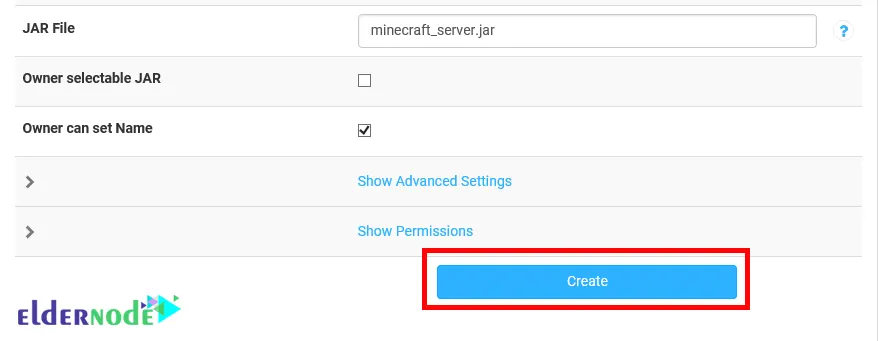
7- In the JAR File field, type minecraft_server.jar.
8- Finally, after filling the relevant fields with detailed information, you can click Create to create your server.
***
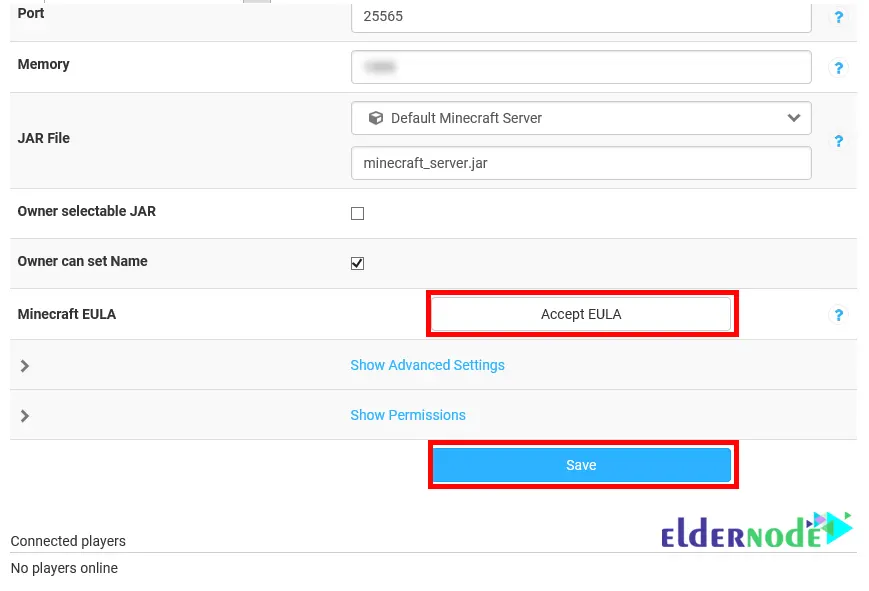
As shown below, you need to accept the Minecraft End User License Agreement (EULA) and then click the Start button.
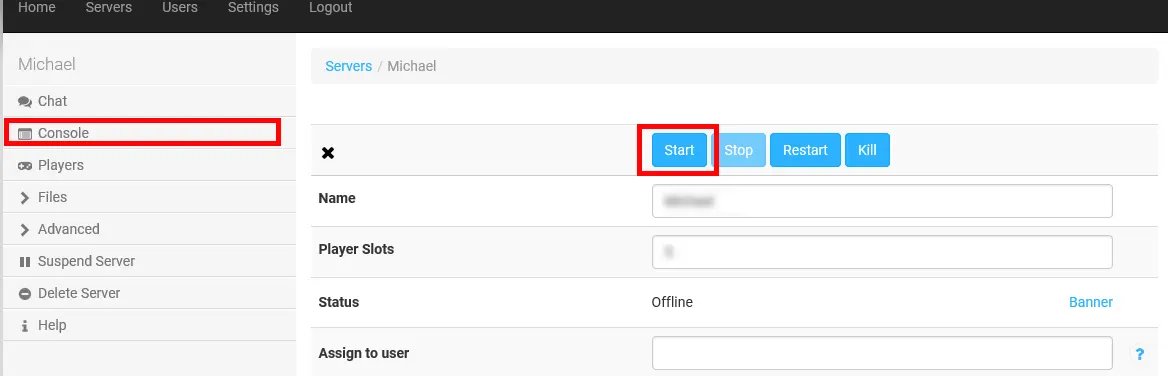
Now it’s time to click on the Console:
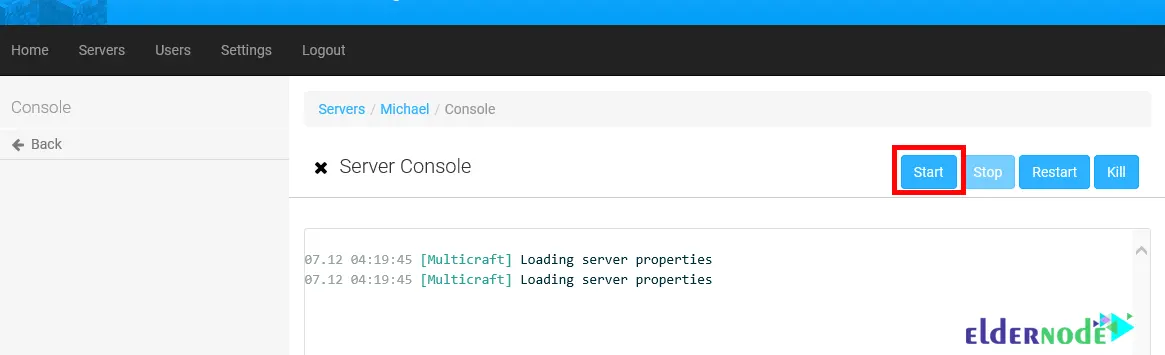
You need to wait a bit for your Minecraft server status to be online and you can start playing:
Conclusion
One of the features of Multicraft is that you can manage any number of servers from one place. It is also independent of Minecraft updates. In this article, we tried to teach you How to Setup Multicraft on Windows. If you have any questions or suggestions, you can share them with us in the comments section.