While you are preparing a Virtual Server to use its features, you need an internet hosting platform. BlueOnyx is an open-source server distribution based on CentOS that lets you download, install, and use freely. The fully-integrated platform of BlueOnyx includes web, email, DNS, and file transfer services. You can easily install the on commodity hardware or VPS since it uses a web-based interface that is user-friendly and simple. In this article, you will learn about Tutorial Install BlueOnyx On Centos 7. Purchase your own Linux VPS and start the installing steps at the same time. Check the available packages Eldernode, since you need a pre-installed CentOS 7.
Table of Contents
Tutorial Install BlueOnyx On Linux Centos
To let this tutorial work better, please consider the below Prerequisites:
A non-root user with sudo privileges.
A separate home partition should be set up.
How To Install BlueOnyx On Centos
In February of 2015, BlueOnyx was released for CentOS 7. BlueOnyx tries to complete its mission by developing continuously. The enhancement is such as managing the resellers, managing the SSH key/cert, built-in email statistics, Jv Servlet paged, and some more. BlueOnyx has a control panel that allows you to administer functions on a web hosting account easily. As a site administrator, you need this control panel to set the users, email options, and changing passwords within your sites. It is easy to install BlueOnyx via provided ISO images. Let’s get start and go through the below steps to install it on your CentOs 7.
Install BlueOnyx On Centos 7 and Centos 8
First, disable the SELinux (/etc/selinux/config, SELINUX=disabled), otherwise, the installer would turn it off.
To install the BluOnyx 5210 YUM configuration files, use the command below:
rpm -hUv http://devel.blueonyx.it/pub/5209R.rpmyum groupinstall blueonyxDepend on your base install, wait till it ends after a while. It will be around 800-1200 RPMs.
Once the RPMs is installed, ensure of running the command below immediately:
# /usr/sausalito/scripts/initServices.sh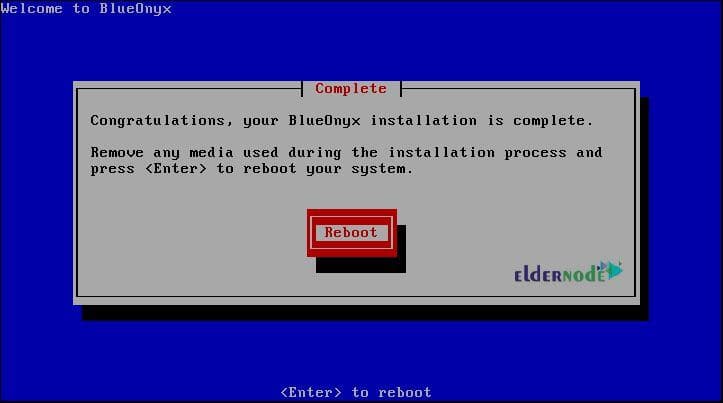
Note: Never skip the reboot request of the system after running the script. Why we ask you to reboot the system? The script has configured your Grub configuration to use network interfaces. During the reboot, the user ”admin” would be created. You need this user to be able to log in to the Graphical User Interface. GUI helps you to modify SSHd settings, generate and manage SSH keys and certificates. Once it is finished, log in via the console. Also, you can log in by SSH if the network has not lost the network configuration, and the first CCED start during the reboot.
The below screen will display if you log in via the console.

As a ”root” user, you can use the ”blueonyx” for your password. Then you see that the script /root/network-settings.sh run automatically.
Note: In case you need to log in as an unprivileged user, the password could be ”BlueOnyx:rocks”
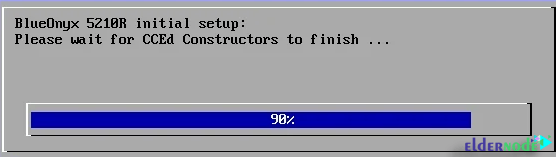
But if the CCED constructures do not finish the initial run, the below screen will be display.
Supporting the IPv4, IPv6, and dual-stack is the feature of BlueOnyx (5209R or newer). So, you will asked if you want to configure the IPv4 network setting. If you do, confirm ”yes”. Then you will be able to specify the server IPv4 IP address, Network Mask, Gateway, and the DNS server it must use. In the same way, it will ask you if you prefer to configure IPv6 or not. Again you need to choose ”yes” or ”no”. The network settings will applied after viewing the network details. Other required service restarts will done automatically and with the final screen, you realize that your BlueOnyx 5210R is installing successfully and ready to use.
Conclusion
In this article, you read about Tutorial Install BlueOnyx On Centos 7. You will find it powerful and easy to use. To extend features and enhance functions, BlueOnyx lets the vendors offer commercial plug-ins in the BlueOnyx Shop. Also, MySQL databases are creating by BlueOnyx with the user interface on the virtual site.