
By increasing the processing power of computers, you can use them optimally with virtualization technology. In fact, virtualization technology was created for easier and better management of resources. You can virtualize using Virtualizor. This article will teach you How to Install Virtualizor on Rocky Linux 9. If you intend to buy a Linux VPS server, you can check out the packages offered on the Eldernode website.
Table of Contents
Tutorial Setup Virtualizor on Rocky Linux OS
What is Virtualizor?
Virtualizor is a powerful web-based VPS control panel that allows users to deploy and manage VPS servers with one click. This control panel supports OpenVZ, Xen PV Xen HVM, XenServer, and Linux KVM virtualizers. In fact, This is a convenient and easy control panel developed by Softaculous. It has a powerful API and real-time statistics. Admins can create a VPS with the click of a button.
In this tutorial from the Linux training series, you will learn how to install Virtualizor on Rocky Linux 9.
Installing Virtualizor on Rocky Linux 9
First of all, open your terminal and download the Virtualizor using the command below:
wget -N http://files.virtualizor.com/install.shThen run the installation script:
chmod 0755 install.sh./install.sh [email protected] kernel-kvm lvg=vgRemember to replace your email address instead of [email protected] in the above command.
Once the installation is completed, you should see the ‘Congratulations, Virtualizor has been successfully installed’ in the output.
Finally, reboot your system.
Accessing Virtualizor on Rocky Linux 9
After you have completed the installation process successfully, you should follow the steps below to log in to the Virtualizor on Rocky Linux.
To do this first, open your desired browser and enter the following URL:
https://IP-Address:4085/Then enter your Rocky Linux server’s root details to log in to the Virtualizor control panel:
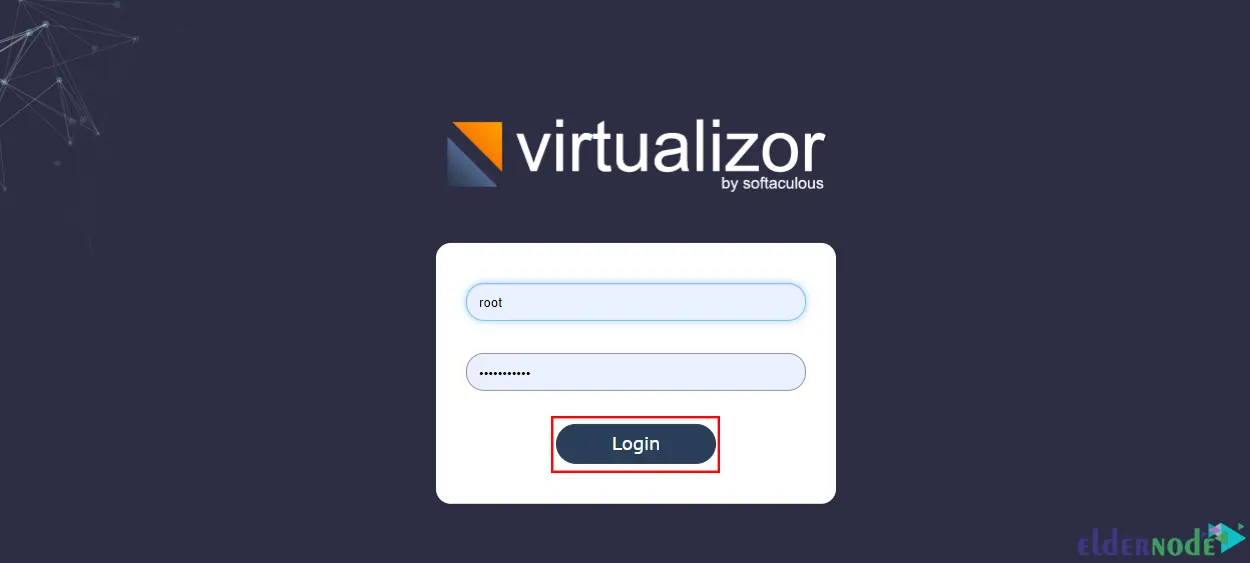
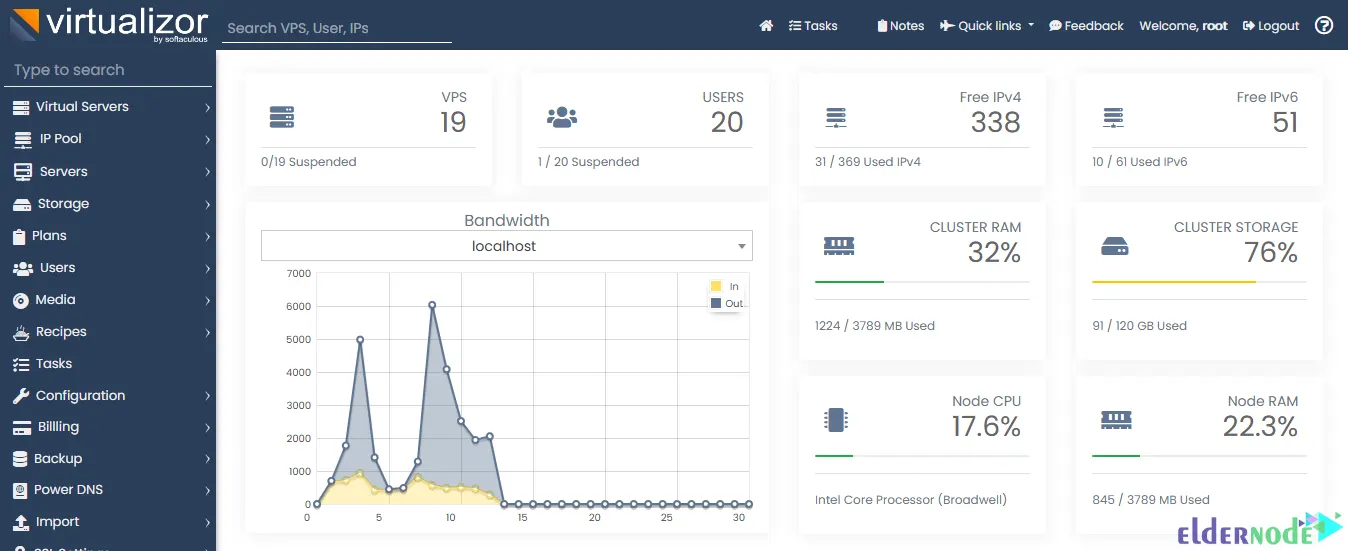
Once you log in to the Virtualizor successfully, you should see the following dashboard:
Note: Virtualizor uses ports from 4081 to 4085 and the Firewall may restrict them. So, enter the following command to allow these ports:
firewall-cmd --zone=public --permanent --add-port=4081-4085/tcpThat’s it! You have successfully installed Virtualizor on your Rocky Linux 9.
Conclusion
Virtualizor is a powerful VPS control panel that helps to create, deploy, maintain, and manage several virtual private servers on a single server. In this article, we introduced you to Virtualizor and taught you step-by-step how to install it on Rocky Linux 9. I hope this tutorial was useful for you and helps you to install Virtualizor. If you face any problems or have any questions, you can contact us in the Comments section.