Pleroma is a free, federated licensed AGPLv3 social networking platform that is compatible with Mastodon and other ActivityPub implementations. It should be noted that Pleroma consists of two components called Pleroma which is a backend and the other Pleroma-FE which is a user-facing frontend. It also includes the Mastodon frontend, if that’s your thing. One account on an instance is enough to talk to the whole world! In this article, we are going to teach you to step by step How to Install Pleroma on Windows 10. You can see the packages available in Eldernode if you want to buy a Windows VPS server.
Table of Contents
Tutorial Install Pleroma on Windows 10
In the next section, we are going to teach you to step by step how to Install Pleroma on Windows 10. We will also explain how to run Roma. Please stay tuned for the rest of this article.
Install Pleroma on Windows 10
After getting acquainted with Pleroma in the previous section, we now want to teach you how to install Pleroma on Windows 10. To do this, just follow the steps below.
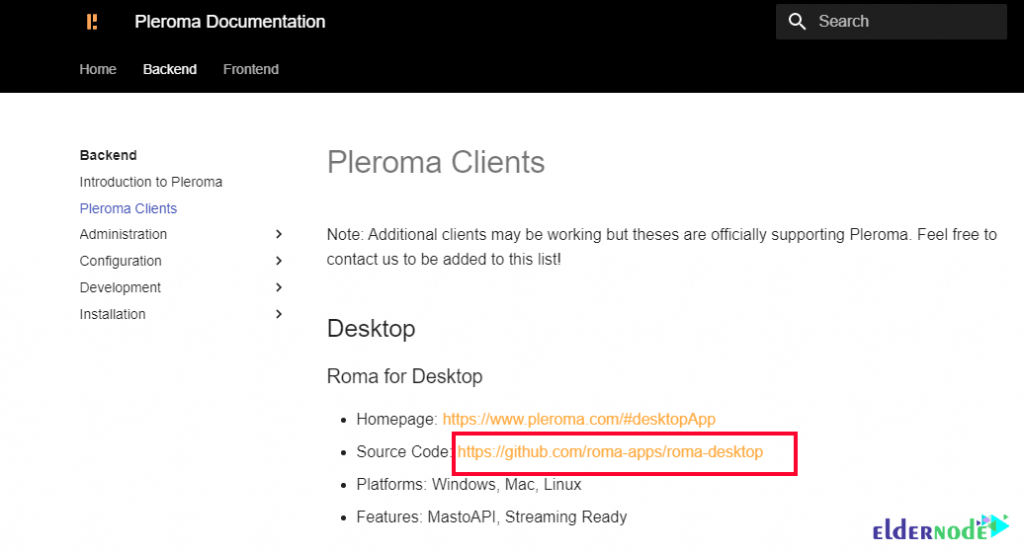
The first step is to visit the Pleroma website. Then, as in the image below, in the window that opens, click on the link in front of the Source Code.
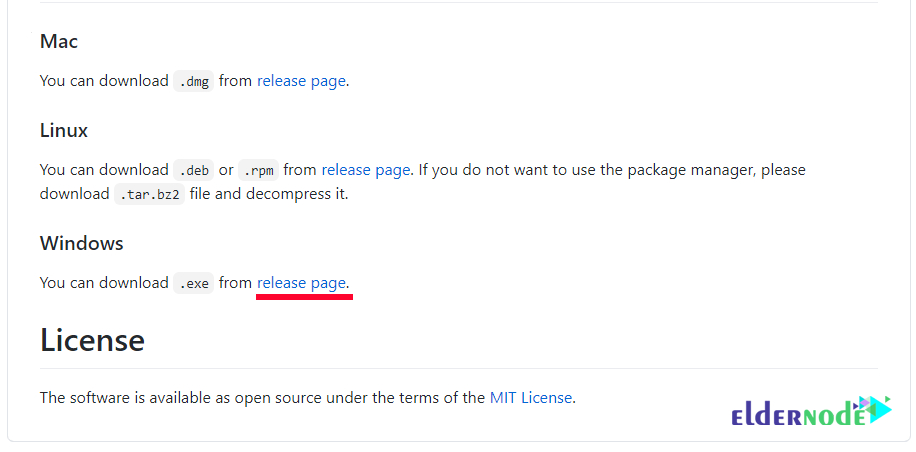
In the opened page, scroll to the bottom of the page and click on the release page in the Windows section.
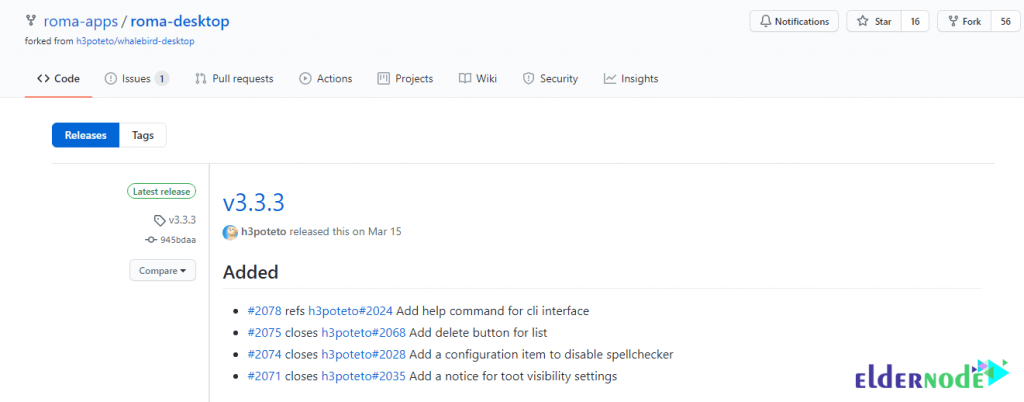
As you can see in the image below, the latest version of Pleroma is shown at the top of the page.
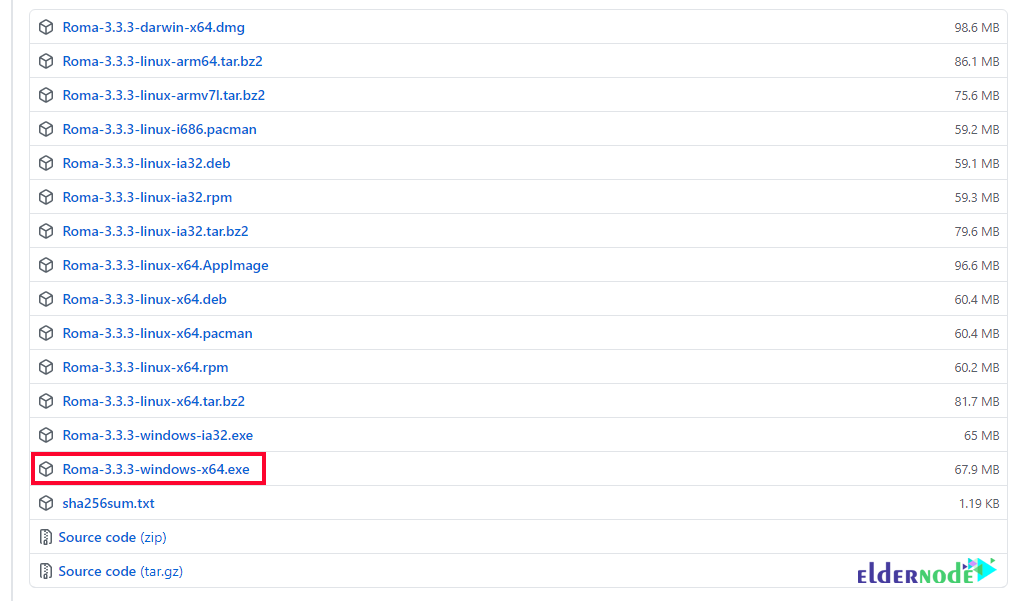
Scroll to the middle of the page and click on the platform you want to start the download:
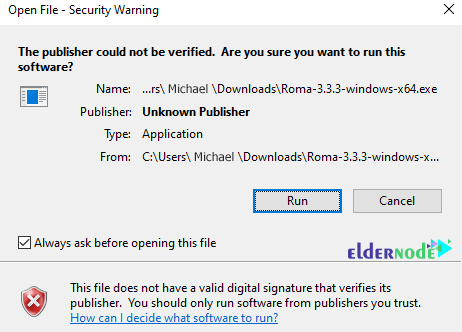
Go to the place where you downloaded the file. Then double click on the installation file to begin the installation process. In the window that opens, click on Run.
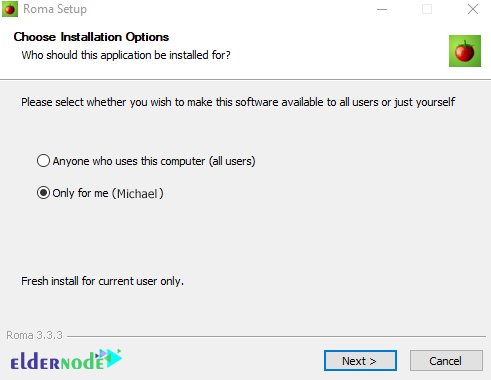
In the next section, select the option you want and click on Next:
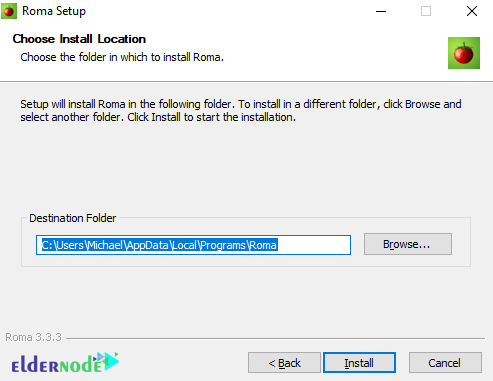
The next step is to choose the path to install Pleroma. After selecting this destination route, click on Next:
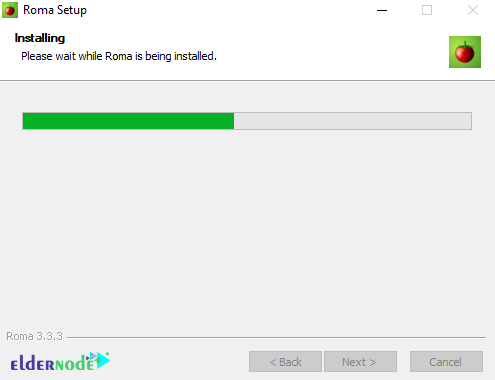
Wait for the installation to complete:
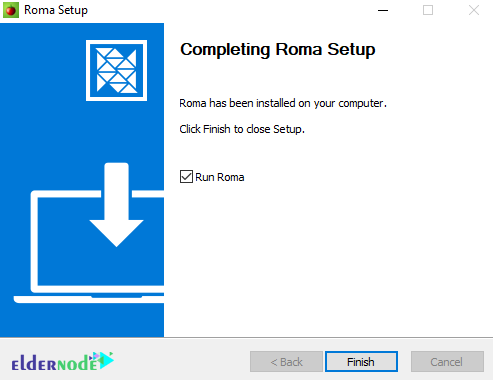
Finally, by clicking on the Finish, the installation of Pleroma is completed:
How to Use Pleroma on Windows 10
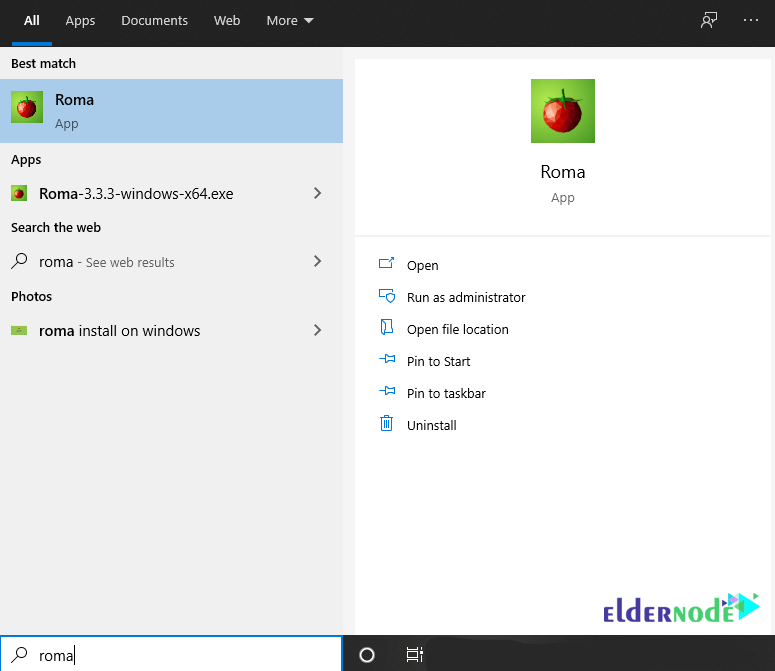
After you have been able to complete the installation of Pleroma according to the above steps, now we come to how to run it. To do this, you can type and run Roma from the Start menu search section in your Windows.
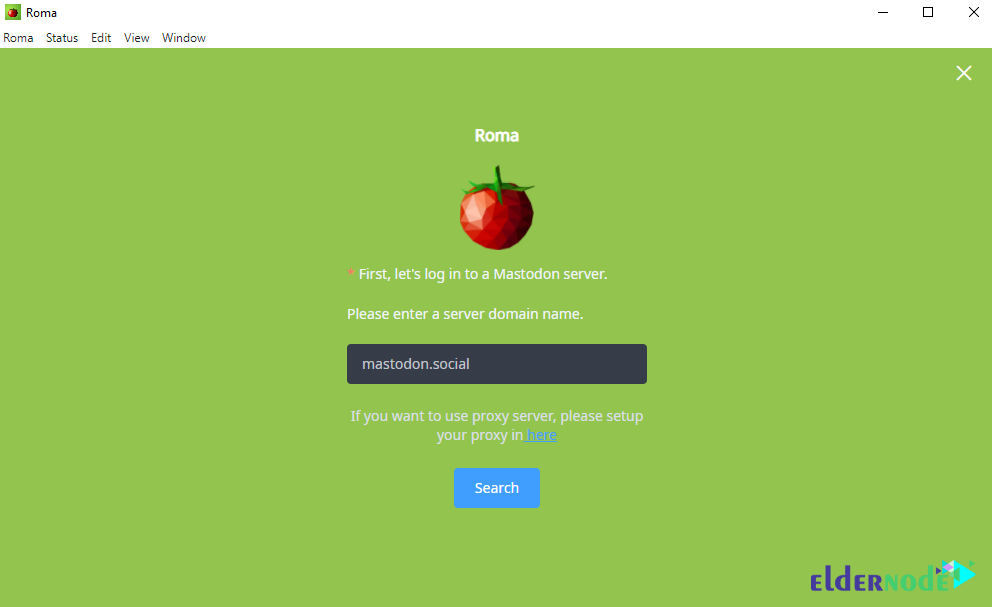
In the image below, you can see the Roma environment. In this step, it is necessary to enter a server domain name. You will then be able to log in and use it.
Conclusion
In this article, we tried to teach you to step by step how to Install Pleroma on Windows 10. We also explained how to run and setup Roma.