MikroTik is a popular router operating system that can be run on various hardware platforms, including virtual machines like VMware. This article will teach you How to Install MikroTik on Vmware. If you intend to buy a MikroTik VPS server, you can check out the packages offered on the Eldernode website.
Table of Contents
Tutorial Setup MikroTik on VMware
MikroTik is a Latvian company that develops and manufactures network equipment, specializing in router and wireless ISP solutions. MikroTik’s products are known for their reliability, performance, and extensive features, making them popular among network administrators, ISPs, and small to medium-sized businesses. You can run this router operating system on various hardware platforms, including virtual machines like VMware.
Download MikroTik on VMware
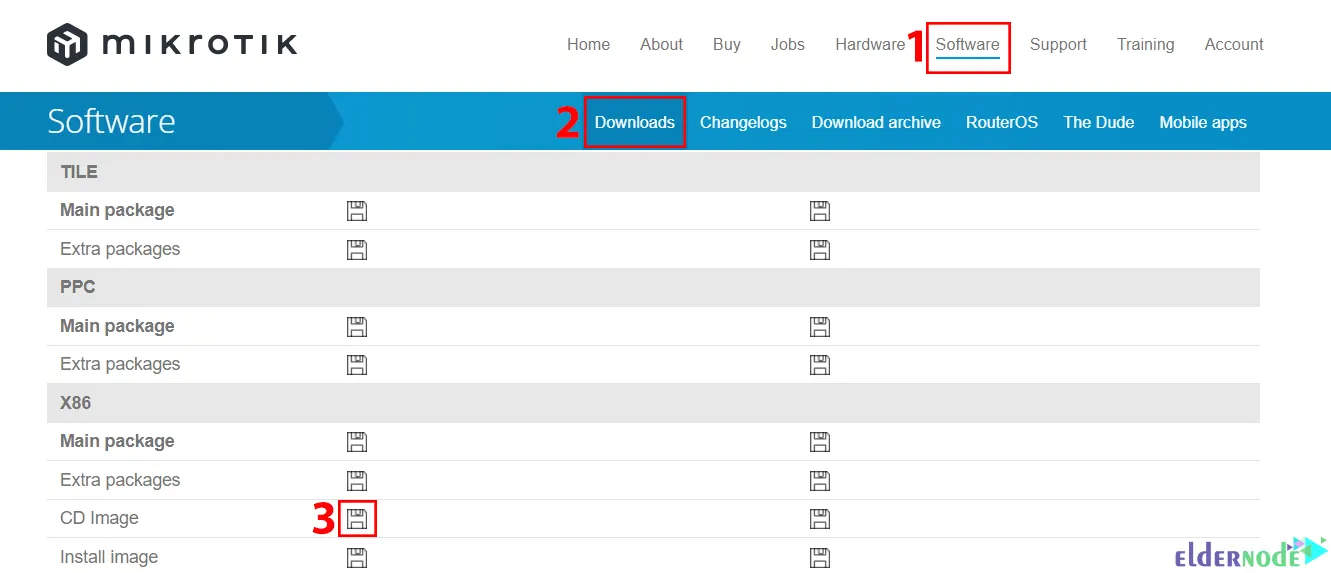
Firstly, you should download MikroTik CD Image from MikroTik’s official website. Scroll down on MikroTik’s website to find the X86 section and download the CD image version:
Wait for the download to complete.
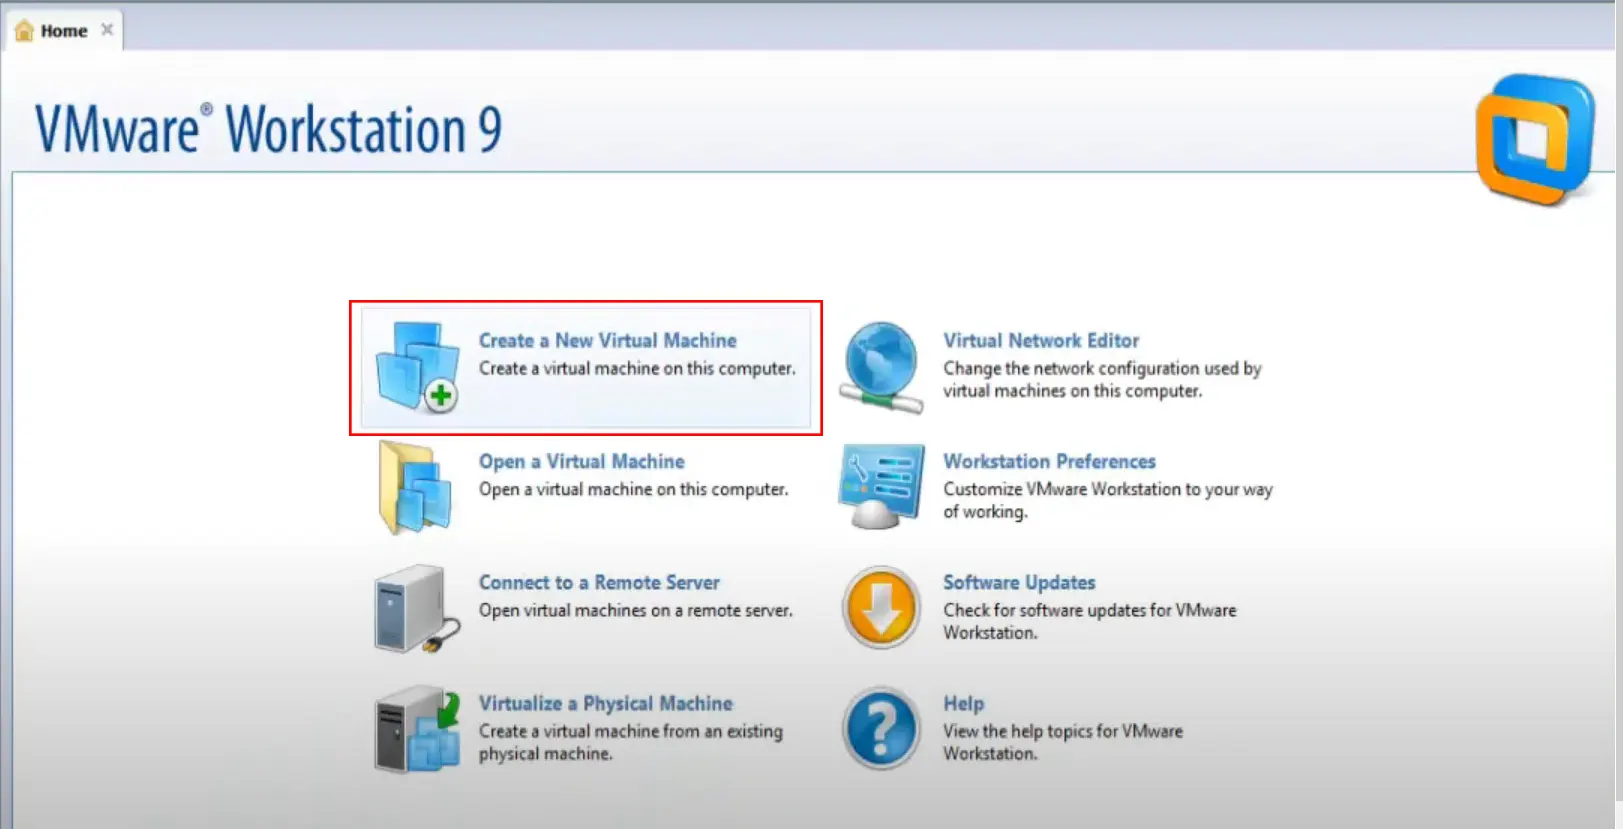
Open VMware Workstation and click on Create a New Virtual Machine. Then click on Next to proceed:
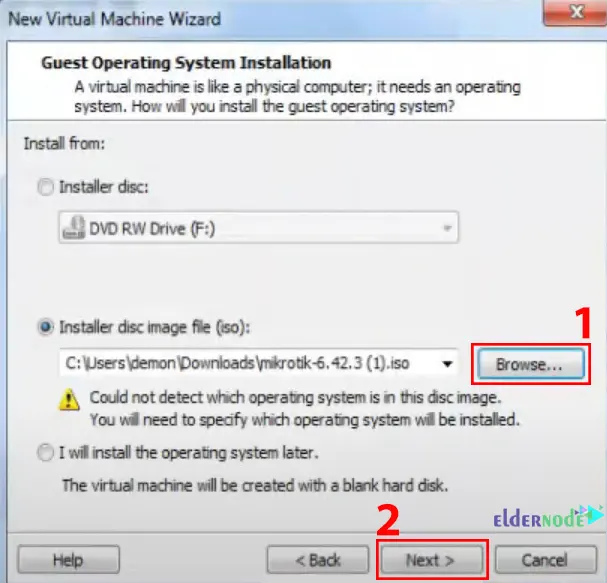
In the Guest Operating System Installation section, click on Browse and choose the downloaded Mikrotik CD image:
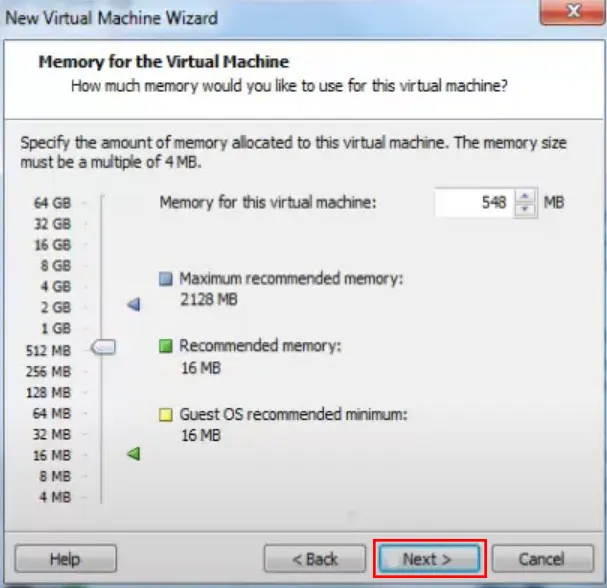
Specify the amount of memory allocated to this virtual machine in the Memory for the Virtual Machine section:
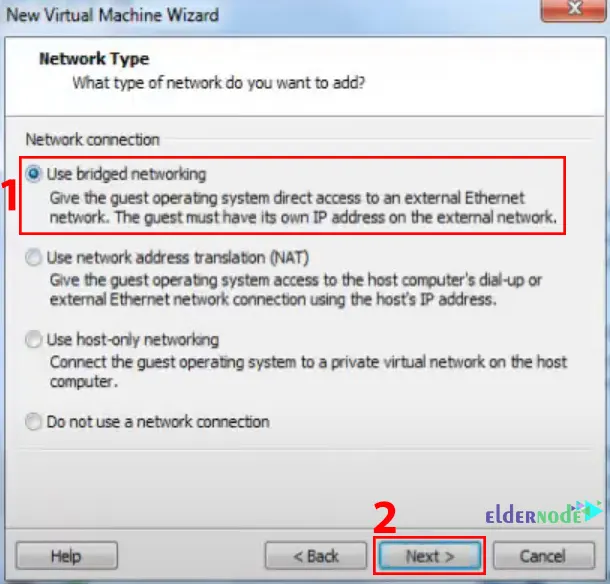
Now you will see the Network Type section, choose the Use bridged networking for the type of the Network and click on Next to proceed:
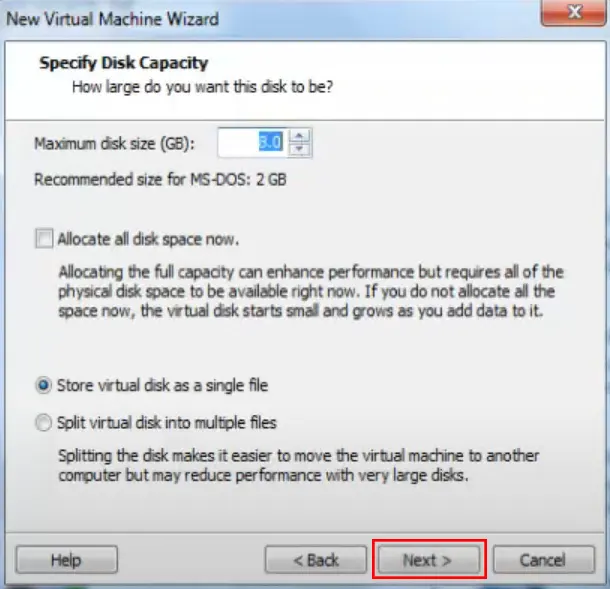
In the Specify Disk Capacity section, choose the Store virtual disk as a single file and specify the maximum disk size:
Click Finish to create the virtual machine.
Setup MikroTik on VMware
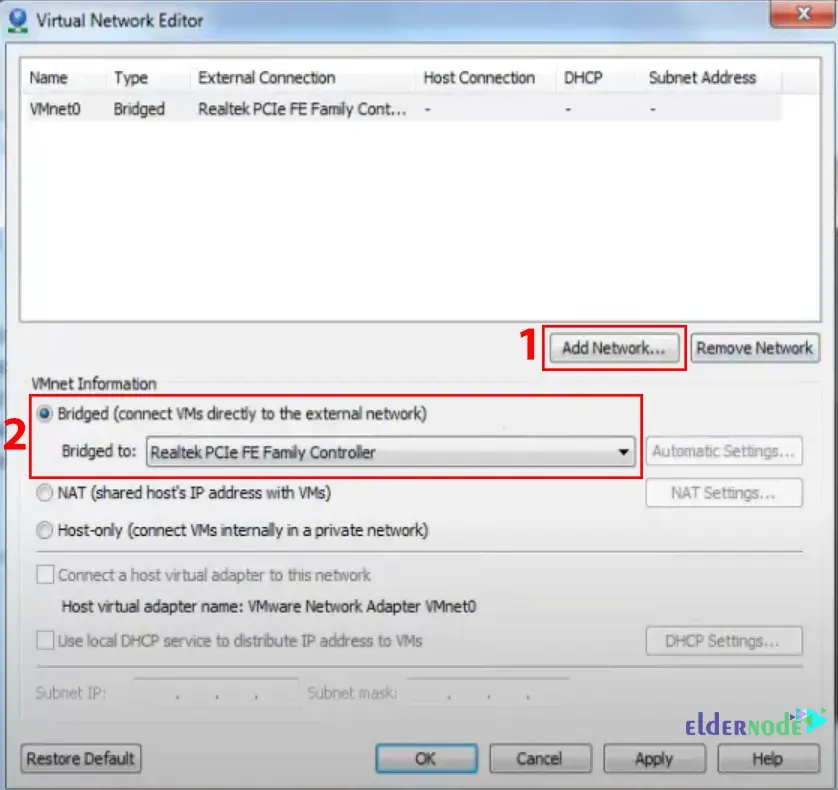
You will see the MikroTik operating system being added to VMware. Now you should edit the virtual network adapter from the Virtual Network Editor by clicking on Edit from the top and choosing Virtual Network Editor:
Add the VMnet0 network and bridged it either to the LAN or Wireless adapter to capture the external IP address:
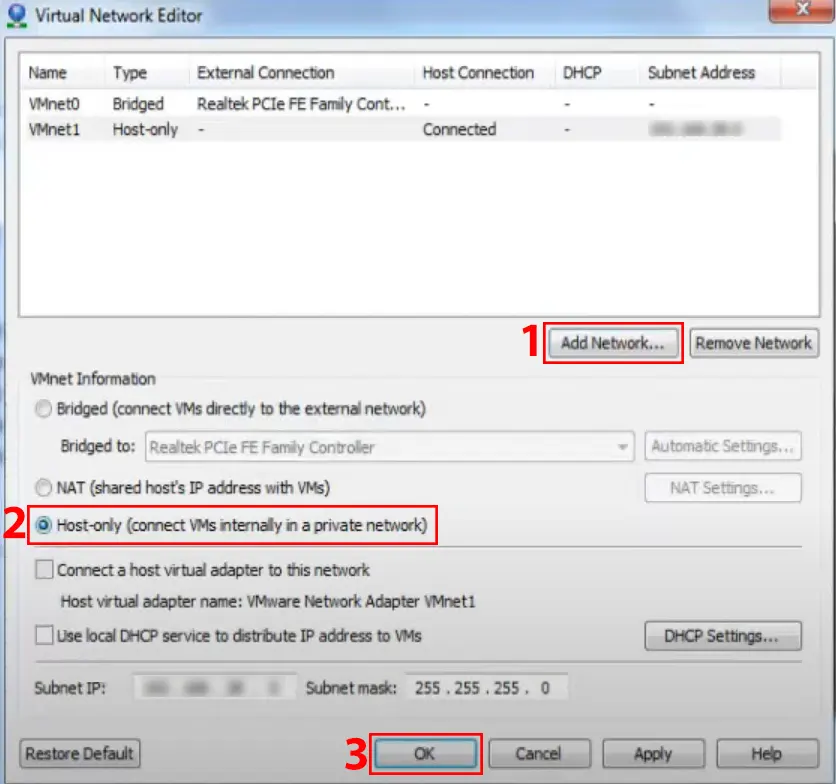
Also, add the VMnet1 network and choose the host-only as a private network. Remember to uncheck the “Use local DHCP service to distribute IP addresses to VM” and “Connect a host virtual adapter (vmnet1) to this network” checkboxes:
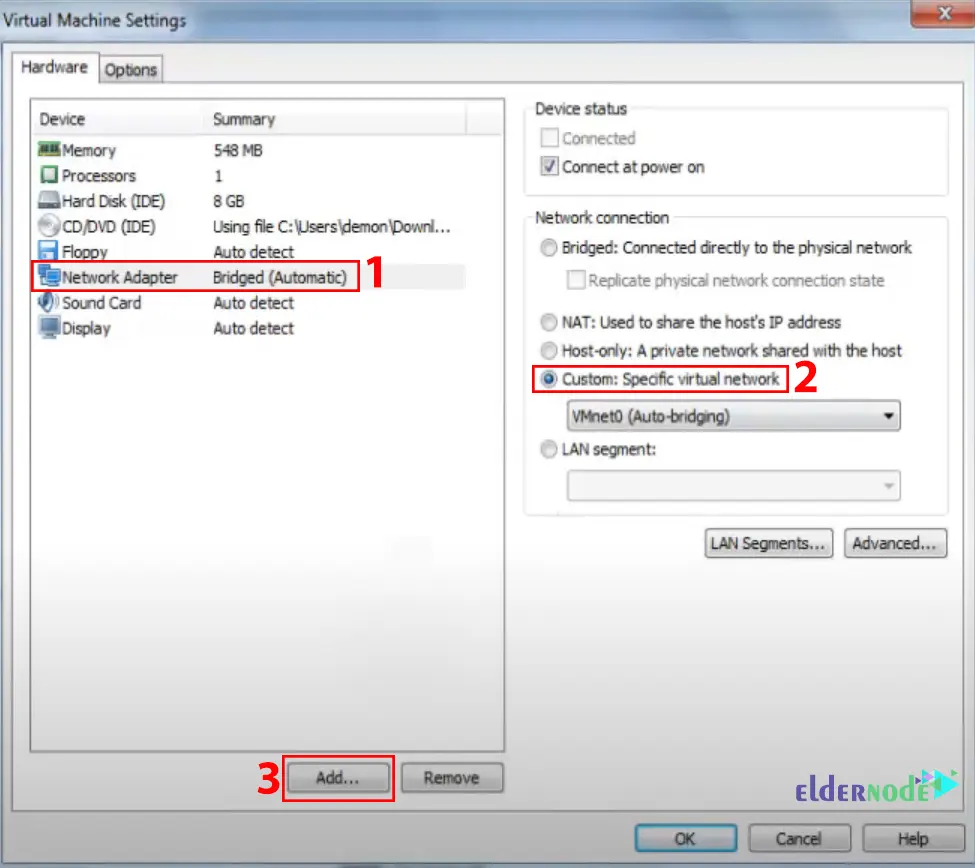
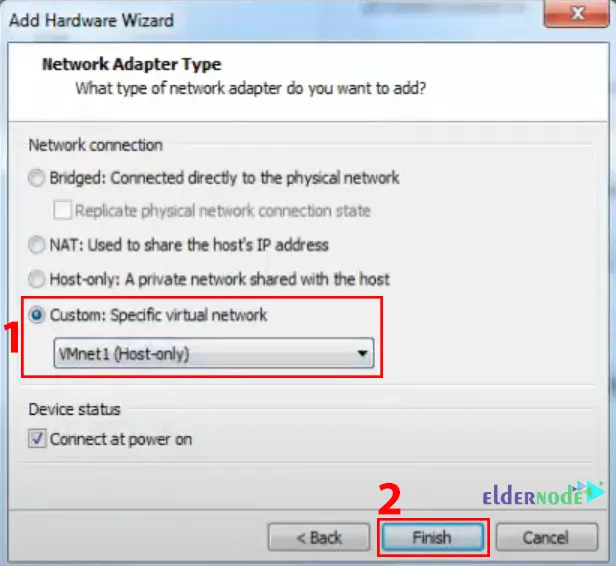
Next, right-click on MIKROTIK and choose Settings. From the Hardware section, choose Network Adapter and click on Custom: Specific virtual network and then Add:
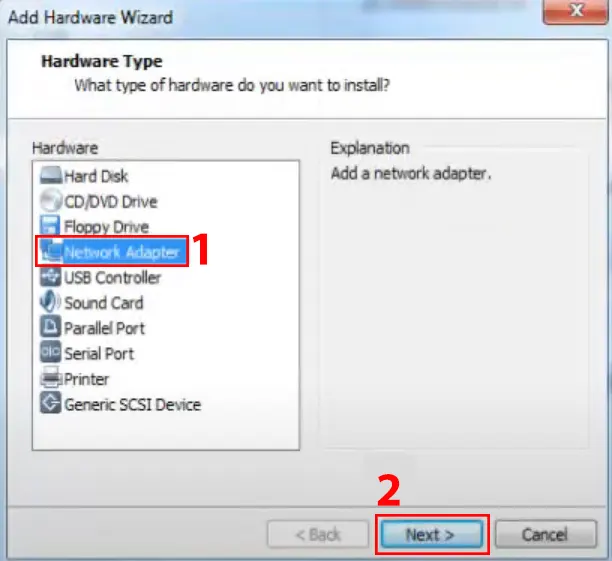
Choose Network Adapter again and press Next:
Now you should choose Custom: Specific network adapter and VMnet1 from the drop-down menu as the type of Network Adapter:
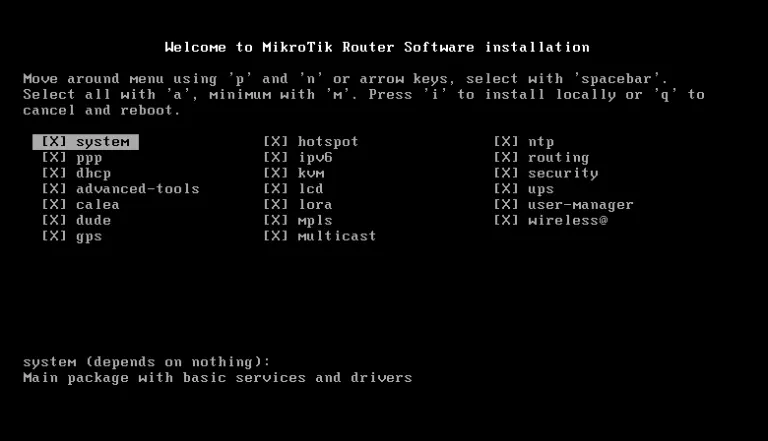
In this step, click on Power on this virtual machine. You will see the following screen:
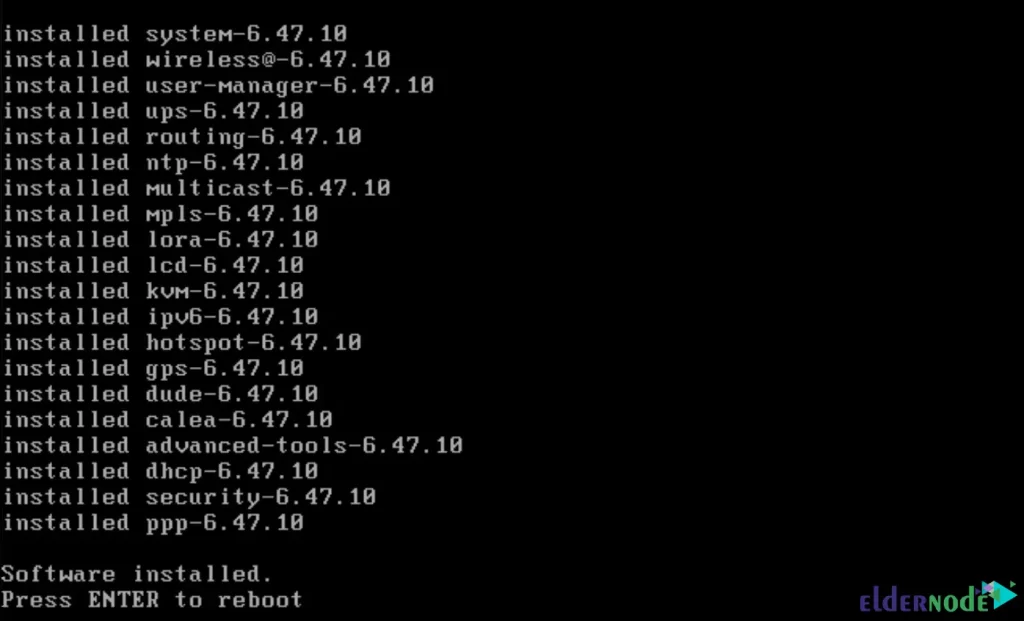
Once the installation is complete, press Enter to reboot:
After the reboot is complete, enter your username and default password from the login page:
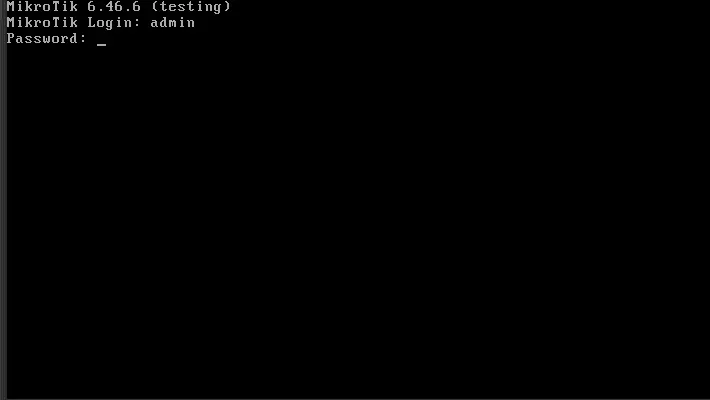
That’s it! You can log in to your MikroTik server through Winbox.
If you want to buy Mikrotik VPS, you can buy it from our website, which allows you to buy from the Bitcoin payment system and other cryptocurrencies, Perfect Money and PayPal.
Conclusion
In this article, we taught you how to install MikroTik on VMware. I hope this tutorial was useful for you and that it helps you to install MikroTik on VMware. If you have any questions or problems during the installation process, you can contact us in the Comments section.