Jitsi is a collection of open-source projects that you can use to easily develop and implement secure video conferencing solutions. At the heart of Jitsi are two sections called Jitsi Video bridge and Jitsi Meet, which allow you to set up video conferencing on the Internet. While other projects in this collection provide users with other features such as audio, connection (Dial-in), multiple recording, and playback. Jitsi started out as a tool for connecting people via audio and video on the Internet. However, over the course of a decade, the project became something much bigger. In this article, we are going to teach you to step by step How to Install Jitsi Meet on Windows 10 RDP. You can visit the packages available in Eldernode if you need to purchase a Windows VPS server.
Table of Contents
Tutorial Install Jitsi Meet on Windows 10 RDP
Unlike other video conferencing technologies, the Jitsi Video bridge, the beating heart of Jitsi, sends video and audio to everyone attending rather than blending. The result is a relationship with less latency and better quality. Scalability will be easier and cheaper if you use your own service. Jitsi is fully compliant with the free Web communications standard WebRTC.
Jitsi also supports advanced video routing concepts such as multiple playbacks, bandwidth estimation, scalable video coding, and more. It should note that Jitsi is coding using the Java programming language and the so-called Native.
In this article, we are going to introduce and express some of the features of Jitsi Meet in the first step. Then we will teach you how to Install Jitsi Meet on Windows 10 RDP. Please join us.
What is Jitsi Meet
Jitsi is a suite of free and open-source multipurpose voice applications (VoIP), video conferencing, and instant messaging for web, Windows, Linux, Mac OS, iOS, and Android applications.
The Jitsi project was formerly known as the SIP Communicator. As WebRTC grew, the project team’s focus shifted to the Jitsi Video bridge to allow multidirectional web video calling. The team later added Jitsi Meet. Jitsi Meet is a complete video-conferencing application that includes web clients for Android and iOS operating systems.
Jitsi also used Meet.jit.si, a version of Jitsi Meet hosted by Jitsi for free use in the community. This software has received support from various institutions such as the NLnet Foundation, the University of Strasbourg, and the Alsace region.
In the next section, we will mention some of the features of Jitsi Meet. Then we will teach you how to install Jitsi Meet on Windows 10 RDP.
Jitsi Meet Features
In this section, we want to introduce some of the features of Jitsi Meet. These features include:
– Simple work with software
– High power, speed, and security
– Unlimited file upload
– Make video conferencing calls
– Establish direct multimedia communication using the ICE protocol
– Powerful encryption
– File transfer for XMPP, AIM / ICQ, Windows Live Messenger, YIM
– Encrypt messages with OTR
– IPv6 support for SIP and XMPP
– Audio and video calls for SIP and XMPP using H.264, H.263, or VP8 for video encryption
– Support for group video calls
– Free, open-source, and WebRT compatible
Install Jitsi Meet on Windows 10 RDP
After you are fully acquainted with Jitsi Meet in the previous sections, now we want to teach you to step by step how to install Jitsi Meet. To do this, just follow the steps below.
In the first step, you need to go to the Jitsi website and download Jitsi.
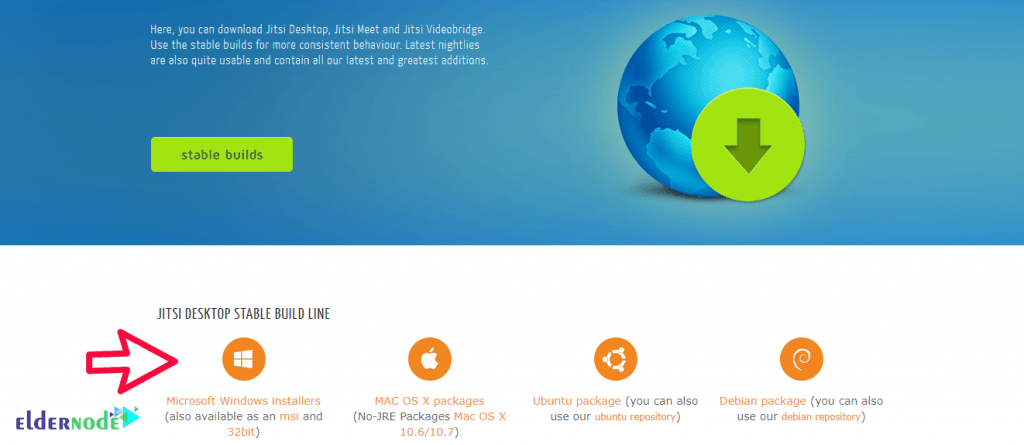
Then go to the place where you downloaded the file. Double-click it to begin the Jitsi installation process. In the window that opens, click on Run.

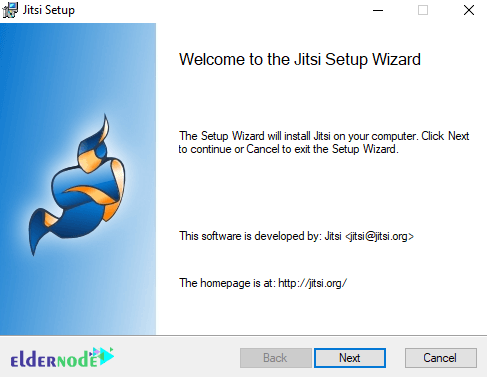
Click on Next.
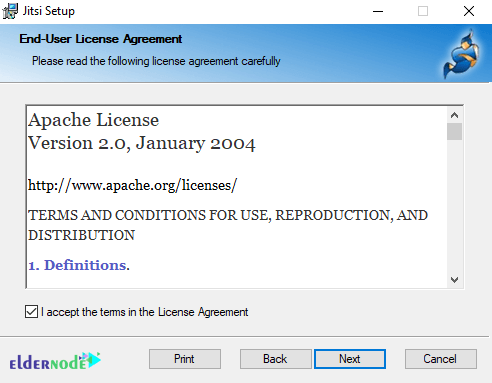
On the License Agreement page, click I accept… the and then click Next.
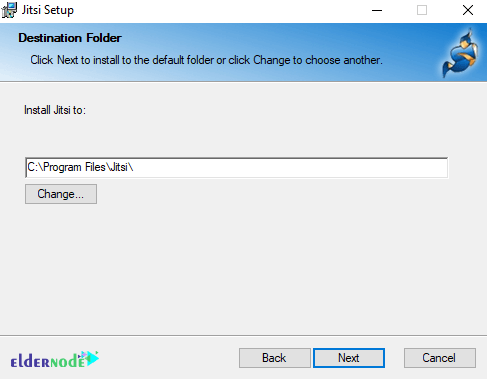
In the next step, select the path where you want Jitsi to be installed and click Next.
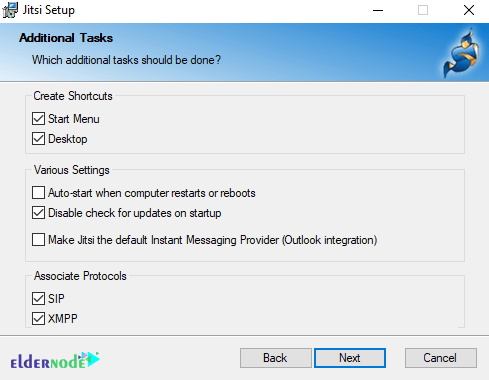
In this section, you must select the settings you want and click Next again.
Note: Leave “SIP” and “XMPP” checked in order to let Jitsi take calls and chat sessions when you click on special web links.
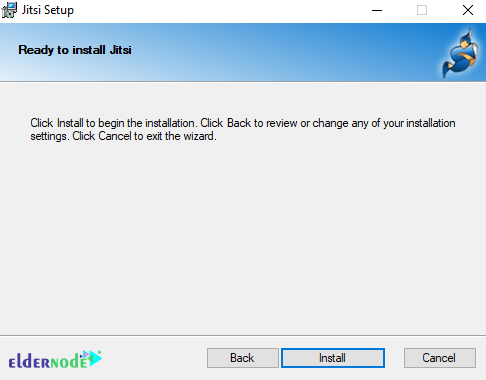
Now you have to click on Install to start installing Jitsi:
*
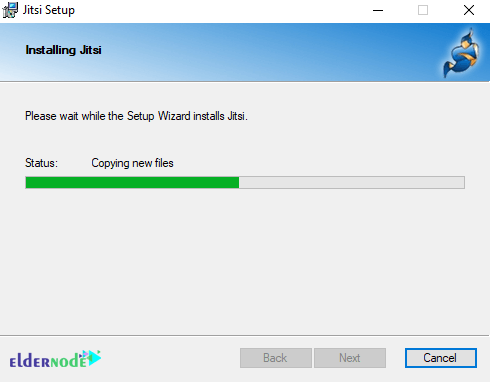
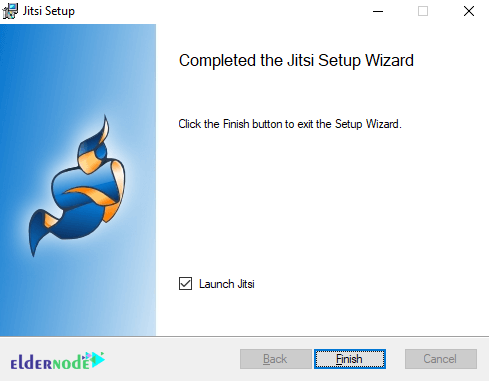
Finally, click Finish to complete the Jitsi installation process.
How to use Jitsi Meet on Windows 10 RDP
After you have successfully completed the steps mentioned to install Jitsi meet, now we want to teach you how to use this software.
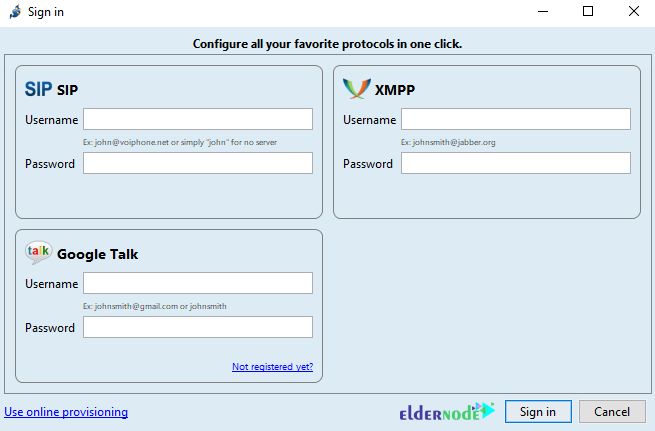
As you can see in the image below, Jitsi lets you log into several chat accounts at once. Fill out the username and password for the accounts you already have. If you don’t have any accounts with the providers listed, create a new account by clicking on one of the “Not registered yet” links. After filling in the username and passwords for the accounts you want to use, click “Sign in.”
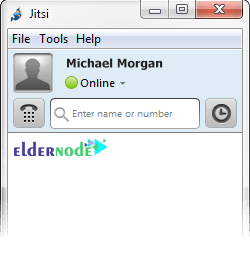
Once you have created your account, you will need to wait for Jitsi to connect. When the status changes to “online“, you will be ready to chat.
Conclusion
Jitsi is a collection of open-source projects that allow you to build and deploy secure video conferencing solutions. Jitsi Meet has many features and is constantly being added, some of which have been mentioned. In this article, we also tried to teach you How to Install Jitsi Meet on Windows 10 RDP.



If opensource then why not possible to connect to my own server ?
Why need only can use your demands?
Jitsi lets you log into several chat accounts at once. If you don’t have any accounts with the providers listed, create a new account by clicking on one of the “Not registered yet” links. After filling in the username and passwords for the accounts you want to use, click “Sign in.”