Remote Desktop Users Group. Windows Server is a version of the Windows family that is designed to be installed on servers. Compared to Windows desktop version, it is more stable and much less likely to crash, and supports powerful server hardware with high amounts of RAM and CPU.
If you are using virtual machines on your dedicated server or Windows is installed on a dedicated server / physical server, you can easily consider the Windows server desktop by activating Remote Desktop.
The Remote Desktop Users group grants its members access to securely connect to the server through RDP (Remote Desktop Protocol) as well. This article will go over the basics of the Remote Desktop Users group.
In this article, you will be able to add users to the group, understand permissions, and basic user management. The information below covers methods to configure the Remote Desktop Users group for Windows Server 2012 and Windows Server 2016 on the Windows server.
Remote Desktop Users Group.
Table of Contents
Manage Local Users and Groups
Users and groups on Windows servers are managed in a number of different ways. The most user-friendly way is through the Local Users and Groups interface.
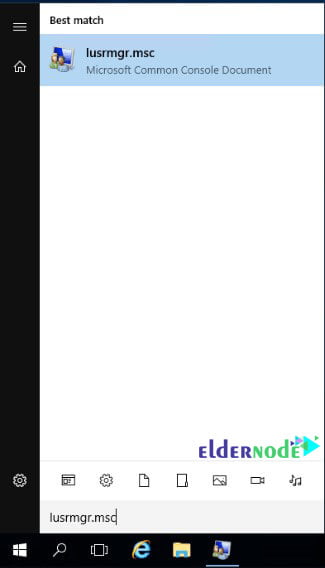
There are several ways to open the interface. The easiest is to run lusrmgr.msc. Lusrmgr.msc can be launched by searching the start menu, command line, or through a run dialog.
These methods allow you to find users and groups easily.
*
User Management
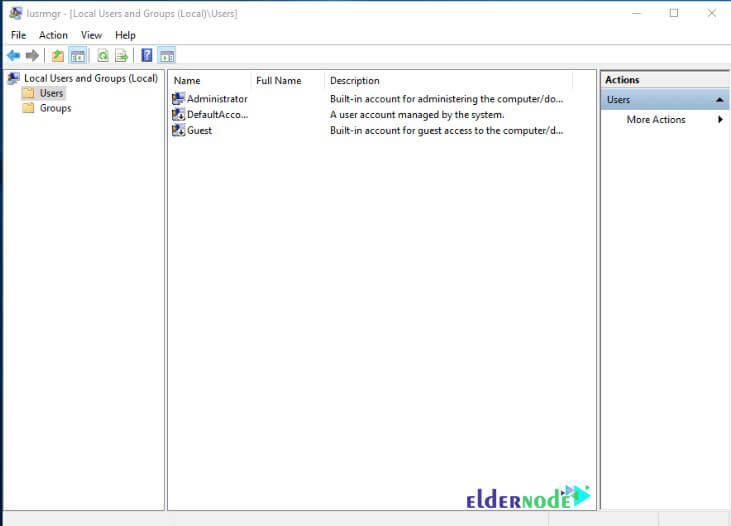
Once you open the Local Users and Groups interface, you will see two folders on the left, one for Users, and one for Groups. By selecting Users, you will see a full list of local users on the server.
You can also see a variety of related tasks by right-clicking Users, Groups, a user’s name, or a blank area of the middle pane.
There are several ways to add a new user through the Local Users and Groups interface. These methods all result in the same New User dialog box opening where you can then configure a Username, Password, and other options.
Choose one of the options below to create a new user:
The first way to create a new user
1. Select the Users folder from the left side of the screen.
2. Click the Action menu.
3. Select New User….
The second method to create a new user
1. Select the user folder from the left
2. Click More Actions from the right-hand pane.
3. Select New User… .
The third method to create a new user
1. Right-click on the Users folder.
2. Select New User….
The fourth method to create a new user
1. Select the users folder from the left side of the screen.
2. Right-click in a blank area of the middle page
3. Select New User….
Once you have created a new user, or have identified the username of the existing user, you are ready to assign that user to a Group.
Note: Users assigned to a group are known as group members.
Group Management
Group management can be done in several ways. The options below cover several of the most common ways to assign a new member to the Remote Desktop Users group:
The first way to Group Management
1.Select the Users folder from the left pane of the Local Users and Groups interface.
2.Open the Users Properties window by double-clicking the user.
3.Select the Member Of tab.
4.Click Add….
5.Type Remote Desktop Users in the text box and click OK.
The second way to Group Management
1.Select the Groups folder from the left pane of the Local Users and Groups interface.
2.Double-click the Remote Desktop Users group.
3.Click Add… .
4.Enter the user’s name in the text box and click OK.
The third way to Group Management
1.Open the system settings by right-clicking the start menu.
2.Select System.
3.Choose Advanced system settings.
4.Select the Remote tab.
5.Click the Select Users… button.
6.Click the Add button.
7.Enter the user’s name in the text box and click OK.
The fourth way to Group Management
1.Open the Server Manager.
2.Select Local Server from the left pane.
3.Click the blue text next to Computer Name.
4.Select the Remote tab.
5.Click the Select Users… button.
6.Click the Add button.
7.Now enter the user’s name in the text box and click OK.
You can also use the “Advanced…” button when selecting users or groups instead of typing its name.
Clicking the “Advanced…” button followed by the Find Now button will result in a list of users to select.

By default, there are no members of the Remote Desktop Users group and only members of the Administrators group are allowed to connect through RDP.
Members added to the Remote Desktop Users group are considered non-Administrative users. These users will be unable to perform most management tasks such as installing software, managing IIS, or rebooting the server.
If a user requires management abilities, the user will need explicit access to that task or will need to be a member of the Administrators.
Test Group Membership
When configuring new user and group memberships, you should always review group membership once complete.
Reviewing group membership is most commonly performed through the Local Users and Groups interface. In addition to verifying membership, we also recommend attempting a remote desktop connection with your newest Remote Desktop Users group member.
Once you have logged in with your newest member of the Remote Desktop Users group, you can further verify that groups are set up correctly by running the command “whoami /groups” from a command line.
The output of this command lists the username and its associated Group names.
Dear user, we hope you would enjoy this tutorial, you can ask questions about this training in the comments section, or to solve other problems in the field of Eldernode training, refer to the Ask page section and raise your problem in it as soon as possible. Make time for other users and experts to answer your questions.
Goodluck.