The IIS service, or Microsoft Web Server, is one of the top web servers with many features. This service includes FTP setup, PHP support, and ASP.net support. In this article, we are going to look at how to install IIS in Windows 10.
In this tutorial, users who want to use this web server in Windows 10 will be familiar with the installation process.
As we said in the IIS installation tutorial on Windows Server 2012, IIS is a roll called Web Server on Windows Server. But in Windows client, like Windows 10, it is known as a Features.
In Windows 10, IIS does not have the power to respond to IIS on the server due to software and hardware limitations of Windows client. It can be said that it is generally used as a local web server or ultimately for serving less than 50 people at a time. However, if you are going to service a specific website on IIS, it is better to use this service on Windows Server.
Choose your perfect Windows VPS Server Packages
Installing IIS in Windows 10
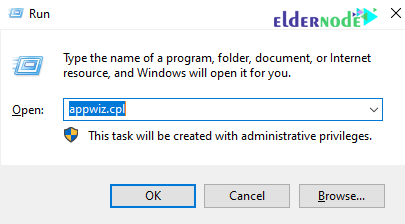
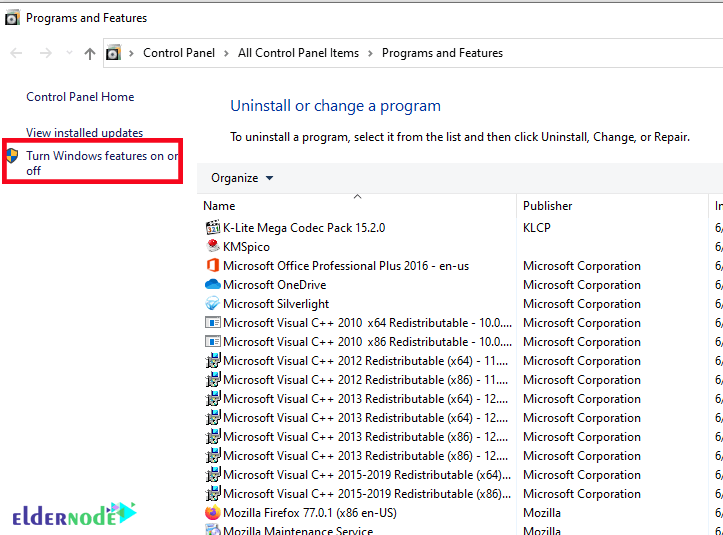
1- First, open the Run window by pressing the Winkey + R key. Type appwiz.cpl to open the Program and Features window.
Note: You can open the Program and Features window in the Windows Control Panel.
2- Click Turn Windows Features on or off.
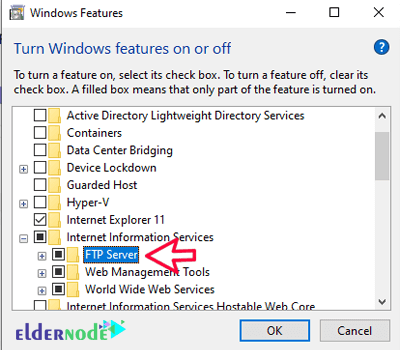
3- In the page that opens, find the Internet Inforamtion Serives option and check.
Note: If you plan to use the FTP service as well, check the FTP Server sub-category below this option.
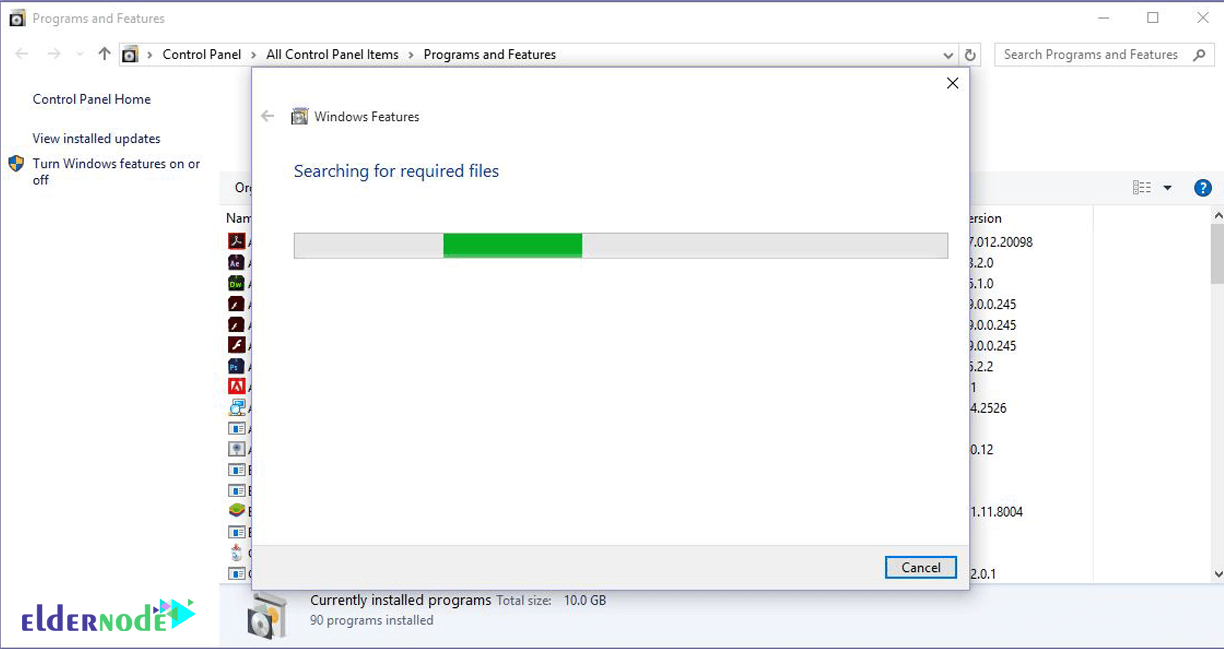
4- Click Ok to begin the installation process. The system will first search for the IIS file and will start installing the file if it is safe.
If the file is not found in Windows or incomplete, the operating system itself will download it from the Internet.
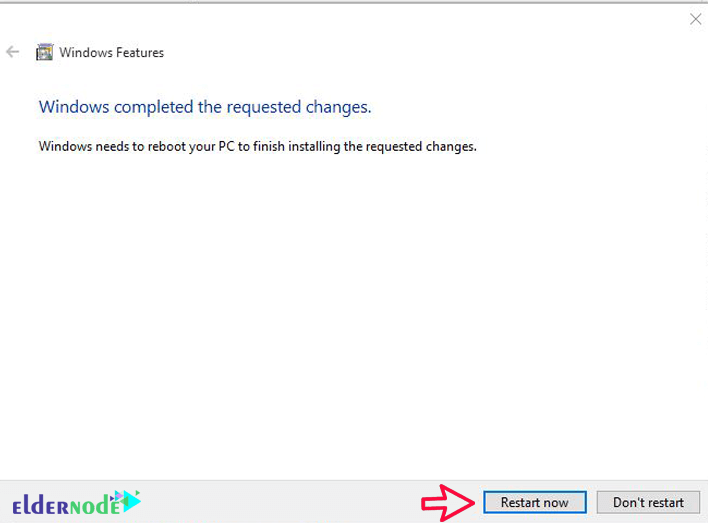
5- After installation, a window like the one below will be displayed for you. Click Restart Now to allow the system to reboot to finish installing IIS on Windows 10.
6- After booting the system through the Start menu, type and search for IIS.
7- After finding the IIS, click on it to open it.
Dear user, we hope you would enjoy this tutorial, you can ask questions about this training in the comments section, or to solve other problems in the field of Eldernode training, refer to the Ask page section and raise your problem in it as soon as possible. Make time for other users and experts to answer your questions.
How to install IIS in Windows 10
Goodluck.