The Blender is a cross-platform software that runs on Windows, Linux, and macOS operating systems. It also has a relatively small amount of memory and the required drive compared to other 3D design kits and models. Its interface uses OpenGL to provide a consistent experience across all supported hardware and platforms. As a community-based project licensed under the GNU General Public (GPL), the general public is able to make small and large changes to its base code, leading to new features, bug fixes, and better functionality. So you can help develop a powerful collaboration tool. In this article, we are going to teach you How to Install Blender 3D on Windows 10 RDP. It should be noted that you can visit the packages available in Eldernode if you want to buy a Windows VPS server.
Table of Contents
Tutorial Install Blender 3D on Windows 10 RDP
Blender has a wide variety of tools that are suitable for almost any type of media production. People and studios around the world use it for entertainment projects, commercial and special films.
Also, if you are planning to make a game, Blender is a great option. For the initial development of the game or prototype, Blender has an internal game engine. In terms of learning speed, you can probably move faster in Blender than in other 3D programs, but it also has a comparable learning curve.
In the next section, we will discuss the Blender features. Then we will teach you to step by step how to Install Blender 3D on Windows 10 RDP. Please join us.
What is Blender 3D?
Blender is a free, open-source 3D software for computer graphics used to produce animation, visual effects, 3D printing, motion graphics, dynamic 3D applications, virtual reality, and video games. Blender enjoys the support of a large number of volunteers around the world who have received extensive training.
In addition to these, its modeling and sculpting tools, along with its powerful rendering engine, pretend that this software is custom software and a large company pays for its development. A simple and highly customizable user interface is one of the advantages of Blender over other software. This software also has a good relationship with game engines and you can easily output your models from it for game engines.
Blender 3D Features
The Blender is application software that allows you to create a wide range of 2D and 3D content. It also offers a wide range of text texture modeling, lighting, animation, video, and post-production. Through open architecture, Blender enables cross-platform collaboration, scalability, and an integrated workflow.
Blender is one of the most popular 3D Open Source graphics applications worldwide. In this section, we want to introduce some of the Blender features. These features include:
1- Create a fully integrated collection
2- Small executable file with easy distribution
3- High-quality 3D architecture to create fast and efficient workflows
4- Cross-platforms with the same OpenGL interface on all of them
5- Provide a range of essential tools for 3D content production including modeling, UV mapping, texture, shell, animation, and particle
6- Decorate, script, present, combine, post-production and create games
7- completely free
In the next section, join us to teach you how to install Blender 3D step by step with pictures.
Install Blender 3D on Windows 10 RDP
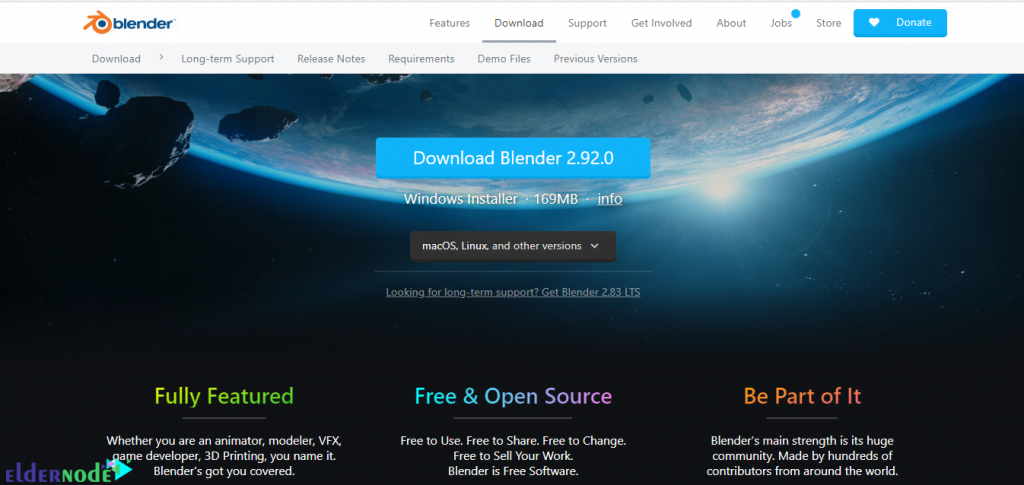
In this section, we want to introduce you to how to Install Blender 3D on Windows 10 RDP. To do this, just follow the steps below. The first step is to visit the Blender website. Then click on Download Blender as shown in the image below to start the download.
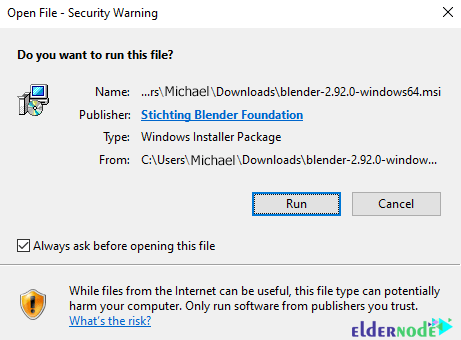
Go to the place where you downloaded the file. Then double click on it. In the window that opens, click on Run to begin the installation process:
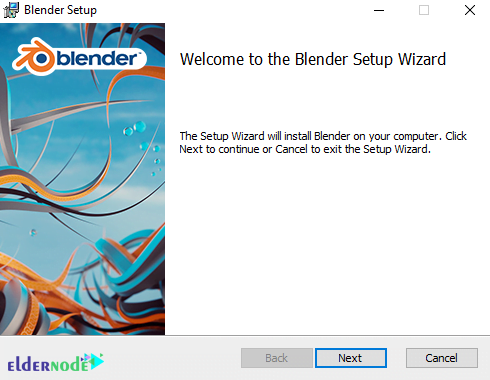
Now, you have to click on Next.
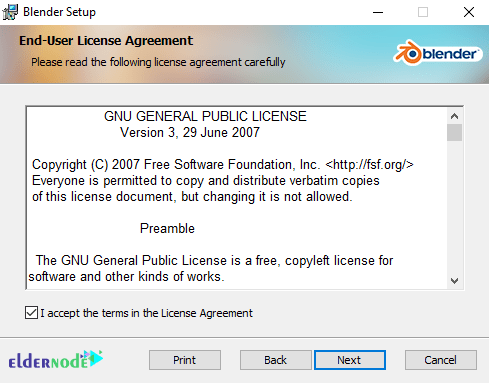
In the next step, which is to confirm the license agreement, check I accept... the. Then click Next.
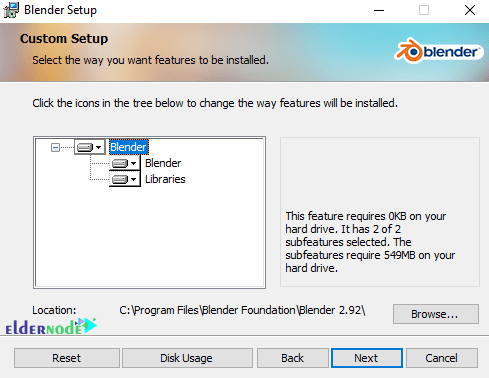
On the next page, which is the customization of installation features, click Next again. You can also specify the installation location in this section.
Click Install to start installing Blender.
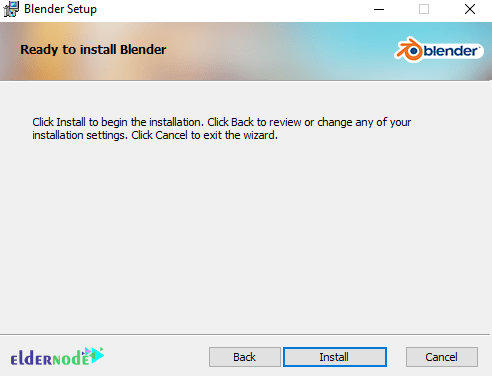
*
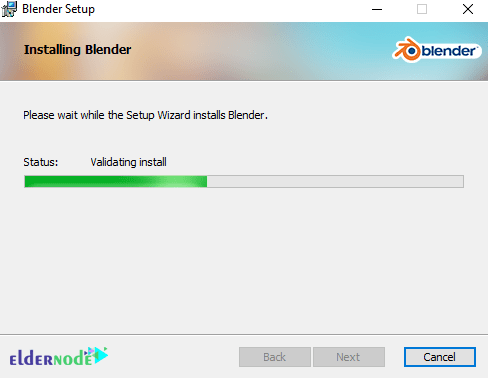
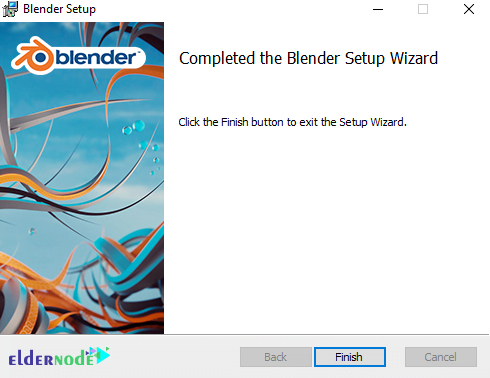
Finally, click on Finish.
How to use Blender 3D on Windows 10
Once you have successfully installed 3D Blender, you can now easily run it. In the image below, you can see the Blender 3D software environment:
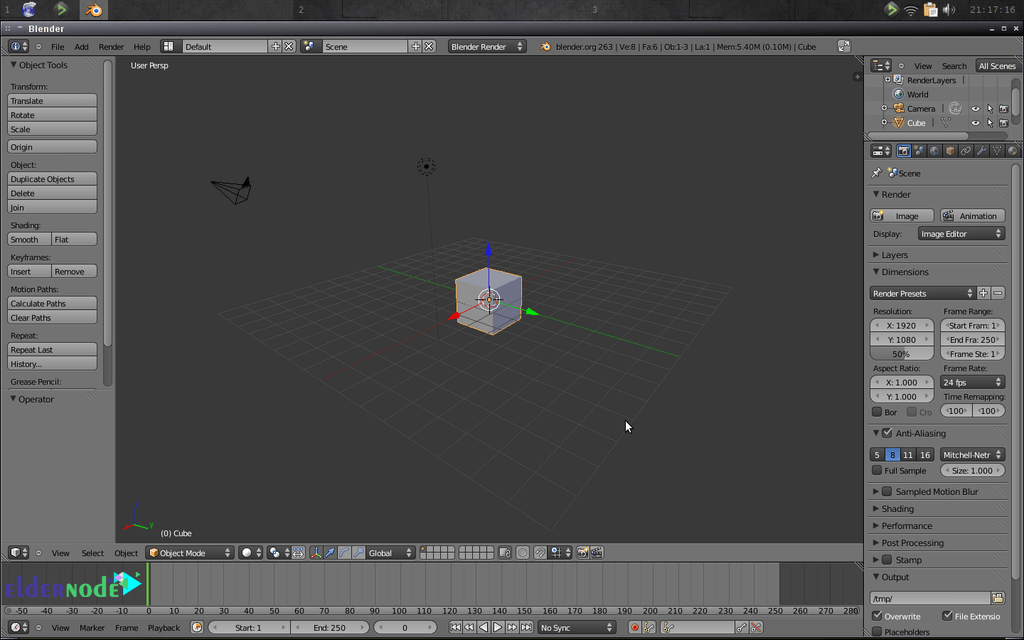
As you can see, this software has a toolbar on the left and right, file operations at the top, a timeline at the bottom, and a 3D view in the center.
To learn some general things about using Blender 3D, you can read the following:
1. To rotate the 3D view, hold down the middle mouse button and move the mouse.
2. To move up and down or back, hold Shift + the middle mouse and move the mouse.
3. Use the scroll wheel to zoom in and out.
4. To select an object, you must right-click on it. Also to de-select right-click away from the object.
5. To select multiple objects, hold down “SHIFT” and select the objects.
6. Press “A” to select and de-select everything.
Tip: When you select something, it will be highlighted in orange.
Conclusion
Blender software is extremely low volume software with extremely high performance. So that if you have complete mastery of this software, you can easily perform modeling, texturing, and animation activities in this powerful software. Creating some special effects, such as creating and animating liquids in Blender software, is easier and faster than other 3D software. In this article, we tried to teach you How to Install Blender 3D on Windows 10 RDP. If you wish, you can refer to the article How to Install Sketchup 3D on Windows 10 RDP.
