VirtualBox is open-source software that acts as a hypervisor and creates a virtual machine where the user can run another operating system. You can install VirtualBox on Windows, Linux, macOS, and OpenSolaris. If your data center relies on VirtualBox and your virtual machines rely on USB, you need to enable USB to be able to use it. Join us with the Tutorial Install And Enable USB On VirtualBox step by step.
Table of Contents
How To Install And Enable USB On VirtualBox
You can use VirtualBox to run virtual machines on your physical machine. In this way, you do not have to reinstall your OS that is running on that physical machine. You may notice that USB does not support your virtual machines unless you do not enable USB manually while your data center depends on VirtualBox. In this situation, if you need to backup data to an external drive or transfer data between your VMs that are not on the same subnet, you need to share data via USB.
Let’s assume that you have already set up VirtualBox on your Windows or Linux VPS host OS and VirtualBox guest additions on your Windows or Linux guest OS. In this way, you need to setup a VirtualBox extension pack and then setup the VirtualBox USB drive. Stay with us to go through the steps of this guide and access USB on VirtualBox.
Install the VirtualBox Extension Pack
First of all, you need to install the latest version of the Extension Pack. To grab the file for All supported platforms, go to the VirtualBox Downloads page. When the download is finished, follow the below path to complete the process of VirtualBox Extension Pack installation.
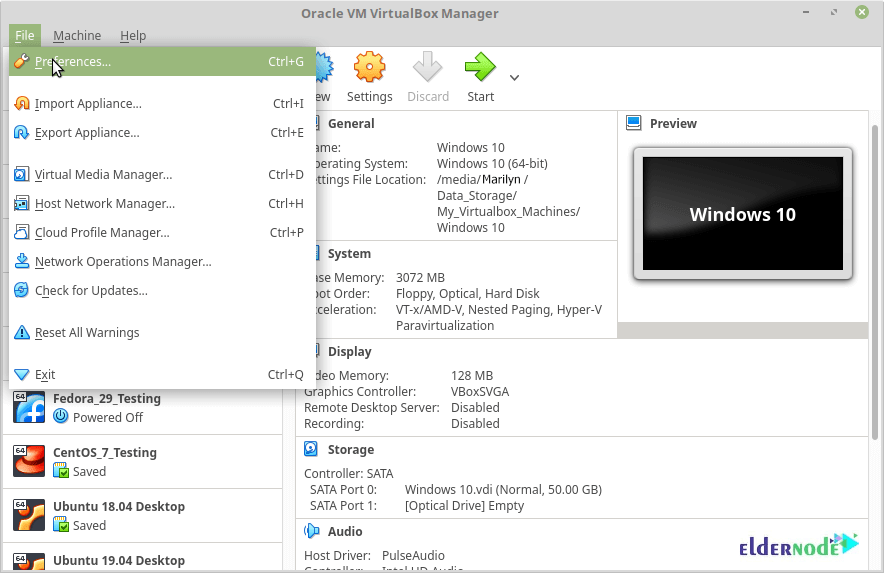
1- Open up VirtualBox >> Click File >> Preferences in the Menu.
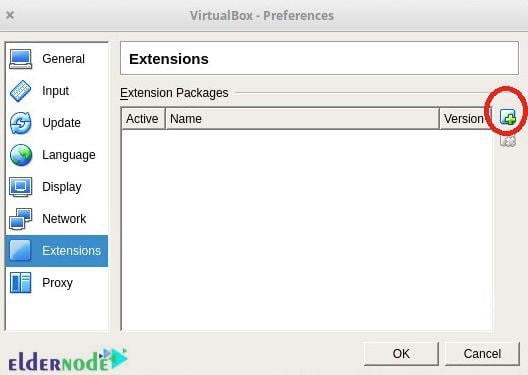
2- Now, click on the Extension tab and then click the + button.
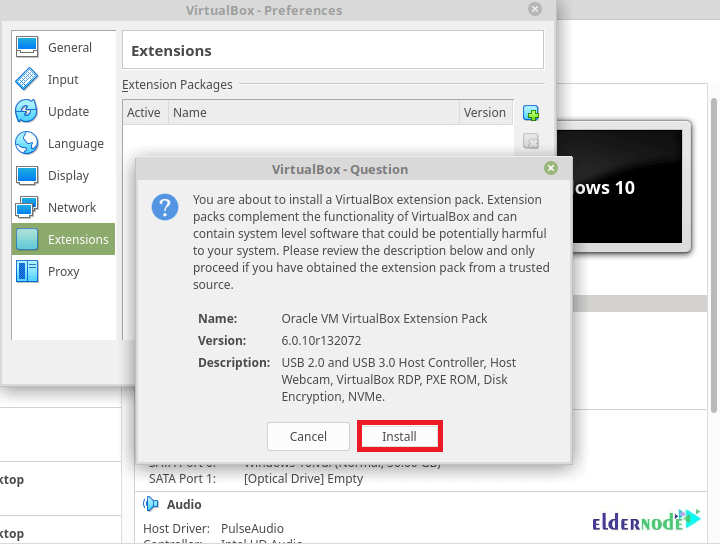
3- Navigate to where you saved the Extension Pack and select the Install button.
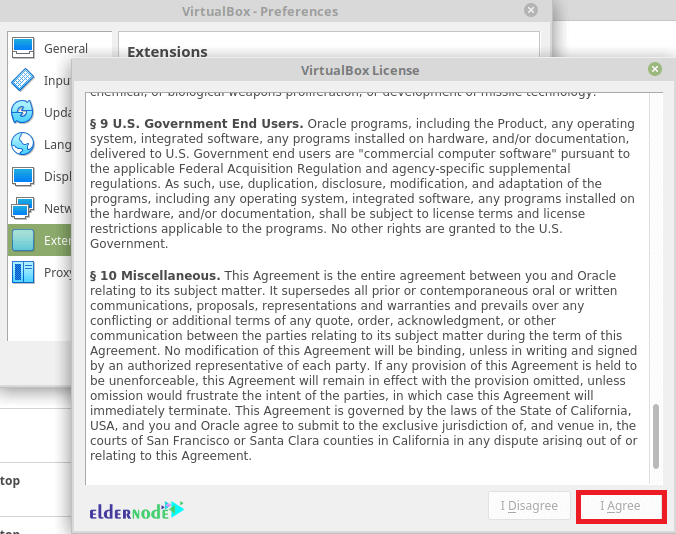
4- In this step, you need to scroll through the Virtualbox License and then click the ”I Agree” button to install it.
5- Type your Sudo password and allow the installation to complete. To continue, click on Authenticate button.
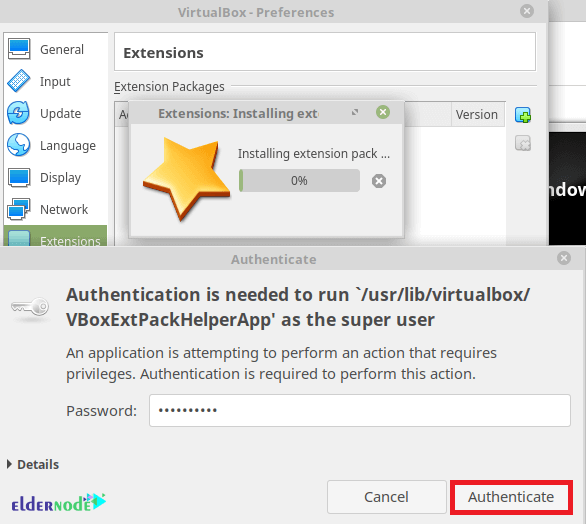
Finally, you can see the VirtualBox Extension pack is installed.
How to Enable USB Access to User
In this section, the VirtualBox must have access to the USB subsystem. To do this, you need to add a user to the vboxusers group to allow it to access the USB subsystem. So, open the terminal and run the following command:
sudo usermod -aG vboxusers <USERNAME>Where USERNAME is the name of the user. Remember to log out and log in back again when the command is run.
To check which groups your user account belongs to, use the command below:
groups yourusernameHow to Activate USB Support in VirtualBox
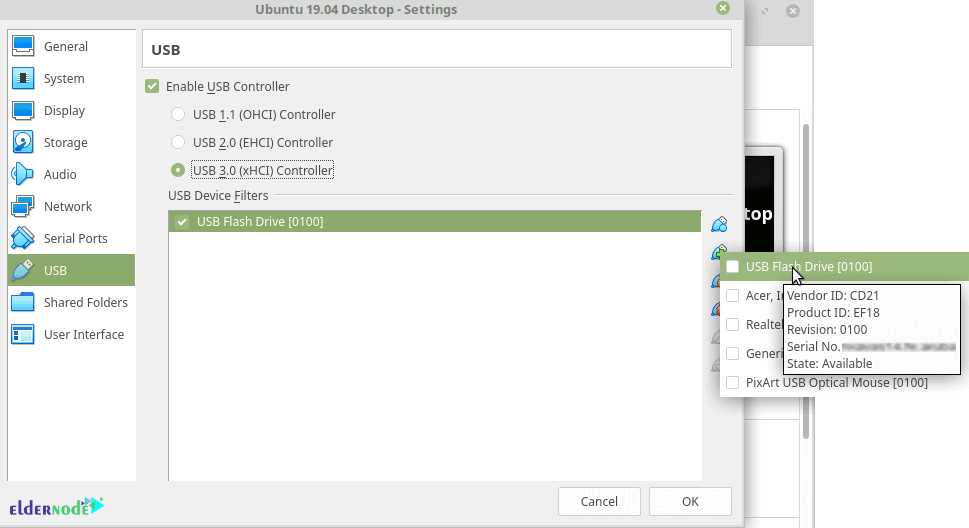
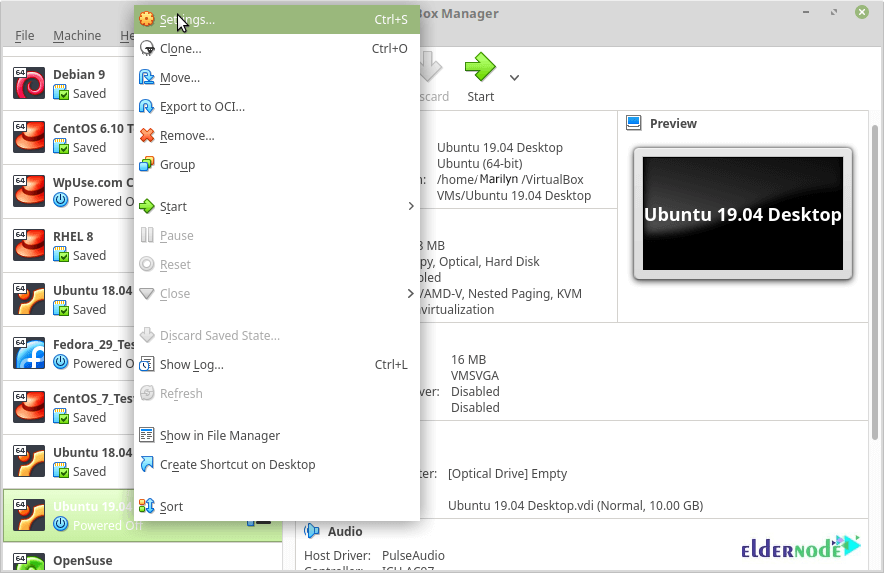
To enable USB support, first, open up VirtualBox, right back on the virtual machine that needs access to a USB device, and click Settings.
In the VM settings windows, click on USB. There, you must see the available USB devices. To add a new device, click on the + sign.

When the USB device is added and you start up the VM, it can have access to the data on the USB device. However, anytime you wish, you can enable more USB devices and give access to more than one USB device. To do this, go back into the Settings window of the VM, click on USB and add the next devices.
That’s that! You will be able to repeat that until the VM has access to all necessary USB devices
Conclusion
In this article, you learned How to Install And Enable USB On VirtualBox. From now on, when you boot up your VM, you can see your USB device. While USB is being used by VirtualBox, your host OS could not see the USB device.