
Learn how To Install And Run SonarQube On Centos 7 Linux Server. Let’s learn about this most widely used tool for code coverage and analysis. SonarQube is an open-source platform tool that helps you to manage the quality of source code, code analysis, etc. Buy your own CentOS VPS 7 Server to have a real experience with this quality system development tool.
To let this tutorial work better, please consider the below Prerequisites:
1- A non-root user with sudo privileges.
2- At least 2GB of RAM to run efficiently.
3- database Mysql or PostgreSQL or Mariadb as per your environment.
4- Java (Oracle JRE 11 or OpenJDK 11)
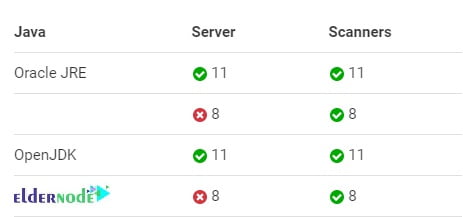
Note: SonarQube scanners require version 8 or 11 of the JVM and the SonarQube server requires version 11. Versions beyond Java 11 are not officially supported. Also, it is able to analyze any kind of Java source files regardless of the version of Java they comply with. However, you can use the Critical Patch Update (CPU) releases.
Additionally, you can check the official document for complete information.
Table of Contents
SonarQube Features
Let’s see the benefits of this web-based platform that is made to measure and analyze the source code quality.
1- Detects And Alerts
2- Sustainability
3- Productivity
4- Raise Quality
5- Increase Developer Skills
6- Scale With Business Needs
7- Enable Continuous Code Quality Management
8- Define And Increment Requirements Efficiently
9- Foster Innovation
10- Reduce Risk with Vendor Support and Services
Code Quality Covering
Sonar covers the 7 sections of code quality. Have a look at them below:
1- Architecture and Design
2- Unit tests
3- Duplicated code
4- Potential bugs
5- Complex code
6- Coding standards
7- Comments
Tutorial Install And Run SonarQube On Centos 7
Continue with this guide to learn how to install a tool that is ready to fit with your existing tools to help you when the quality or security of your codebase is at risk. To start you need to systems setting for Linux.
Step 1: How To Update System
Run the below command to update the system using the root user:
yum updateStep 2: How To Disable SELinux
You need to open the SELinux configuration and edit the file:
vim /etc/sysconfig/selinuxAnd to continue you should change “SELINUX=enforcing” to “SELINUX=disabled”.
Now, you can save exit the file.
Step 3: How To Set hostname To The Server
vim /etc/hostnameYou can install vim if you found it is not available yet. Use the following command to install it:
yum install vim -yIt is time to reboot the system:
rebootStep 4: How To Add System Settings
First, edit “sysctl.conf” file:
vim /etc/sysctl.confAnd then, add the following lines:
vm.max_map_count=262144 fs.file-max=65536Now, you can save and close the file.
Step 5: How To Install Oracle Java 11
In case you have not installed Oracle Java 11, Download it from here.
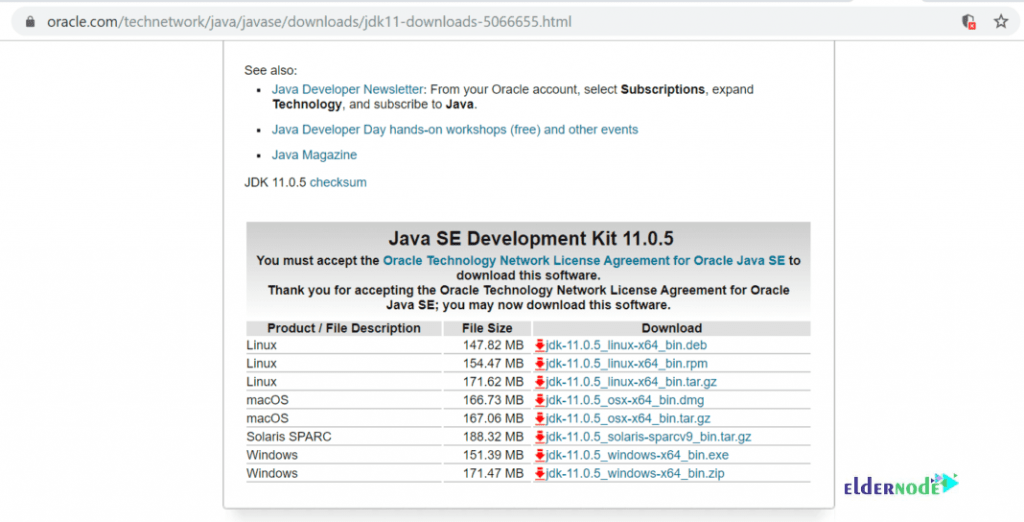
It will redirect to the oracle login before you download. Consider that if you have an account, use it, or create a new one. You can also download the rpm package to your machine and upload it to the sonar server. Otherwise, act like the below paths:
First, copy the download link from web browser downloads.
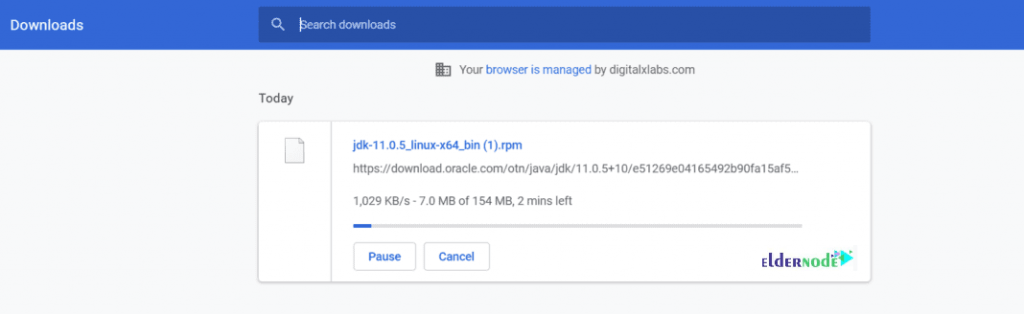
Second, go to your server and download by typing:
wget https://download.oracle.com/otn/java/jdk/11.0.5+10/e51269e04165492b90fa15af5b4eb1a5/jdk-11.0.5_linux-x64_bin.rpm?AuthParam=1573886978_5511f6acaa0b321333446e8e838c1045Note: You can use the following command as the alternative command if the “wget” command is not available in your system to install it.
yum install wget -yThen, rename the downloaded file.
mv jdk-11.0.5_linux-x64_bin.rpm\?AuthParam\=1573886978_5511f6acaa0b321333446e8e838c1045 jdk-11.0.5_linux-x64_bin.rpmAnd finally, install Oracle JDK:
yum localinstall jdk-11.0.5_linux-x64_bin.rpmYou can find the Java location after the installation by typing:
cd /usr/java/Next, you should add java environment variables:
vim /etc/bashrcAdd the following lines to the end of the file:
export JAVA_HOME=/usr/java/jdk-11.0.5/ export JRE_HOME=/usr/java/jdk-11.0.5/jre PATH=$PATH:$HOME/bin:$JAVA_HOME/binNow, you can check the java version and then save and exit the file.
java -versionStep 6: How To Install PostgreSQL 10
run the command below to install the repository:
yum install https://download.postgresql.org/pub/repos/yum/reporpms/EL-7-x86_64/pgdg-redhat-repo-latest.noarch.rpmNote: In case you need to see downloads for Redhat based distributions, check the postgresql.org.
And to install the server:
yum install postgresql10-server postgresql10-contribTo initialize the database, use:
/usr/pgsql-10/bin/postgresql-10-setup initdbThen, modify pg_hba.conf file; change “peer” to “trust” and “idnet” to “md5”.
vim /var/lib/pgsql/10/data/pg_hba.confNow, you need to enable PostgreSQL on system boot to be able to start service and set on boot:
systemctl enable postgresql-10Then, check service status and start it by typing:
systemctl status postgresql-10systemctl start postgresql-10Use the command below to change the default password of the Postgres user.
passwd postgresTo switch to the Postgres user:
su - postgresTo create a new user, run:
createuser sonarAnd switch to PostgreSQL shell:
psqlIt is time to set a password for the newly created user for the SonarQube database:
ALTER USER sonar WITH ENCRYPTED password 'tfd3@163?Qn4';Also, create a new database for the PostgreSQL database.
CREATE DATABASE sonar OWNER sonar;Run the command below to exit from the psql shell.
\qAnd use the following command to exit from the “postgres” user.
exitStep 7: How To Download And Configure SonarQube.
In this part, you will download the package in to “opt” directory and change the directory.
cd /optTo download the latest version of LTS, run:
wget https://binaries.sonarsource.com/Distribution/sonarqube/sonarqube-7.9.1.zipThen, unzip the below command:
unzip sonarqube-7.9.1.zipNote: You can install unzip if the unzip command is not available.
yum install unzip -yTo rename folder, use:
mv sonarqube-7.9.1 sonarqubeRun the following command to modify “sonar.properties file”:
vim /opt/sonarqube/conf/sonar.propertiesFind the following lines. Then uncomment and modify values.
sonar.jdbc.username=sonar sonar.jdbc.password=d98ffW@123?Q sonar.jdbc.url=jdbc:postgresql://localhost/sonarsonar.web.host=127.0.0.1 sonar.web.port=9000 sonar.web.javaOpts=-server -Xms512m -Xmx512m -XX:+HeapDumpOnOutOfMemoryError sonar.search.javaOpts=-server -Xms512m -Xmx512m -XX:+HeapDumpOnOutOfMemoryErrorConfiguring the Elasticsearch storage path:
sonar.path.data=/var/sonarqube/data sonar.path.temp=/var/sonarqube/tempNow, you can save and exit the file.
Use the command below to create a user for sonar:
useradd sonarAnd to set a password:
passwd sonarTo modify folder permissions:
chown -R sonar:sonar /opt/sonarqubeThen, create the following folders and grant permission:
mkdir -p /var/sonarqube/data mkdir -p /var/sonarqube/tempchown -R sonar:sonar /var/sonarqubeTo Set up Sonarqube as a service type:
vim /etc/systemd/system/sonarqube.serviceAdd the following content to the file:
Unit] Description=SonarQube service After=syslog.target network.target [Service] Type=forking ExecStart=/opt/sonarqube/bin/linux-x86-64/sonar.sh start ExecStop=/opt/sonarqube/bin/linux-x86-64/sonar.sh stop LimitNOFILE=65536 LimitNPROC=4096 User=sonar Group=sonar Restart=on-failure [Install] WantedBy=multi-user.targetTo reload “systemctl” daemon and enable sonar on system boot, type:
systemctl daemon-reloadsystemctl enable sonarqube.serviceAnd to start service and check its status, run:
systemctl start sonarqube.servicesystemctl status sonarqube.serviceNext, to logfile location run:
cd /opt/sonarqube/logs/SonarQube service log
tail -f /opt/sonarqube/logs/sonar.logWeb Server Logs
tail -f /opt/sonarqube/logs/web.logElasticSearch logs
tail -f /opt/sonarqube/logs/es.logCompute Engine logs
tail -f /opt/sonarqube/logs/ce.logStep 8: How To configure the reverse proxy
In this part, you need to install Nginx, start service, and enable on system boot.
yum install -y nginxsystemctl start nginx systemctl enable nginxstep 9: How To Configure SSL
Use the commands below to enable Epel repo and install certbot.
yum install – y epel-releaseyum install certbot python2-certbot-nginxIn the following, the below command helps you to get a certificate and have Certbot edit your Nginx configuration automatically to serve it, turning on HTTPS access in a single step.
certbot --nginxThen, add needed details according to that when the command asks.
Once the installation is finished, open nginx.conf.
vim /etc/nginx/nginx.confOnce you see the certbot SSL configuration, add the following contents to a Location Blocks.
location / { proxy_pass "http://127.0.0.1:9000"; proxy_http_version 1.1; proxy_set_header Upgrade $http_upgrade; proxy_set_header Connection 'upgrade'; proxy_set_header Host $host; proxy_cache_bypass $http_upgrade; } Now, you can save and exit the file.
Type the following command to check Nginx:
nginx -tThen, restart it:
systemctl restart nginxStep 10: DNS
In this step, you need to go to your DNS manager and add a record for your sonar server.
A Domain Name Server IPStep 11: How To modify Firewall Rules
You are ready to use the commands below to open HTTPS traffic, If you have the firewall enabled:
firewall-cmd --zone=public --permanent --add-service=httpsfirewall-cmd --reloadType the following command to open sonar for specific IP:
firewall-cmd --permanent --zone=public --add-rich-rule=' rule family="ipv4" source address="120.42.7.191/32" port protocol="tcp" port="443" accept'firewall-cmd --reloadStep 12: How To Browse Sonarqube
To do this, you need to go to your browser and type your domain name and then click “login.”
eg:- https://sonar.example.com/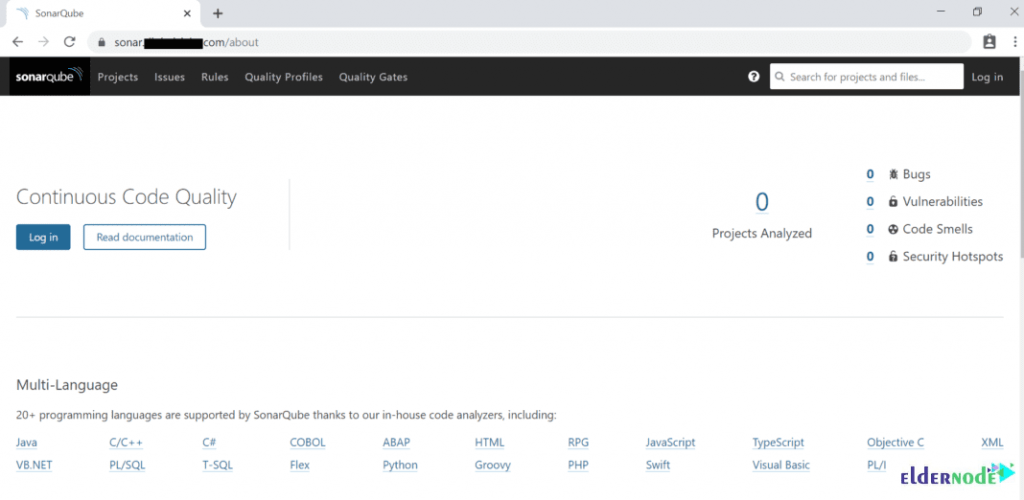
Step 13: How To Login To SonarQube
The default username and password is “admin”.
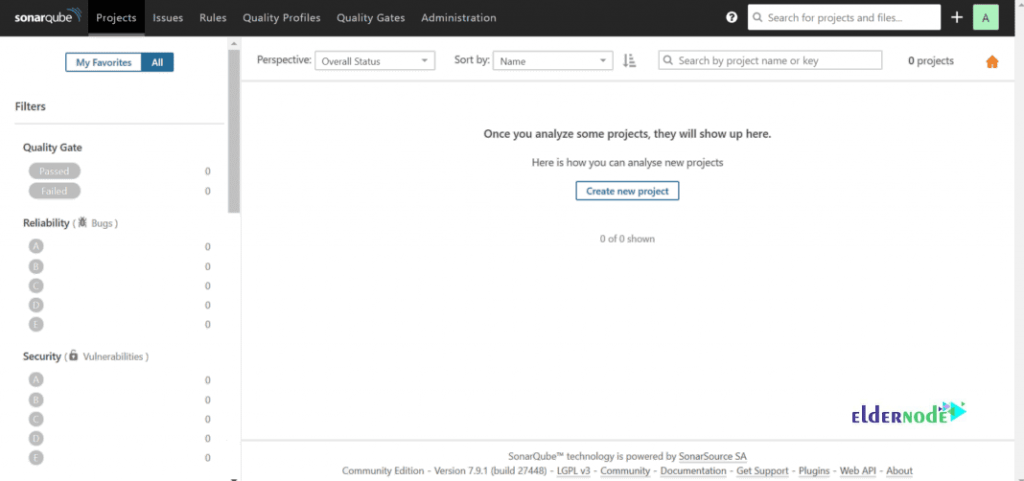
You see the Dashboard page below:
Conclusion
In this article, you learned how To Install And Run Sonarqube On Centos 7. From now on you are able to reliably track your codebase health. Let it start to code quality analysis that makes your code more reliable and more readable. In case you are interested in reading more, find our article on How To Install And Configure Wazuh On Centos 7.