How to Connect Teamviewer Remote Desktop (rdp) On Windows 10. Team Viewer is a professional software that you can easily use to connect remotely to the computer of friends and colleagues or anyone who needs this feature using the Internet. If we want to describe in simple and comprehensive language, we must say that you can easily control and access another person’s desktop remotely using your computer using Team Viewer software. Provided that the other party also installs this software in their system and allows you to access it.
In this article, we are going to teach you How To Connect teamviewer Remote Desktop On Windows 10. You can also visit various packages in Eldernode to windows vps server.
Powerful remote teamviewer software is available in Windows, Mac, Linux, as well as for smartphones and tablets running Android, iPhone and Windows Mobile. You can use them as you need.
What are the capabilities of Team Viewer software?
– Does not require IP Valid at all.
– Responsive with all kinds of internet speeds
– Ability to connect several people to the target system (one system) at the same time
– Has the ability to receive and send files between connected systems
– Can be used in mobile devices such as mobile phones and tablets
– Has the ability to record all activities and present in video
– Has the ability to chat between two connected systems
– Has the ability to adjust the image quality
– Has the ability to use the software portable (ie without installation)
– Has access level capability
– Has the ability to use Clipboard memory
– Very high performance speed and less bandwidth usage
– Very professional
– Completely free
Table of Contents
Tutorial How To Connect teamviewer RDP On Windows 10
First download it from the official TeamViewer website.
Well, dear users, after downloading the software run it. You will see it asks you if you would like to install or just run. In our opinion, there is no need to install, click on the Run option to just run, which is called Portable execution. Like the image below:
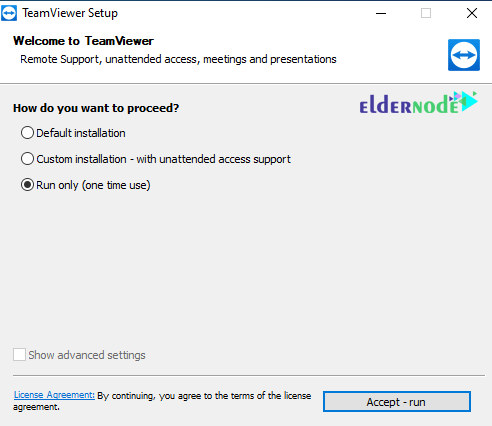
As you can see in the image above, you have to check the Run option and click Accept-run to enter the next step, as in the image below:
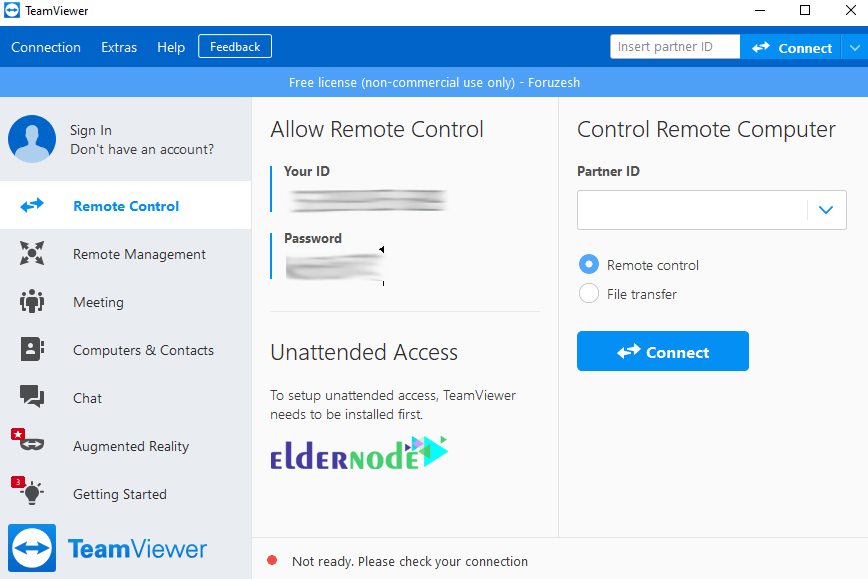
Well, as you can see in the image above, there are 2 fields on the middle with the titles ID and Password. The ID is the same as the IP Valid that the software generates for you, which can be connected to your computer if you give this ID and password to the other party who wants to connect.
Note: You can also access the system and its desktop with the other party’s ID and password.
How to connect and access the other party system
To do this, you must first get the ID and Password of the other party and enter the ID in the Partner ID field located on the right. You must also check the Remote Control option, as shown below:
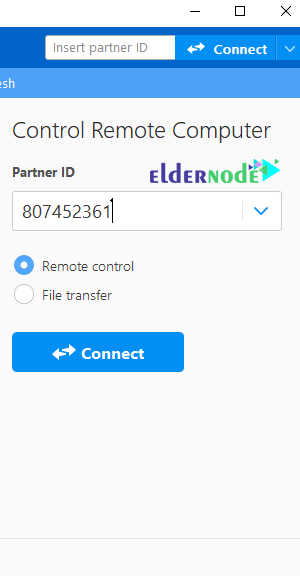
Well, after applying the above items, click on the Connect To Partner option. You will see another page open in front of you asking for your password on this page. This is the same password of the other party that you received from him before. After entering the password, click on the Log On option to establish a connection.
Note: This connection will be possible if the other party is in the software at that time. Also, this password changes every time the software is run, which you can customize from the Team Viewer software settings so that it does not change every time you run it.
That’s it. From now on, you connect to the other party’s system and control his desktop.
Learn Professional TeamViewer settings
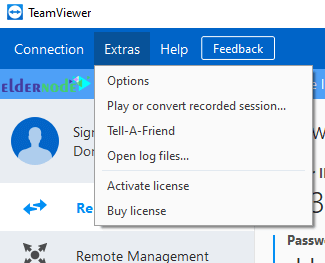
You can customize this professional software. To do this, you must click on the Extras option at the top of the software screen and select Options. Like the image below:
1. General section
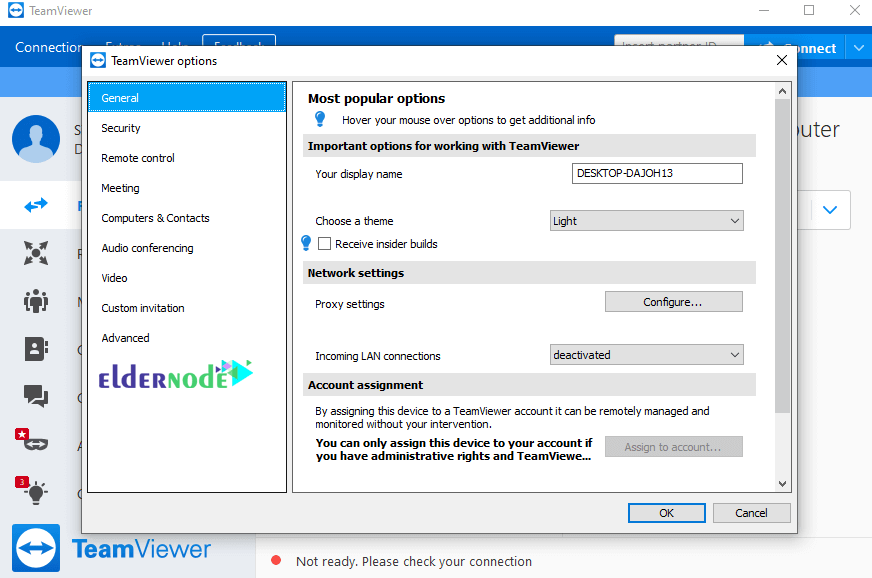
You Display Name: In this section you can specify what name to display to your liking.
Proxy Settings: If needed, you can apply proxy settings from this section.
Incoming LAN Connections: Note that if systems (computers) are on a local network, enable this option.
2. Security section
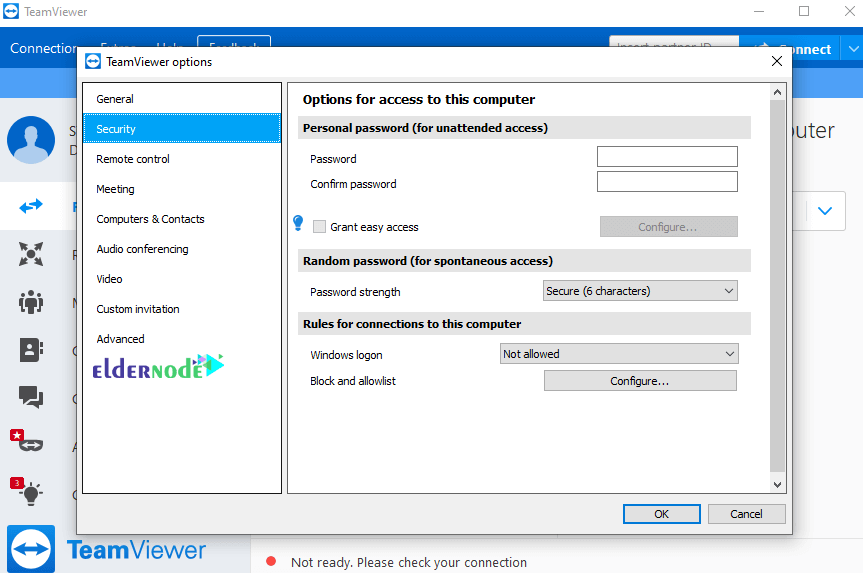
Password: Note that each time you enter and run the Team Viewer software, a new password is provided and is not fixed. If you want to have a unique password and always use it, you can enter it here.
Password Strength: In this section, you can specify that the random password be disabled or assign a character to it.
Windows Logon: In this section, you can also specify access rights for administrators or users.
Black and White List: This section is also to determine which computer and system should be blacklisted.
3. Remote Control section

Quality: In this section you can specify the quality of the connection speed (this speed affects the direct image of the other party)
Remove Remote Wallpaper: In this section, you can also remove Windows Background to increase the speed of work.
Show Your Partners Cursor: This section is also for setting the mouse display on the screen and also for tracking by the user that you can set.
Play Computer Sounds Ans Music: In this section you can specify whether the sounds of the other party’s system can be heard or not.
Auto Record Remote Control Sessions: From this section you can also enable image recording to record activities.
4. Meeting section
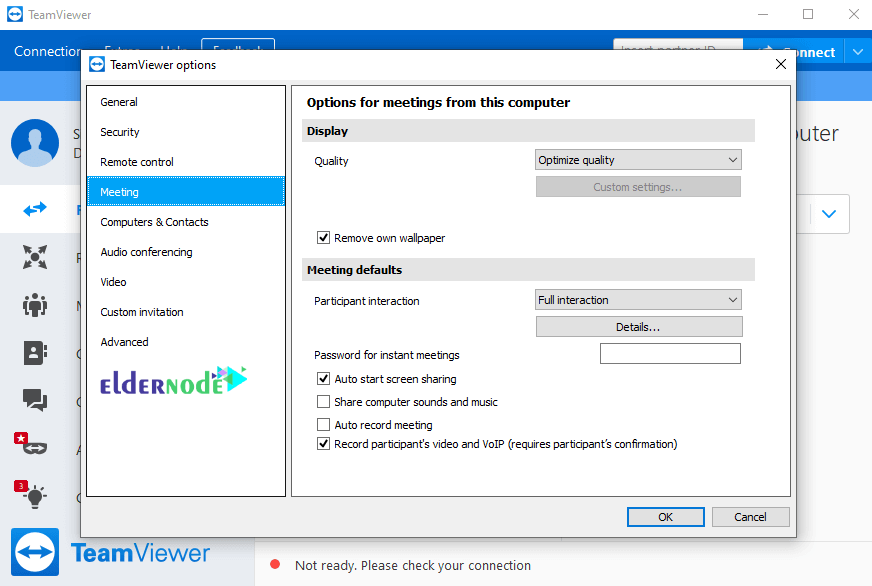
Quality: This section also deals with the speed of connection and display of images.
Remove Own Wallpaper: In this section, as in the previous settings section, you can remove the Windows Background to increase the speed of work.
Auto Start Screen Sharing: This section is also for displaying the information that is being shared, which you can set to display.
Share Computer Sounds And Music: This section is also about sharing computer sounds.
Auto Record Meeting: This section is also for recording images and activities that you can specify to do this automatically.
5. Computers & Contacts section
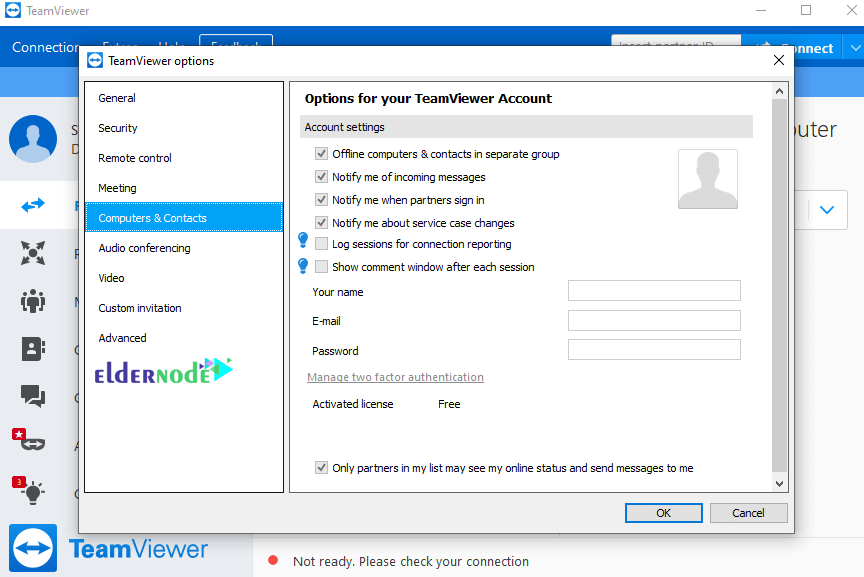
Offline Computers In Separate Group: This section is about displaying offline systems.
Notify Me Of Incoming Messages: It is related to showing or not showing online systems, ie an online system will be seen in the list.
Notify Me When Partners Sing In: This section is also about the online nature of this system.
Log Sessions For Connection Reporting: This section is also related to displaying the relevant section in running the program.
6. Auto Conferencing settings
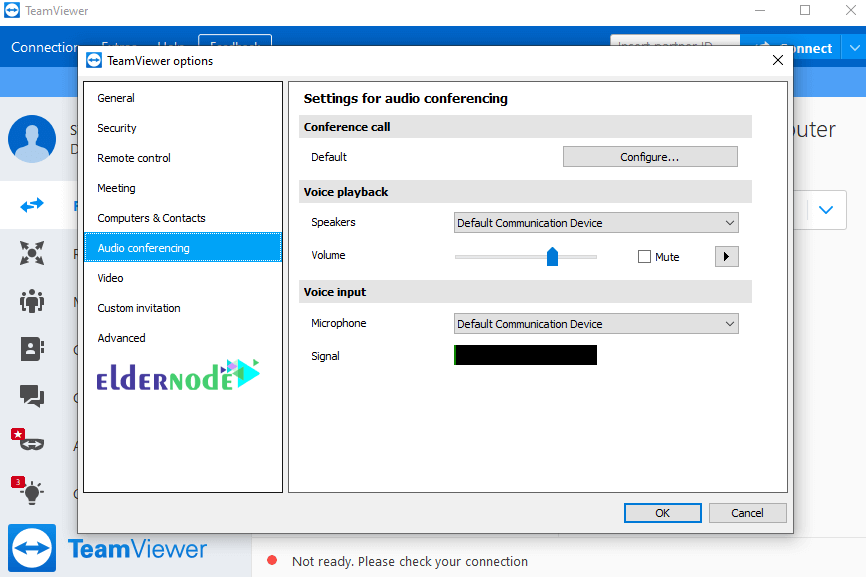
Conference Call: Related to the conference.
Speakers: In this section you can set the sound player.
Volume: In this section you can control the volume and mute it.
Microphone: In this section you can set the audio device and player.
Microphone Level: In this section, you can adjust the microphone volume or mute it completely.
7. Video section
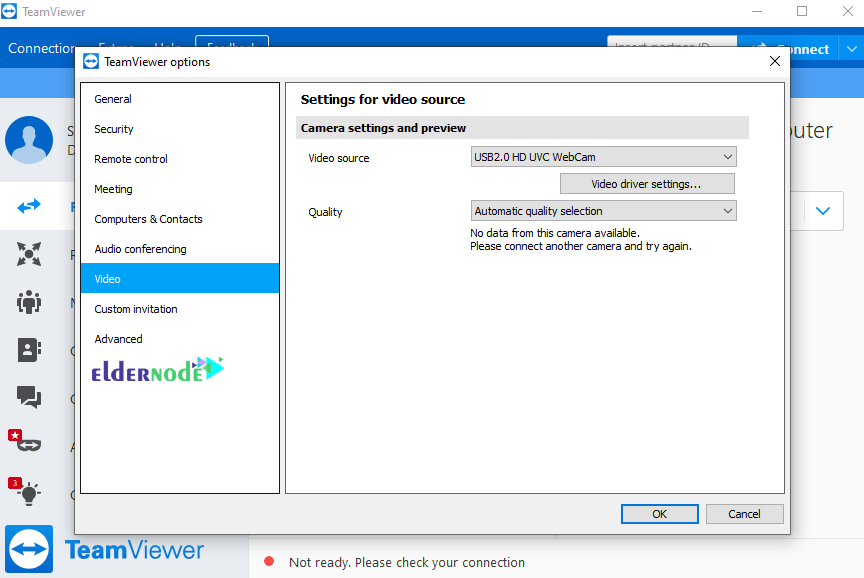
Video Source: This section is also related to selecting a webcam from the list.
Quality: Regarding the quality of the submitted image, this software is powerful.
8. Custom Invitation section
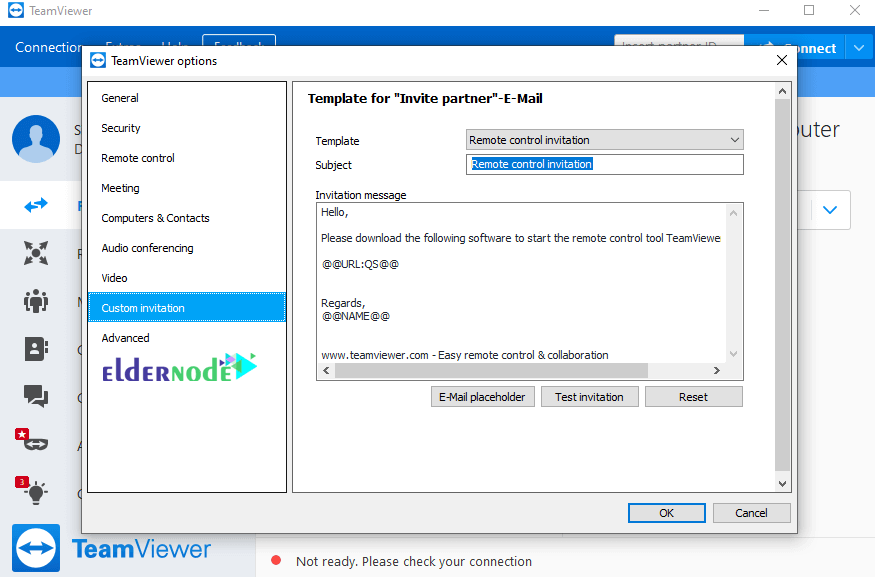
Template: refers to the settings of the letter template type.
Subject: This part is also related to the title of the letter.
Invitation Message: This part is also the text of the letter.
Test Invitation: It is related to the test as well as returning to the original message
Conclusion
TeamViewer software allows people to access your computer remotely via the Internet. (Or vice versa). The purpose of providing this software is for people who have a problem in their system to have another reliable person remotely solve the problem and guide them. In this article, we tried to explain some of the features of TeamViewer software. Then we told How To Connect teamviewer Remote Desktop On Windows 10 and finally we reviewed all the parts of this software.