As you know, the new generation of many laptops and computers do not have an optical drive to read discs due to their slim design. The only way to install Windows on these laptops is to use a USB drive. To do this, you need to create a bootable Windows USB drive and put the Windows installation files into it. This article will teach you How To Create A Bootable USB Flash Drive In Windows 7/8/10. If you want to purchase your own Cheap Windows VPS server, you can check out the packages offered on the Eldernode website.
This tutorial will show you how to make a bootable flash drive from an ISO image.
Installing each version of Windows has a different process and requires different tools. To install your particular version of Windows, you need to use the following tools and create a bootable Windows USB drive.
Table of Contents
How to Download an ISO file for Windows 7/8/10
You should download an ISO file for your operating system to be able to create a bootable USB Flash Drive in Windows 7/8/10. You can do this both from Microsoft and using the Media Creation Tool.
Download ISO file from Microsoft
First, go to Microsoft’s Download Windows page from any Chromium-based browser:
Download Windows 7 | Download Windows 8 | Download Windows 10
You will see you can only update your Windows to a new version using Windows Update or using the Microsoft Windows Media Creation Tool.
But you can change your browser’s user to a non-Windows operating system to trick Microsoft’s Windows download page into offering an ISO image.
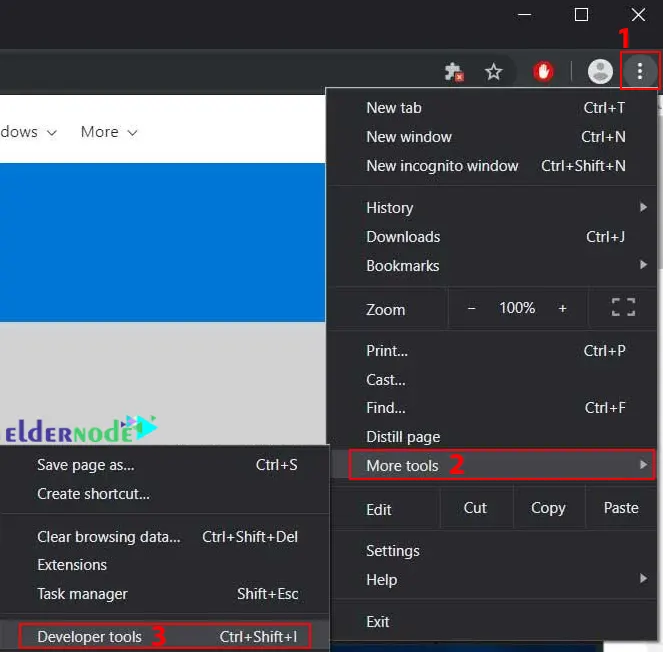
Now click on the Chrome menu and go to the More Tools > Developer Tools path:
And open the Device toolbar by pressing the Ctrl+Shift+M keyboard combination. You can impersonate another device with the help of this toolbar. The Device toolbar can also change the browser’s user agent, which is used by the website to identify a visitor’s operating system when switching to another device.
Now to view the page better, click on the Responsive menu and choose iPad or iPad Pro:
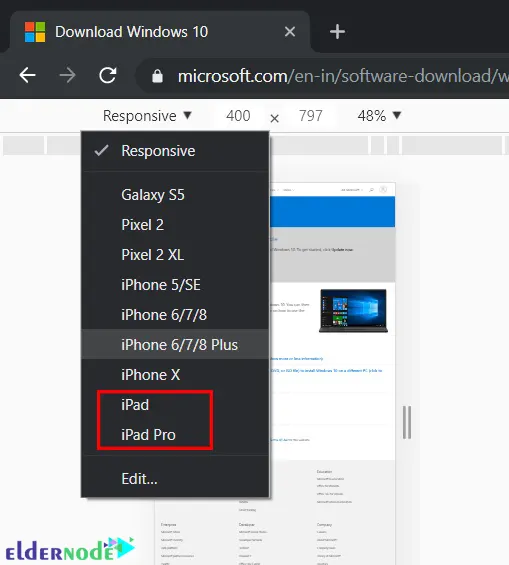
You will see the screen size set to 50%. Change it again to 100%:

Now refresh the page by pressing F5. You will see the Microsoft website offers the Windows version ISO instead of the Media Creation Tool.
Then click on the Select edition drop-down menu and choose the Windows option under the latest feature update name. After the selection, click on Confirm.
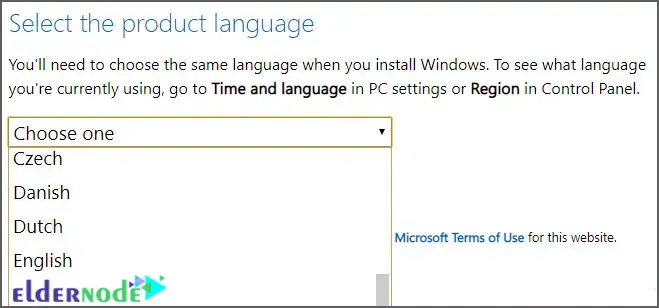
In this step, you will be prompted to choose your product language of ISO. Once chosen, click on Confirm:
You should choose whether you want to download a 32-bit or 64-bit version of the Windows ISO and press the Download. Then choose the folder you want to save the ISO file and click on Save to download it.
Wait until the download is complete and the process will complete when the download is done.
Download ISO file using the Media Creation Tool
Media Creation Tool is one of Microsoft’s tools that allows you to download the latest Windows ISO to a file or burn it to a USB drive.
First, go to the Windows download page and choose your desired version. We will choose Windows 10 version in this tutorial.
Then click on the Download tool now link on Create Windows 10 installation media.
After the download is complete, allow Windows to run the program:
Now accept the license agreement by clicking on Accept.
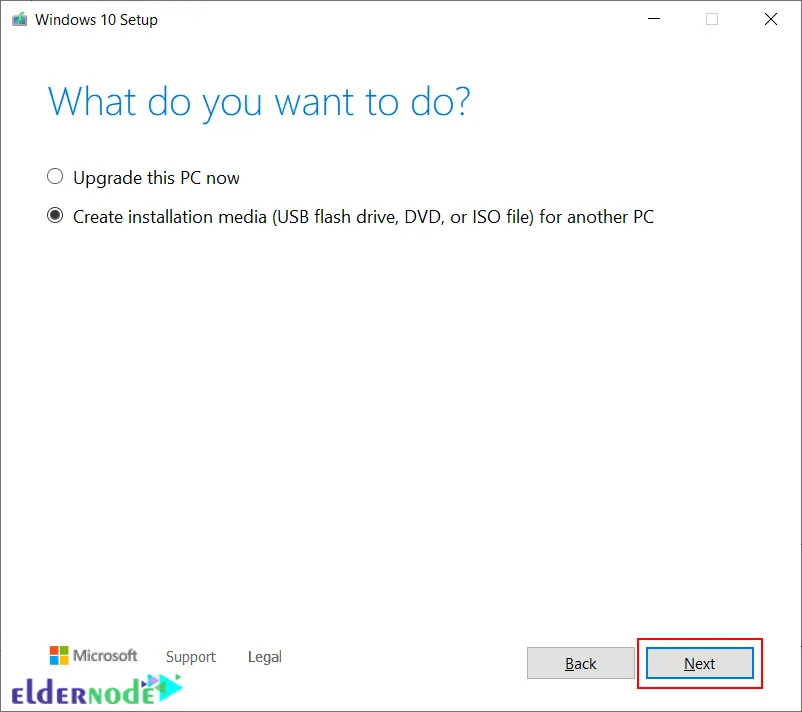
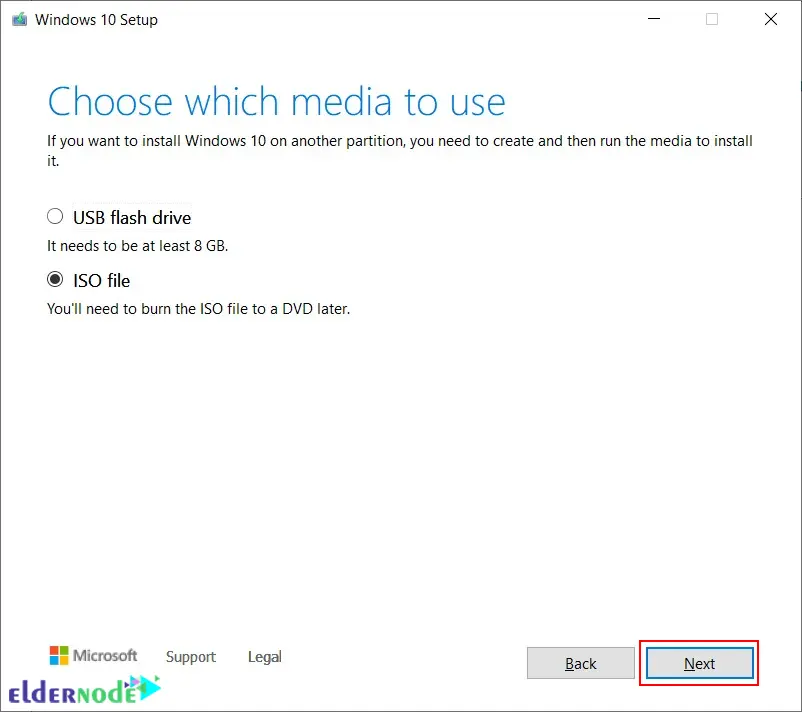
Next, you should choose ‘Create installation media (USB flash drive, DVD, or ISO file) for another PC‘ and press Next:
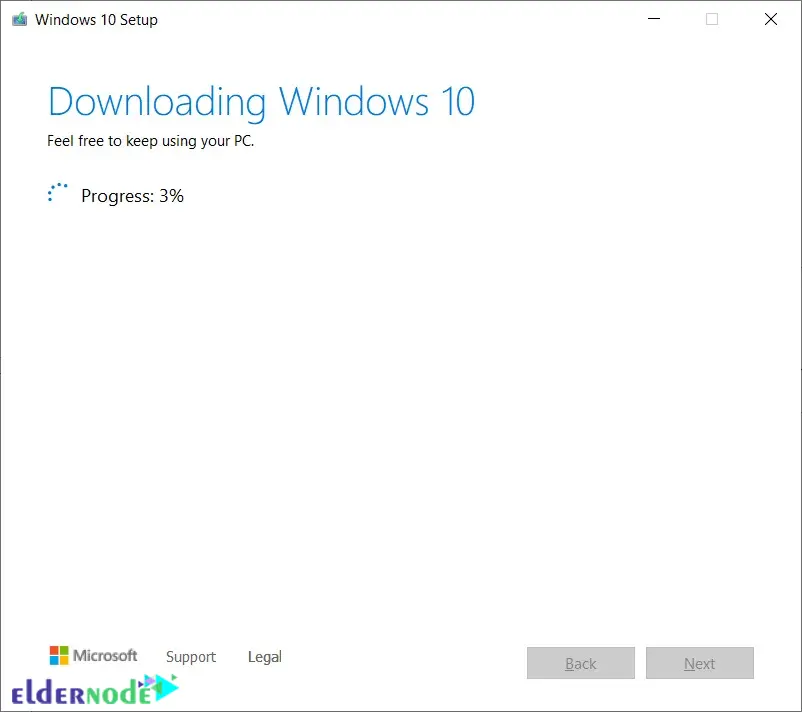
Wait until the necessary files to download and verified by the Media Creation Tool:
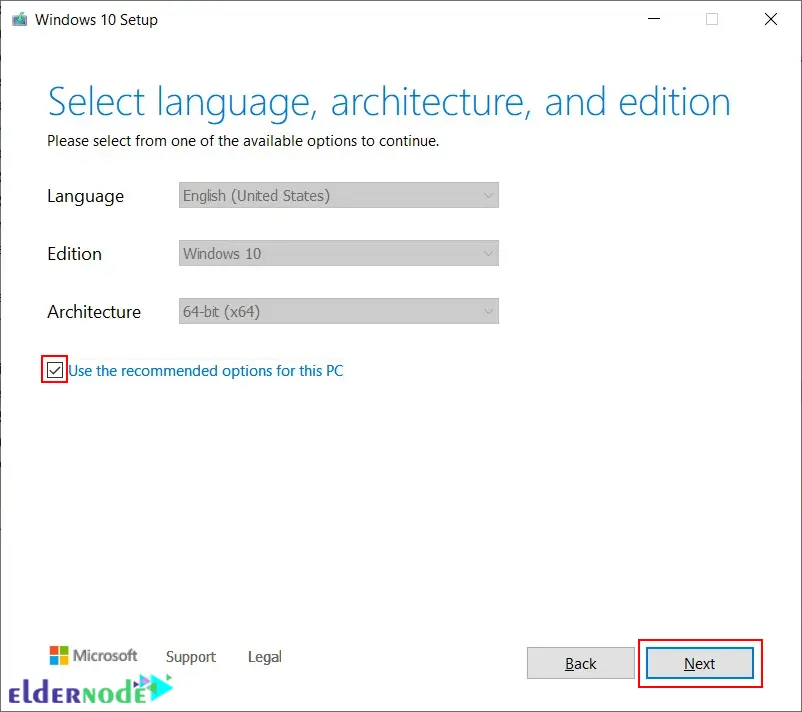
After the download process is completed, you will be asked to select the language, architecture, and Windows edition for your ISO image. If you don’t want to use the recommended options, you can uncheck the ‘Use the recommended options for this PC’ checkbox. After done, click on Next:
Now choose the ISO file and click Next:
Then choose a folder to save the ISO file. The ISO file will be created in the specified location.
Finally, click on Finish to close the program.
That is all you need to download the ISO file for Windows 7/8/10.
Creating a Bootable USB Flash Drive from ISO Image
This tutorial will teach you how to make a bootable flash drive from an ISO image. This will allow you to install Windows from a USB stick without having to burn it onto a CD or DVD first.
After your installation is completed, you can Rufus and PowerISO tool to convert USB into a bootable device.
How to Create a Bootable USB Flash Drive Using Rufus
Follow the steps below to create a bootable USB Flash Drive using Rufus:
1–> Download Rufus from the official website. After the download is complete, the software will automatically launch the program when you double-click on the application.
2–> Insert the USB Flash drive. You can see a list of options before you.
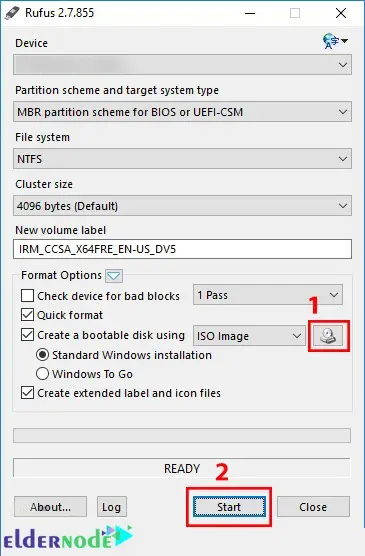
3–> Name your bootable USB device in the ‘New Volume Label’ tab.
4–> Click on the CD drive icon to choose the .iso file you want to use. After you choose, click on Start:
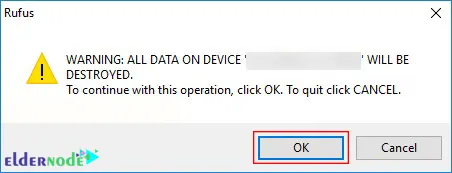
5–> Then you will be prompted to delete all the data from the USB drive:
6–> Finally, wait for Rufus to finish their work.
How to Create a Bootable USB Flash Drive Using PowerISO
If you want to create a bootable USB Flash Drive using PowerISO, follow the following steps:
1–> Download PowerISO from the official website and install it on your PC.
2–> Insert the USB drive.
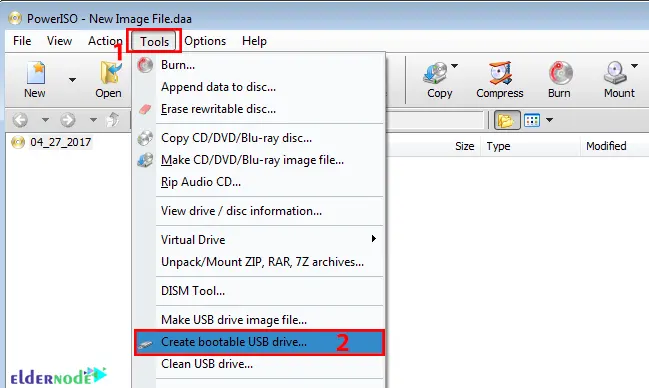
3–> Run PowerISO and go to Tools > Create Bootable USB Drive path:
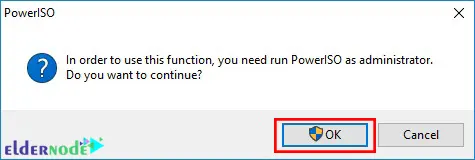
4–> Click on OK to use PowerISO as an administrator:
5–> Click on the folder option to browser the .iso file you want to make bootable:
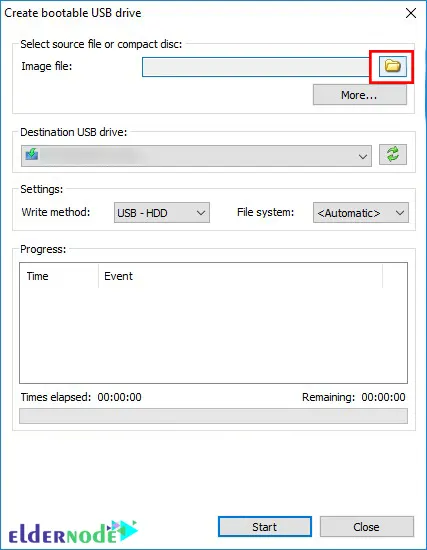
6–> Click on Destination USB Drive to choose the appropriate USB drive you want to make bootable.
7–> Choose the writing method and click on Start:

8–> Wait for PowerISO to finish its work.
That’s it! You successfully create a bootable USB Flash Drive in Windows 7/8/10.
Conclusion
USB technology replaced CDs and DVDs and bootable disks have become outdated. Bootable USBs are reliable for booting an Operating System. In this article, we taught you how to download ISO file and how to create a bootable USB flash drive in Windows 7/8/10. I hope you found this tutorial useful. If you face any problems and have any questions or suggestions, you can contact us in the Comments section.