
Squid is a proxy server or it acts as a proxy and cache server. Catching and forwarding HTTP web browser is what Squid does. While it forwards requests to the required destinations, it could also save their content. Feeling a higher speed of your web server, caching web, DNS is the first feature of using Squid. Join us with this article to learn How To Install Squid Proxy Server On Ubuntu 20.04 LTS. The squid was originally designed to run as a daemon on a Unix-like system. To purchase your Linux VPS have a look at packages available on Eldernode.
Table of Contents
Tutorial Install Squid Proxy Server On Ubuntu 20.04 LTS
To let this tutorial work better, please consider the below Prerequisites:
A non-root user with sudo privileges.
To set up, follow our Initial server setup on Ubuntu 20.04.
Install Squid Proxy Server On Ubuntu 20.04 | Ubuntu 18.04
New versions of Squid is available on Windows. Squid is free and released under the GNU General Public License. Let’s go through the steps of this guide to learn how to install Squid on Ubuntu.
Step 1:
First, update your system packages to the latest version by running the following commands:
sudo apt-get updatesudo apt-get upgradeStep 2:
Once the system is updated, you can install Squid easily and quickly. Because the Squid package is available in the Ubuntu 20.04 default repository.
sudo apt-cache policy squidAlso, you can use the command below to search for Squid packages if you wish:
apt show squidStep 3:
Use the commands below to install Squid. Once ”Active: active (running) displayed in the output, the squid is installed.
sudo apt-get install -y squidsudo systemctl start squidsudo systemctl enable squidsudo systemctl status squidStep 4:
In this step, you will configure Squid proxy server on Ubuntu 20.04.
The default Squid proxy configuration file is located ar /etc/squide/squide.conf. nd /etc/squid/conf.d/ directory. The configuration file could be edited by a text editor. Although some minimum settings are available in the configuration, you can make some changes to it. But before modify it, create a backup of the original file.
sudo cp /etc/squid/squid.conf /etc/squid/squid.conf.origNow, open the file with your favorite file editor to adjust your custom settings in /etc/squid/squid/conf.
sudo vim /etc/squid/squid.confStep 5:
It is time to change Squid default port. Its default port is 3128. Open squid.conf file and look for http_port line to alert it. In the following, you can change it to your considered port number and then save the file.
#http_port 3128http_port 8080To make sure of allowing the port through the firewall, type:
sudo ufw allow 8080/tcpsudo ufw enableStep 6:
Now, you should set Squide cache memory size. Use the following setting to set your preferred cache memory. For instance, if 256MB would be enough:
cache_mem 256 MBStep 7:
Then, you can specify DNS name-server to use. You need to define your own DNS server. Use the following command to do this.
dns_nameservers 8.8.8.8 8.8.4.4Step 8:
In this part, we present Access Control Lists. It is about Squid ACL and http_access. You may need to allow access from a specific network or IP address and deny others since a proxy server is selective of what goes through it. Using the ACL helps you to define what is allowed and what is denied. So, to add rules of your choice edit squid.conf.
Step 9:
You can define ACLs for Squid proxy server. With ACL, you can choose what is allowed to pass through the proxy server and what is not. The statements define these permissions and should begin with acl followed by the name of the rule. After the name is the acltype and the argument or file. The files must contain only one item.
acl aclname acltype argument.. acl aclname acltpe “file”…You can choose to disable the by adding # at the beginning of each line. Look at the below examples to see how you can create new rules.
Allow LAN network through Squid proxy server.
Creat the acl rule
acl my_lan src 192.168.100.0/24You can allow/deny based on the defined rule using the http_access directive. If you decide to allow:
http_access allow my_lanWhen you create ACL access rules anytime, the latest rule should be the deny all. If you do not do this when you allow all the required sites, you may block yourselves from accessing some needed sites.
http_access deny allStep 10:
While working with a number of websites, to deny access to specific websites in Squide proxy server, try to put all of them in a file then call it. It helps you to do it easier and more organized. If not, list the cites in the acl rule. Let’s see an example. To create a file called deniedsite.squid in the squide directory, you should run:
sudo vim /etc/squid/deniedsites.squidAnd then add the sites you prefer to deny. In the following, we use the sites for instance.
facebook.comyoutube.comWhen you open squid.conf, create an acl rule for the sites you decide to deny them and add a deny rule. Finally, you can save the file.
acl deniedsites dstdomain “/etc/squid/deniedsites.squid” http_access deny deniedsitesTo list the sites in the acl tule, run:
acl deniedsites dstdomain facebook.com youtubecom http_access deny deniedsitesDo not forget to restart squid server anytime you make a change.
systemctl restart squidStep 11:
You can block traffic using keywords. Create a file containing the keywords and to create an acl rule the deny traffic, you can use the file name. And then add your keywords and save.
sudo vim /etc/squid/keywords.squid.gamble nudesThen, exit squid.conf to create acl and deny rule the save.
Note: Remember to restart squid.
acl keywords url_regex -i “/etc/squid/keywords.squid”
http_access deny keywords
Type the command below to open ports in Squid proxy server.
acl Safe_ports port <port-number>Step 12:
Also, it is possible to mask outgoing traffic on Squid proxy server. A proxy server exposes the IP address of the proxy instead of your own to hide your identity. Of course, it can let it be known too via HTTP outgoing traffic. You can disable this by editing squid.conf file and disable via headers. The line with #via on should be checked and then uncomment and change from on to off.
# via onvia offPlease consider that you should disable the proxy to not append the client IP address in the HTTP requests that have forwarded. To do this modify the following lines in squid.conf file. So, if you need to hide your Squid proxy server, remove the squid proxy header. Add the following line in TAG; request_header_access.
request_header_access From deny all request_header_access Server deny all request_header_access WWW-Authenticate deny all request_header_access Link deny all request_header_access Cache-Control deny all request_header_access Proxy-Connection deny all request_header_access X-Cache deny all request_header_access X-Cache-Lookup deny all request_header_access X-Forwarded-For deny all request_header_access Pragma deny all request_header_access Keep-Alive deny allNow, save squid.conf and again do not forget to restart squid.
systemctl restart squidStep 13:
You can check Squide configuration error. Use the command below to view the errors in your configuration file.
sudo squid -k parseStep 14:
Now, you are ready to configure clients to connect through Squid proxy server. The configuration of user authentication is what you should do first. Enable HTTP authentication in squide.conf file and then install apache2-utils.
apt install -y apache2-utilsTo store users you need to create a file that must be owned by proxy which is the default Squid user. For instance, we name it ”passwd”
touch /etc/squid/passwd chown proxy: /etc/squid/passwdThen, you can add a user. here, we call it noodi.
htpasswd /etc/squid/passwd noodi New password: Re-type new password: Adding password for user lornahtpasswd /etc/squid/passwd noodi New password: Re-type new password: Adding password for user noodiThen, add the lines below in squid.conf file. Remember to save the file and restart squid.
auth_param basic program /usr/lib/squid/basic_ncsa_auth /etc/squid/passwd auth_param basic children 5 auth_param basic realm Squid Basic Authentication auth_param basic credentialsttl 2 hours acl auth_users proxy_auth REQUIRED http_access allow auth_usersTo ensure of using the right path and that no error exists, you can check the location of basic_ncsa_auth by running the command below:
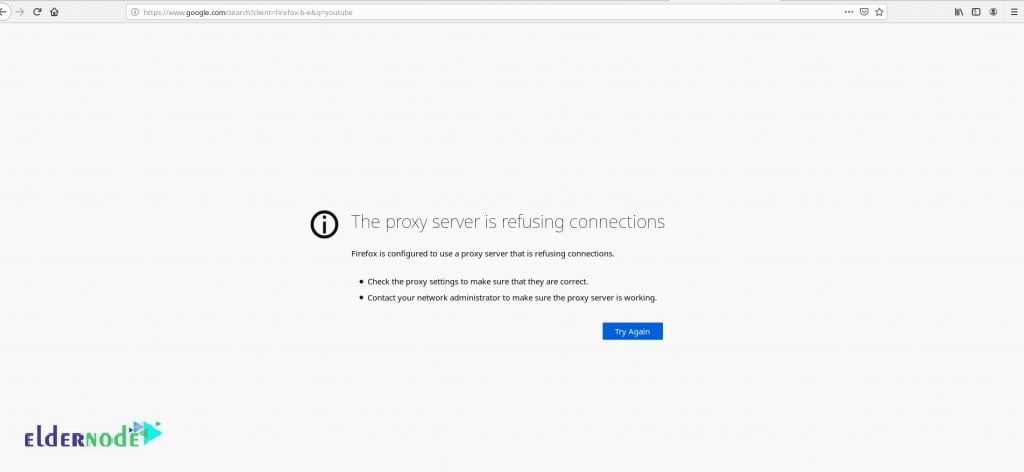
dpkg -L squid | grep ncsa_authYou can test if your Squid proxy is working or not. Go to your client web browser and configure manual proxy authentication. Open your preferred browser, click on the three bars, and then on preference under Edit. Click on settings under network settings. Click on Manual proxy configuration radio and fill in your proxy server details when the page appeared. Also, under ”No proxy for”, you can exclude proxy for other IP addresses if you need.

To confirm if your Squid proxy set up is working or not, open the browser again and try to search a restricted site, While you see a page saying ”proxy server is refusing connections” it means all is done successfully in this part.
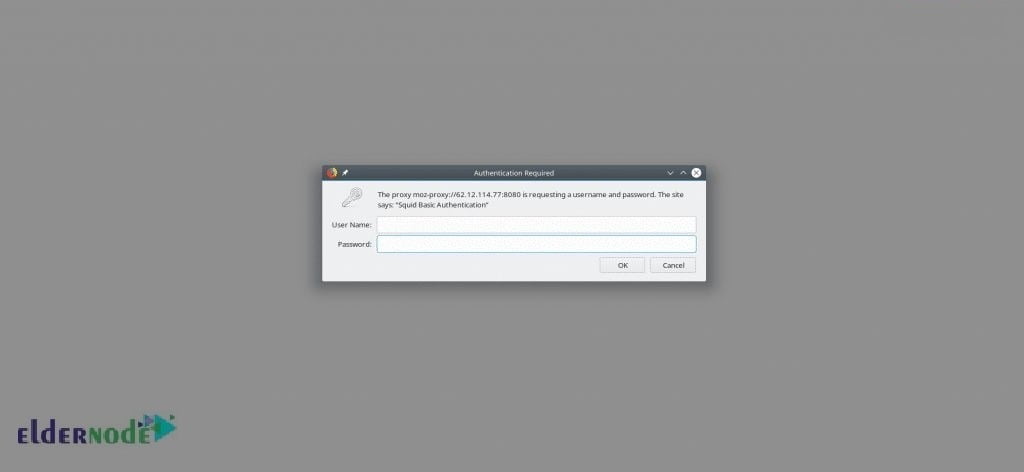
To check for authentication status, open another site (unrestricted). And check if you will be prompted for authentication after entering your username and password or not. I mean, opposite of the last part you should be able to access the site this time.
Learn Setup Squid Proxy Server On Ubuntu Server
Conclusion
In this article, you learned How To Install Squid Proxy Server On Ubuntu 20.04 LTS. If you have done all the steps carefully, the installation should be successful at this point. Since Squid serves the same content to a request when another server asks for the same information, it could improve download speeds and saves on bandwidth. In case you are interested in reading more, find our article on How to Configure Burp Suite on Kali Linux.


![What is Rocky Linux? [Every things about Rocky Linux]](https://blog.eldernode.com/wp-content/uploads/2023/03/What-is-Rocky-Linux-300x164.webp)
