How to convert Windows Core to Windows Server. Windows Core is a project that allows Microsoft to prepare new versions of Windows for new devices and experiences in a short period of time. Windows Server 2012 and later has three different work environments that the user has the ability to select any of these three to work with the server. In this tutorial, we will convert Windows Core to Windows server with graphical environment. You can choose your perfect Windows VPS Server Packages in Eldernode.
Table of Contents
How to convert Windows Core to Windows Server
To convert Windows Core to Windows Server, there are three modes of Windows Server 2012, which we will explain each of these three methods below:
1. Windows with full graphical environment: This mode is known as Windows Server Full GUI Features. It has all the features and roles of Windows and the graphical environment is fully installed and is the same as previous versions of Windows.
2. Windows with Minimal Graphics: This Windows Server desktop is known as the Windows Server Minimal GUI. This will boot Windows with minimal graphics and provide you with all the roles and management consoles and does not have a beautiful and eye-catching Windows environment.
3. Windows Core: This mode, commonly known as Windows Core, generally has no graphical environment. You will only see a CMD window after installing Windows, in which you can also open PowerShell and use only the Windows PowerShell and CMD commands.
Note: All of the following commands are PowerShell commands and must be entered in the PowerShell environment.
Tutorial convert Windows Core to Windows Server with minimal graphics
A. Open PowerShell with Administrator access.
B. Enter the following command to enter the Server Manager module:
Import-module ServermanagerC. Then enter the following command to convert Windows Core to Windows with minimal graphical environment:
Add-WindowsFeatures Sever-Gui-Mgmt-Infra -RestartBy entering the above command, Windows will switch from Core mode to Windows Minimal mode.
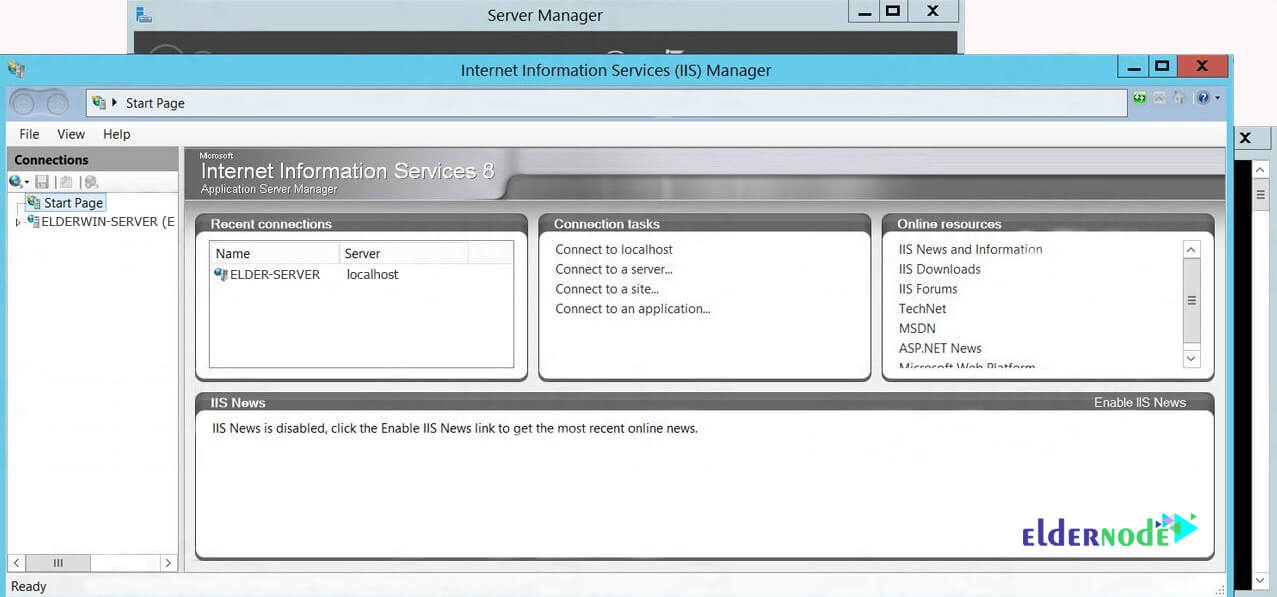
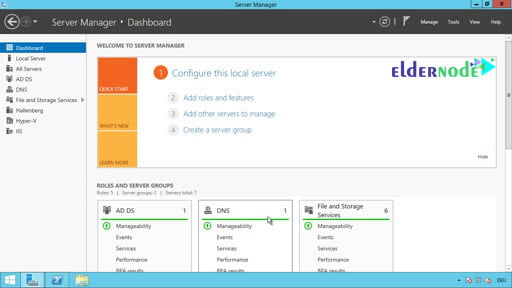
After restarting, you will see the Windows environment as shown below:

How to convert Windows server with minimal graphics to Windows server with complete graphical environment
A. Open PowerShell with Administrator access.
Import-module ServermanagerB. Then enter the following command to install the graphical environment completely.
Add-WindowsFeatures Server-Gui-Shell -RestartRestart the graphical environment of Windows Server.

Learn how to convert Windows Server Core to Windows Server with full graphics
A. First, open PowerShell and enter the following command to enter the Server Manager module.
Import-module ServerManagerB. Then enter the following command to convert Windows from Core mode to Full GUI:
Add-WindowsFeatures Server-Gui-Shell,Server-Gui-Mgmt-Infra -restartRestart to see the eye-catching and complete graphical environment of Windows Server.
You can read How to Check Server Load on a Windows Server for more information on server load.
Conclusion
Windows Server since 2012 has three different work environments that the user has the ability to select any of these three to work with the server. In this article, we explained how to convert Windows Core to Windows Server with three methods: minimal graphics, complete graphical environment and full graphics.


