Tutorial add FTP Site on Windows Server 2019. In Windows VPS Server and Windows Server, in order to be able to send or receive information through FTP protocol, FTP Server must be installed and set up. Creating a Local User and FTP Site on a Windows server are important.
With the help of FTP Site, the process of transferring information by FTP between Windows server and other systems in the network can be done.
After the FTP Server is installed on the server, the FTP Site must also be configured.
For this purpose, in this article, we will teach you how to add FTP Site in Windows Server 2019.
How to add FTP Site on Windows Server 2019
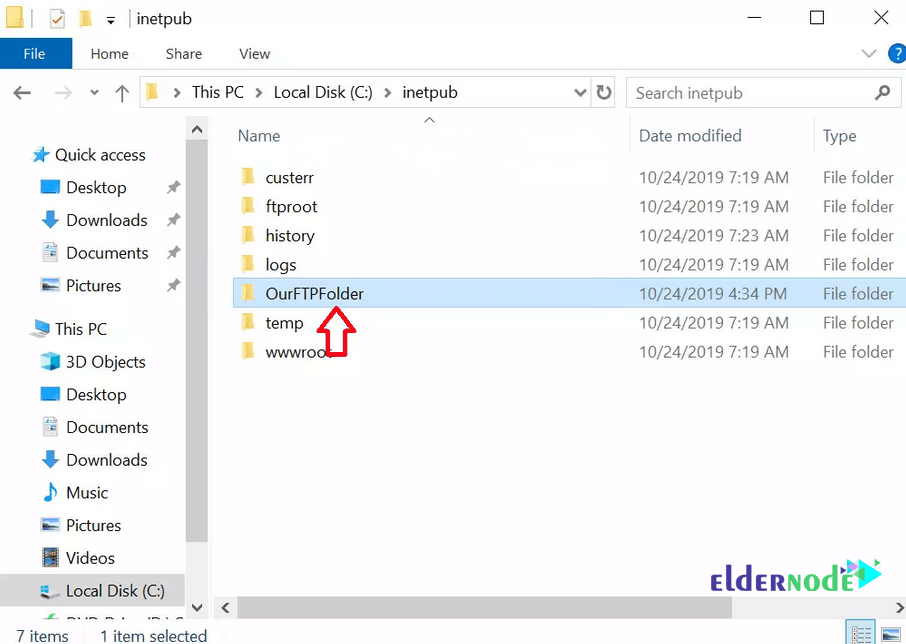
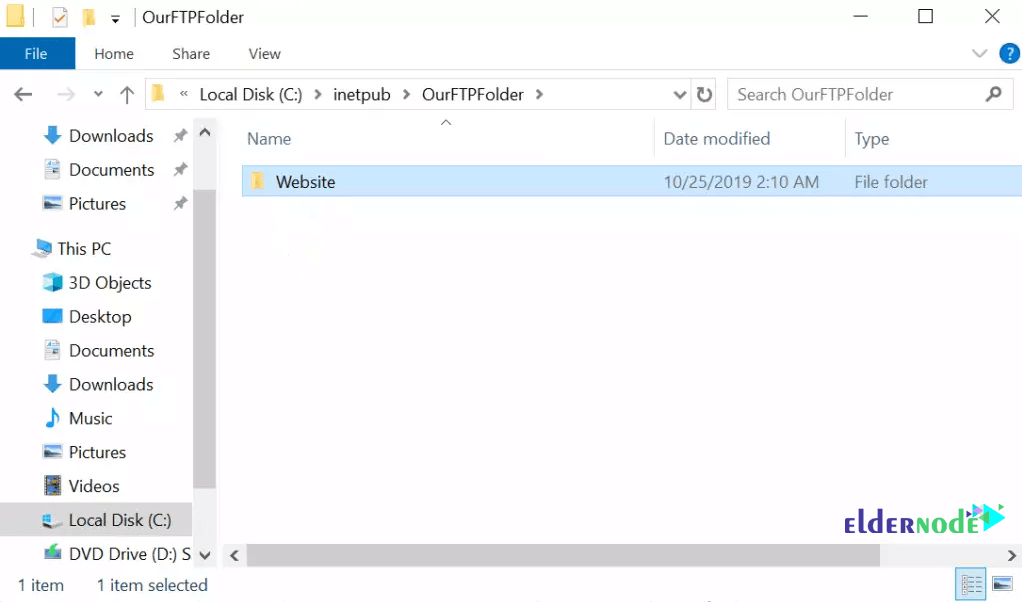
1. In the first step, we are going to create a directory in C:\inetpub.
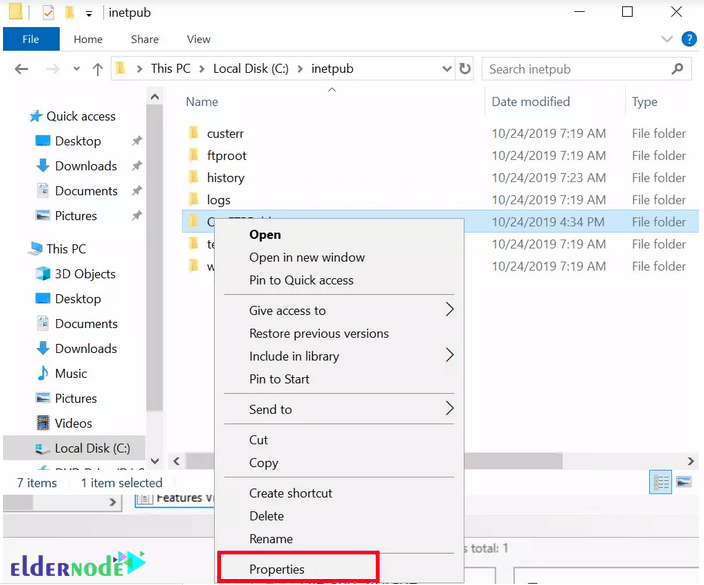
2. Right-click on Output FTP Server. Then click on the properties option.
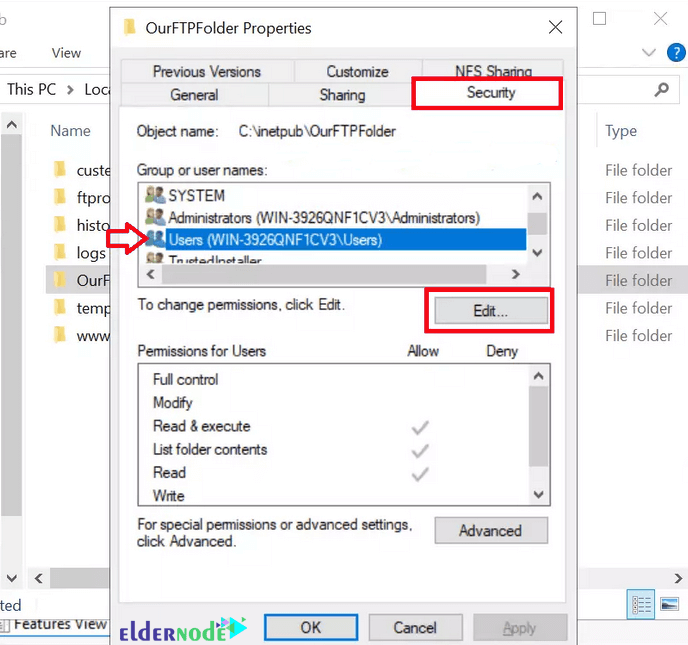
3. Click on the desired group to allow access. It is Users in this case.
Click Edit.
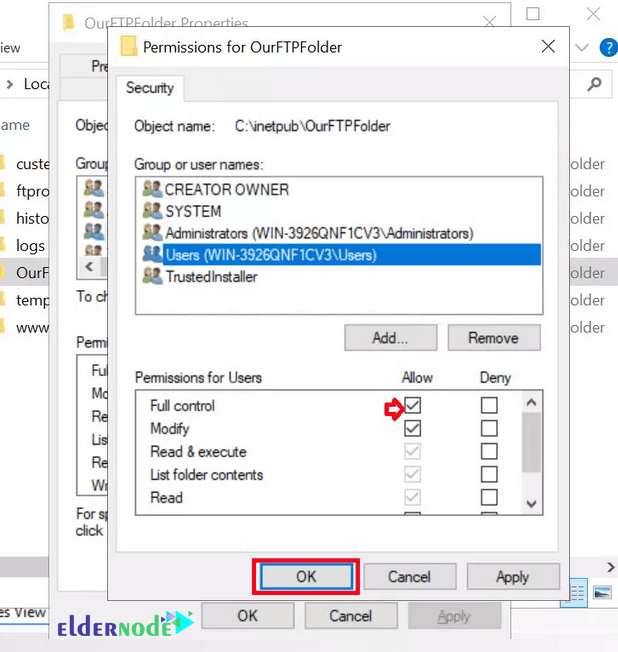
4. In the next step, Permissions for <groupname> will come alive as shown below.
Check the Full control option.
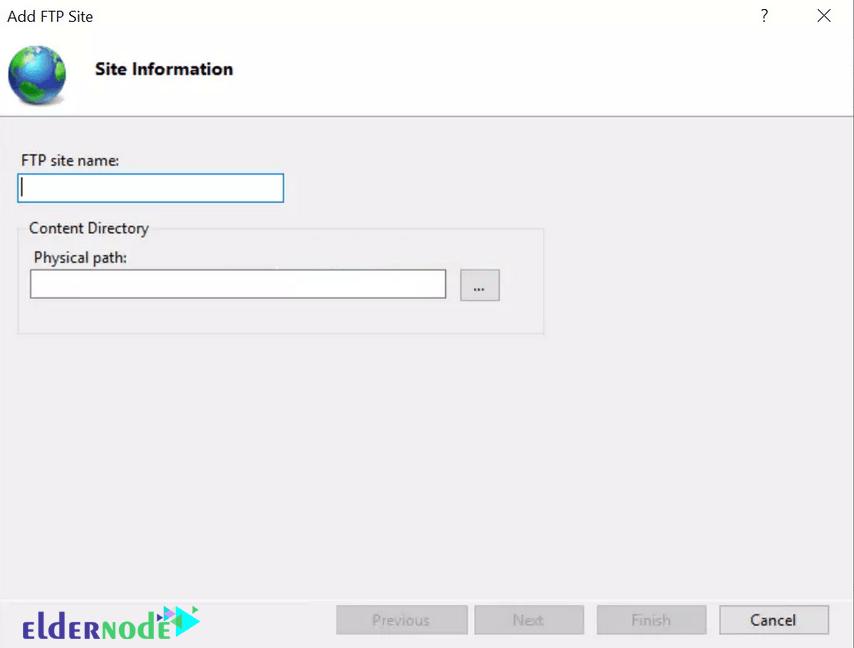
5. In the next step, click on Sites and select Add FTP Site. An Add FTP Site wizard will be shown.
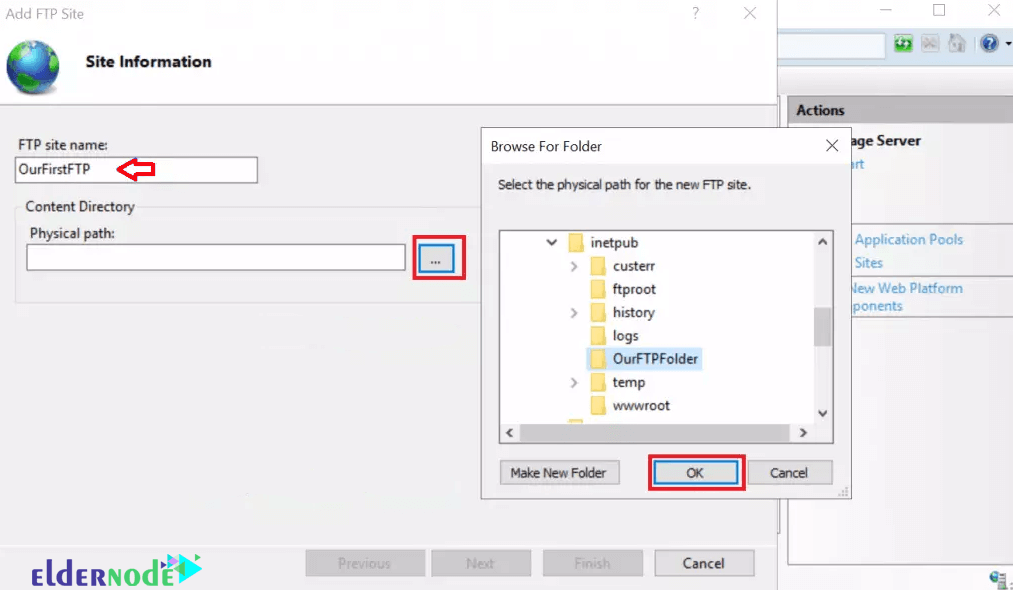
Input your preferred name of the site and choose the folder you just added above. Then click Next.

*
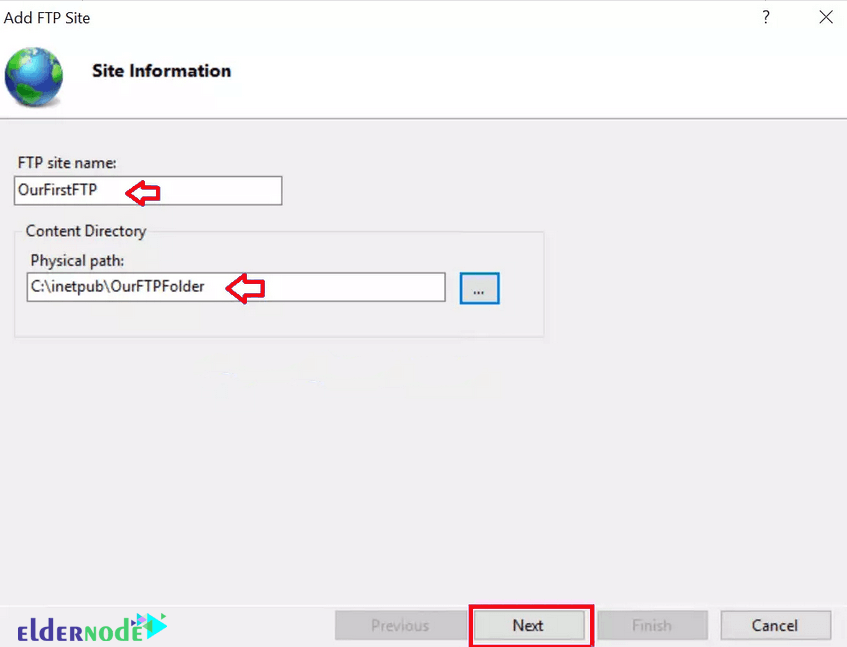
6. Input your desired name of the site and choose the folder you just added above.
7. Click on Next.
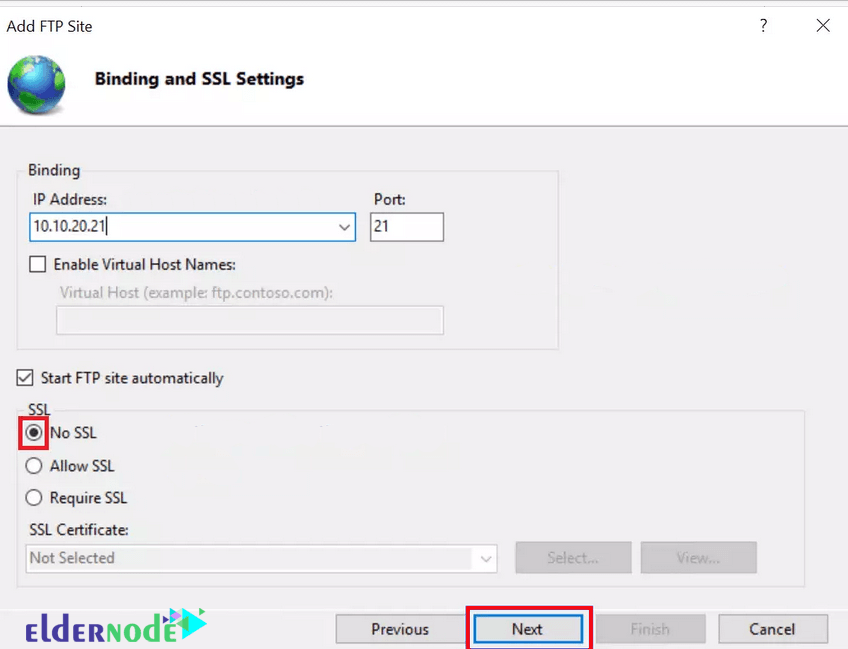
8. In the next window, you can either leave the IP as All Unassigned which means 0.0.0.0/0 or you can enter the specific IP of the Server. Since we haven’t configured any SSL, choose No SSL.
Click on Next.
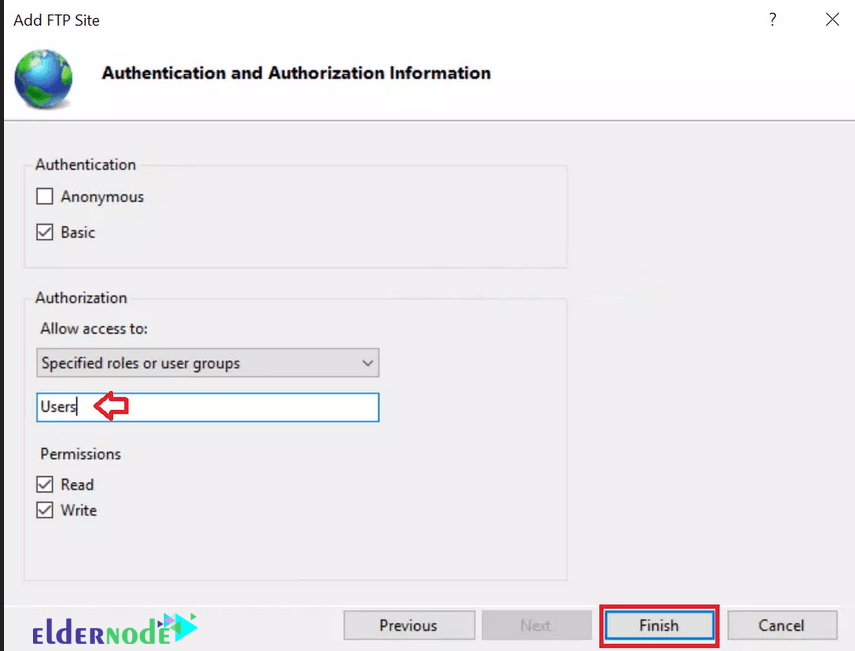
9. We shall use Basic authentication and specify specific users we added to our Server. For that, we choose Specific roles or user groups from the Authorization dropdown.

10. We shall add Users under Authorization then check read and write permissions. Click Finish after that.
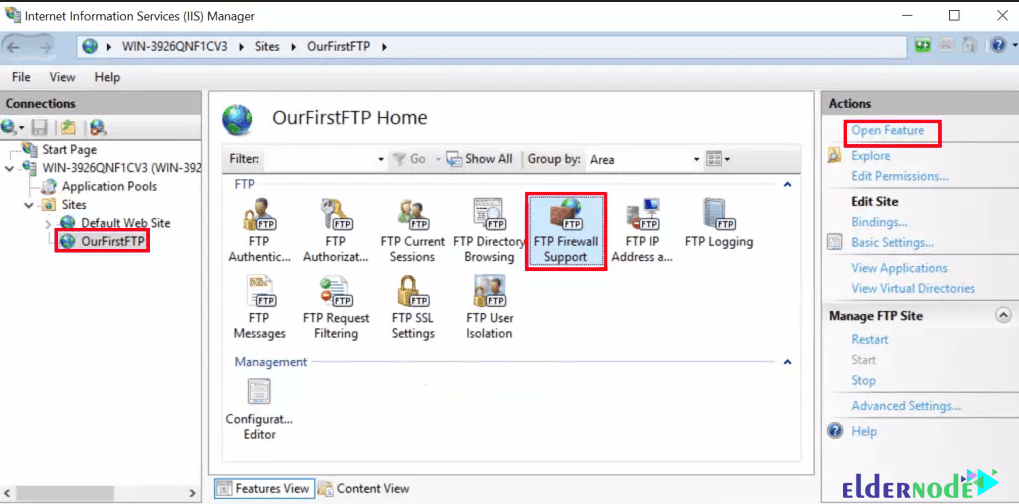
11. After clicking on FTP Site, select FTP Firewall Support and click on Open Feature.
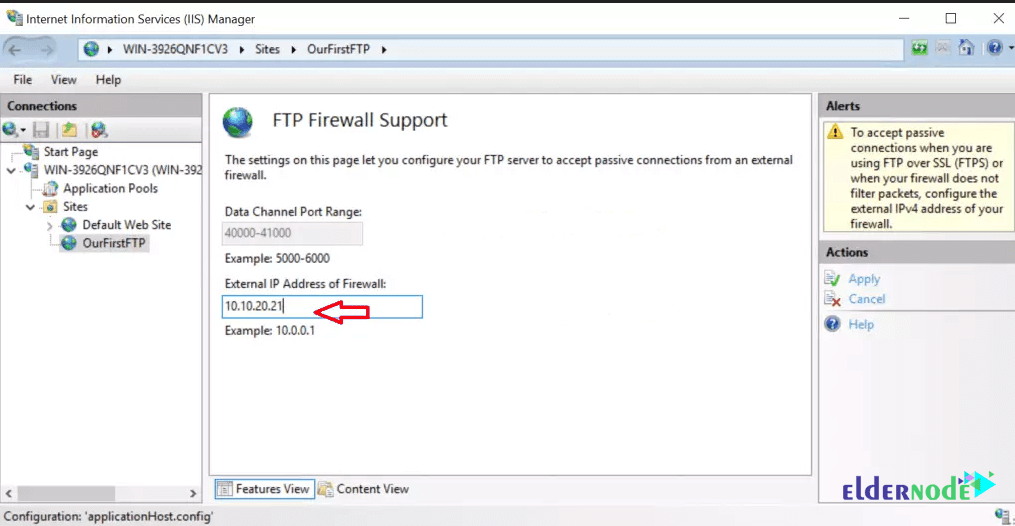
In the window that opens, enter your IP server in the External IP Address of Firewall. Click on Apply.
**
Test using FTP Client
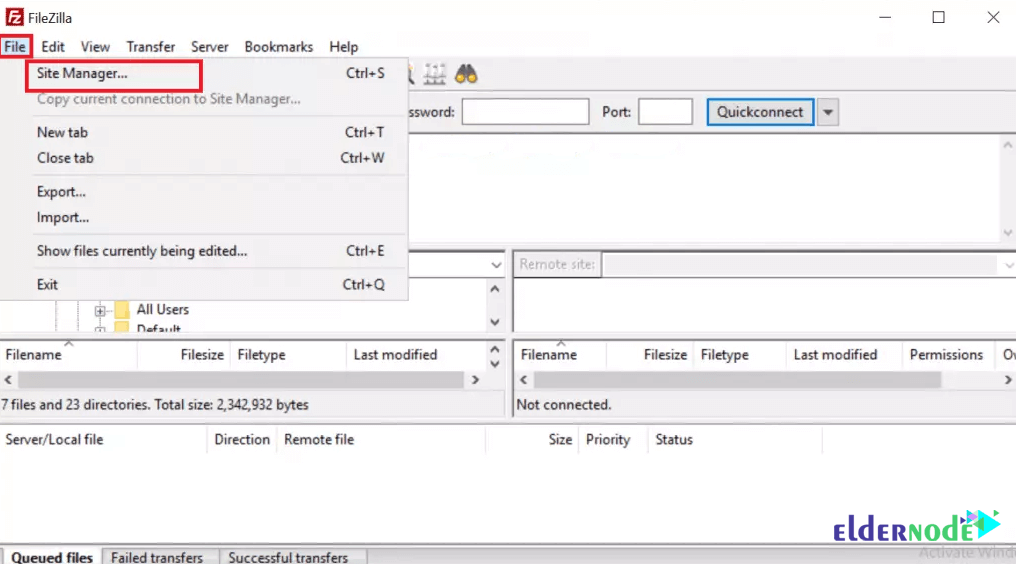
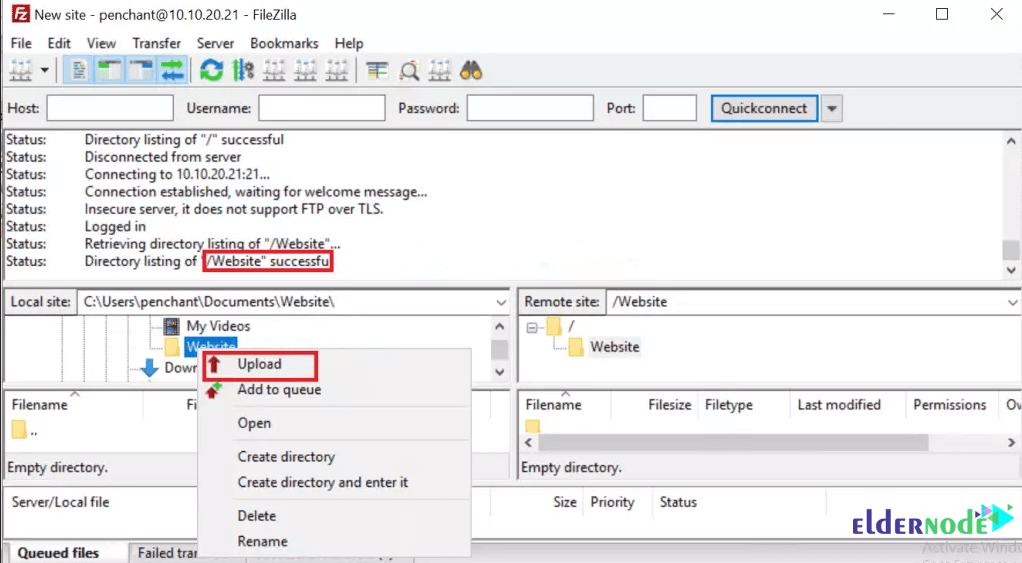
Open up your FTP Client such as Filezilla.
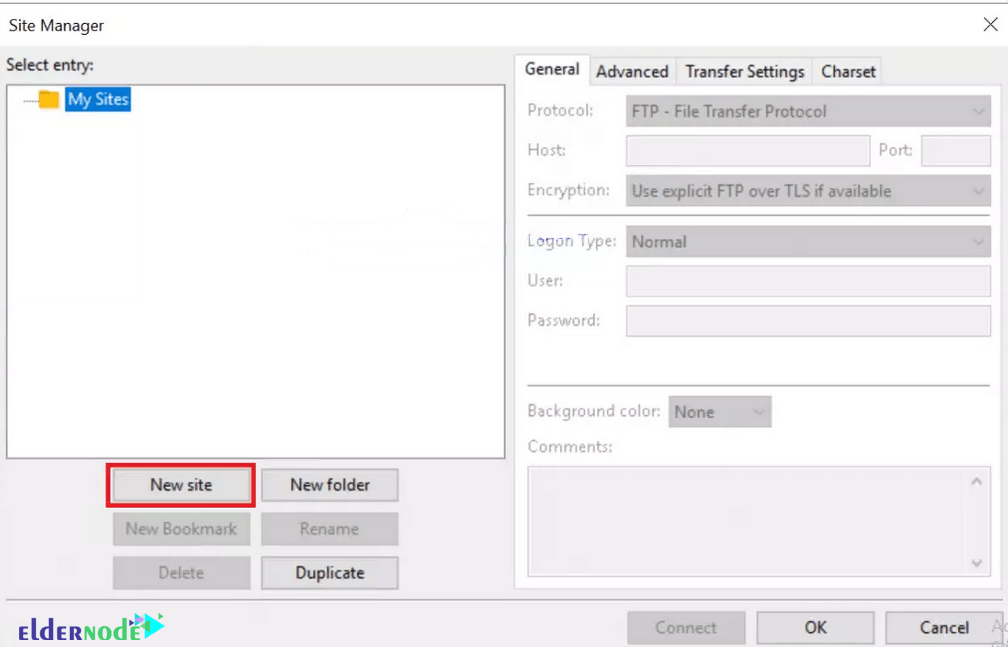
1. Click File and choose Site Manager.
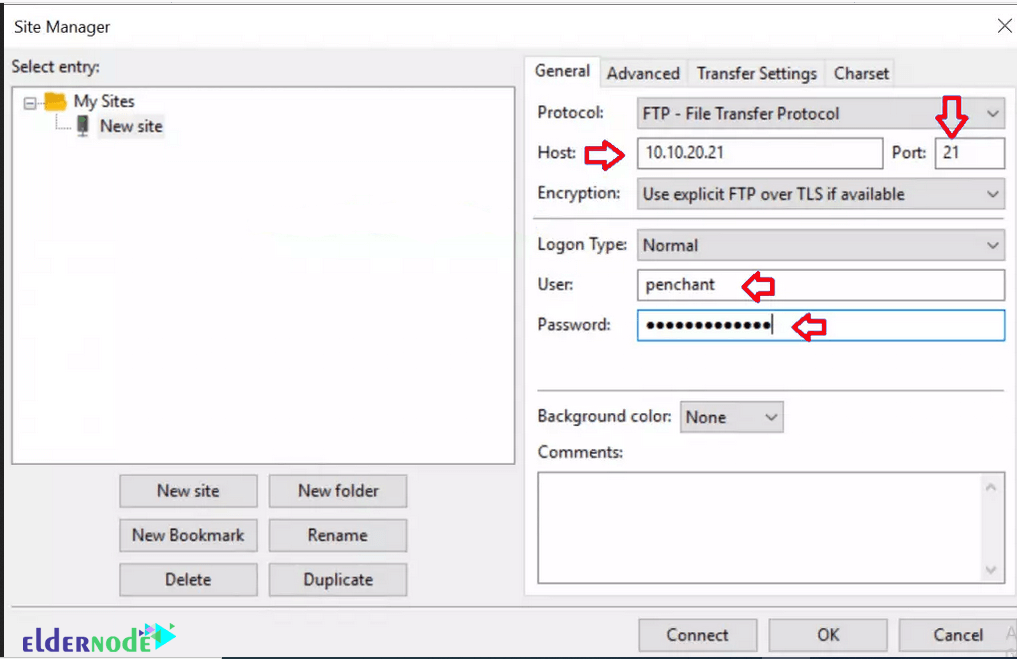
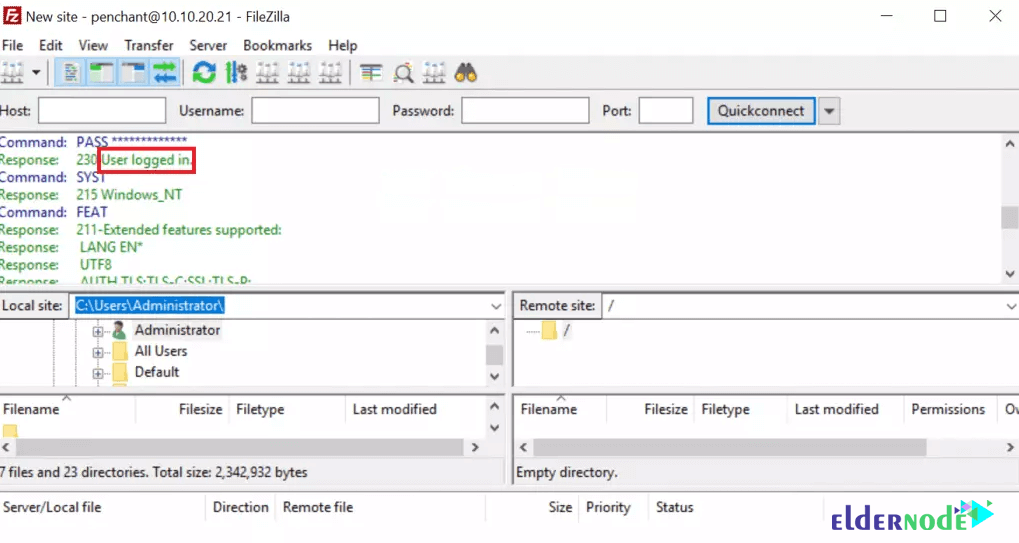
2. Click on New Site. Enter the IP, Username, port and Password as shown and then click Connect.
***
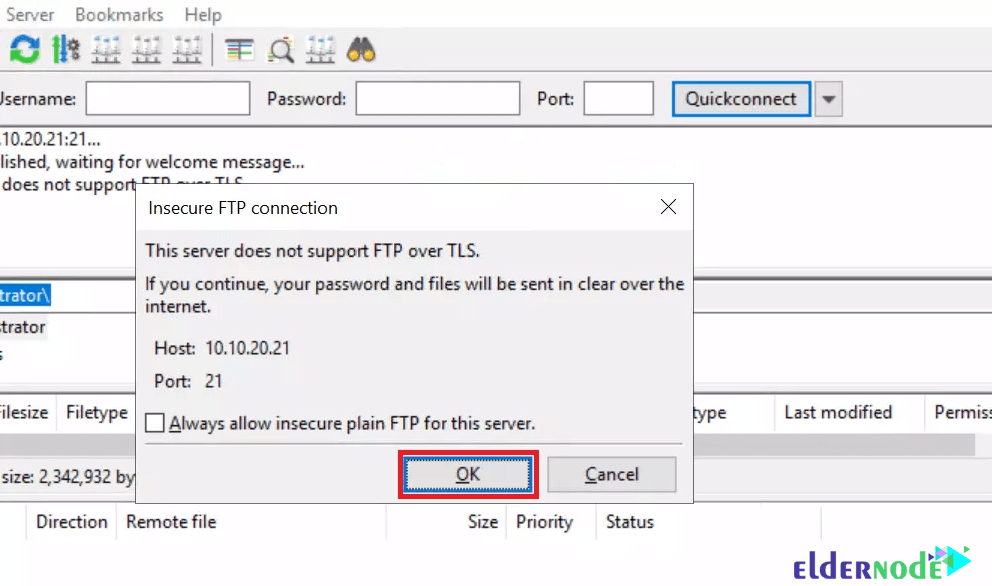
3. FTP without SSL is insecure hence the prompt below. Click OK as long as the FTP Site is not away from your premises.
Dear user, we hope you would enjoy this tutorial, you can ask questions about this training in the comments section, or to solve other problems in the field of Eldernode training, refer to the Ask page section and raise your problem in it as soon as possible. Make time for other users and experts to answer your questions.
Goodluck.