TeamSpeak is the name of great software for text and voice communication between two or more people over the Internet. This software is very simple and is very popular among gamers. Because these users use this software to chat with each other and ask each other about games. For example, when they all want to go online at a set time to play a game, they put it together through this software. This article presents Introducing and Install Teamspeak 3 Server on Windows. You can see the packages available in Eldernode if you want to buy a Windows VPS server.
Table of Contents
Introducing Teamspeak 3 Server
TeamSpeak is like a conference call, a dedicated voice over Internet Protocol (VoIP) application for voice communication between users on a chat channel. In the continuation of this article, we want to introduce you to How to Install Teamspeak 3 Server on Windows. Please stay tuned for the rest of this article.
Teamspeak 3 Server Features
In this section, we want to mention some of the features of the Teamspeak 3 Server. These features include:
1. Unique communications experience
2. Extensive security settings
3. File transfer
4. Integrated chat
5. Add-ons – skins, plugins, and tools
6. In-Game overlay
7. Free of cost
8. Superior voice quality
9. Multi-platform
10. Also available for mobile devices
How to Install Teamspeak 3 Server on Windows
In this section, we are going to teach you step by step how to install Teamspeak 3 Server on Windows. To do this, just follow the steps below.
The first step is to visit the Teamspeak website.
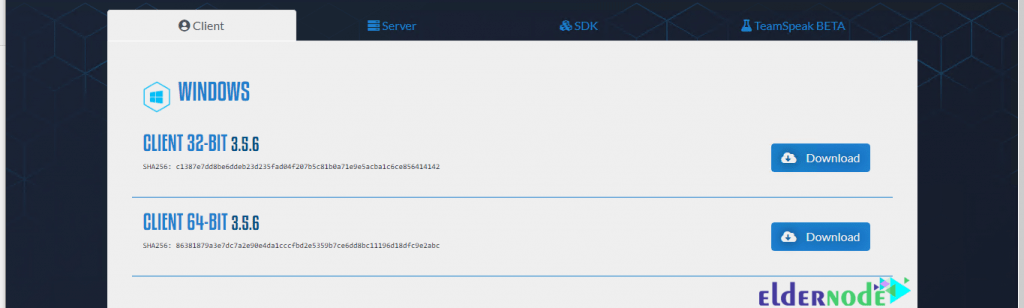
Click on the Server tab. Depending on the version of your Windows operating system, you must select one of the 32-bit or 64-bit versions and click on Download in front of it.
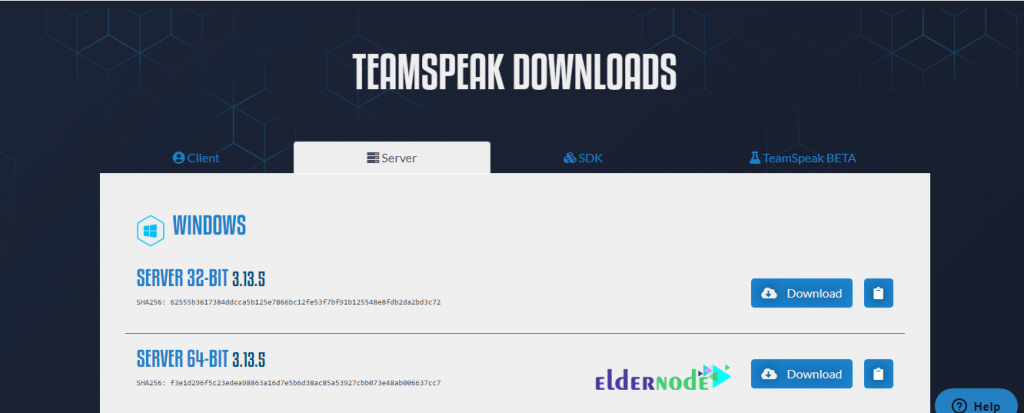
Doing so will start downloading the installation file.
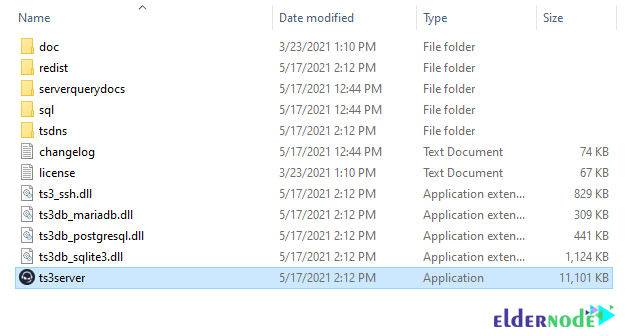
Then you need to go to the place where you downloaded the file. Right-click on the desired file and extract it by clicking on Extract Here.
In the extracted folder, click on the ts3server file to begin the Teamspeak installation process.
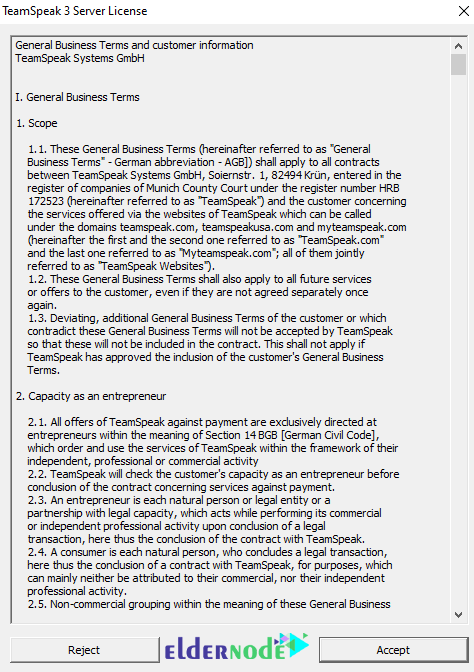
In the window that opens, click on Accept.
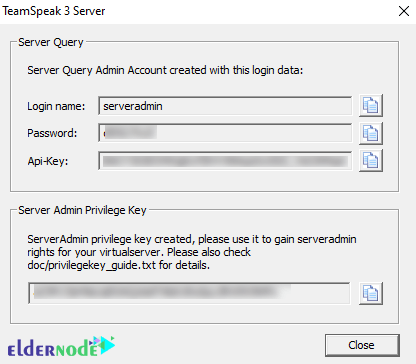
Then you can see the login information including Login name, Password, API-Key, and Server Admin Privilege Key.
Note: Save the information displayed in the following window to a text file, as you will need it later.
How to Run and Setup Teamspeak 3 Client on Windows
So far, you have been able to install Teamspeak 3 Server on Windows. Now to connect to Teamspeak 3 Server you need to install the Teamspeak client as an administrator. To do this, you must follow the steps below.
To Download the Teamspeak client, click on the Client tab to download the version you want from the Windows section.
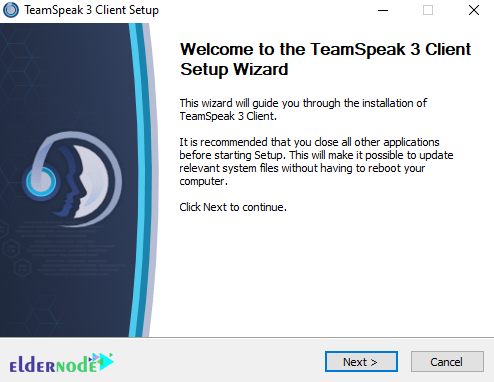
Go back to where you downloaded the file and double-click it. In the window that opens, click Next.
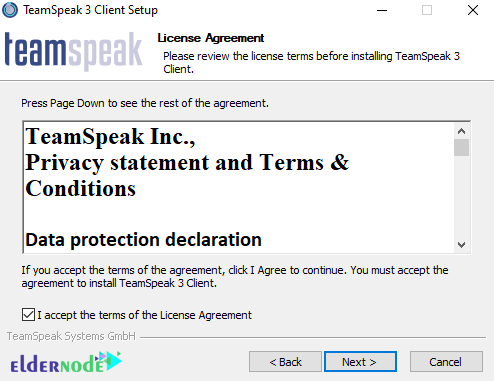
In the next step, read the license agreement and check the I accept the terms … option. Click Next to continue the installation.
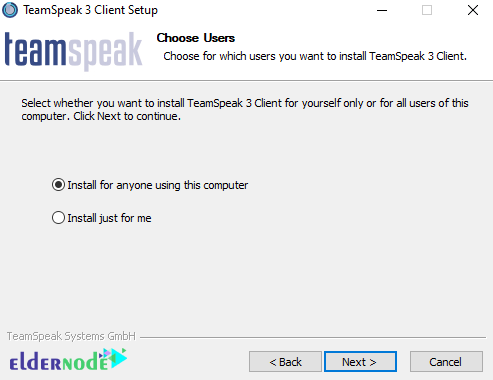
Click on Next.
In the next step, you need to specify the location where you want to install the file and click Next.
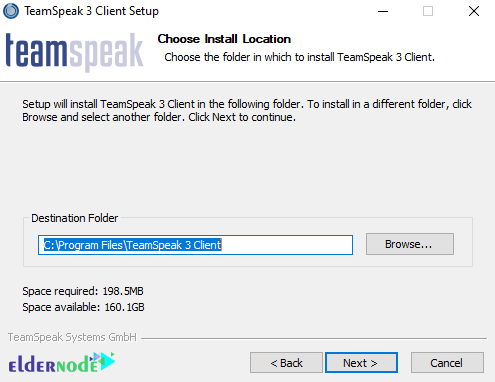
Click on Next.
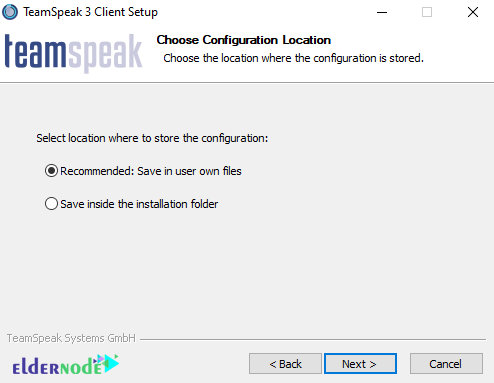
Finally, click on Install.

Click Finish to complete the Teamspeak client installation.

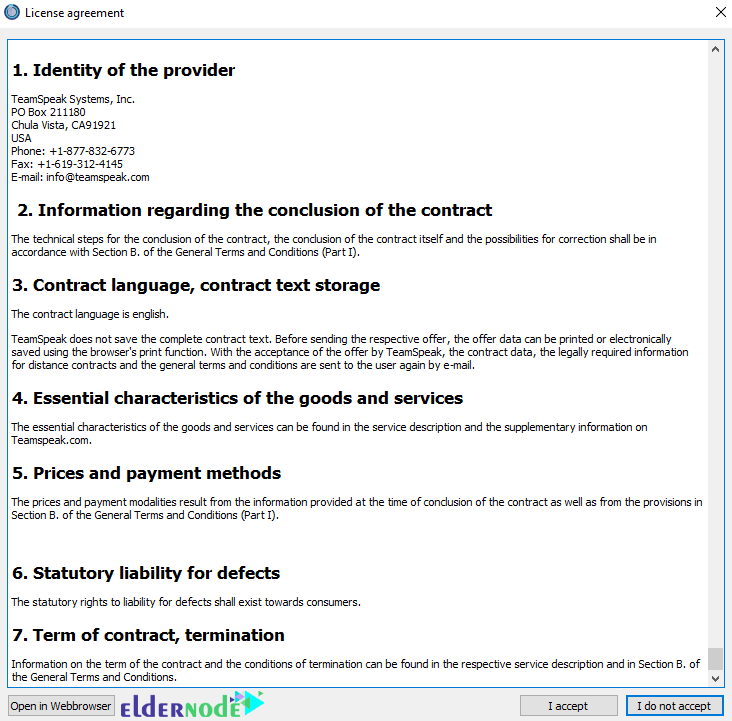
Double-click the Teamspeak client icon on the desktop to run it. Then in the window that opens, you should read the license certificate and click on I accept.
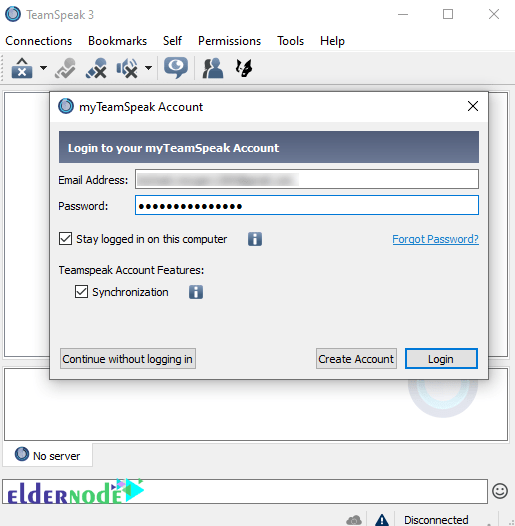
Now you need to enter your account information and click on Login.
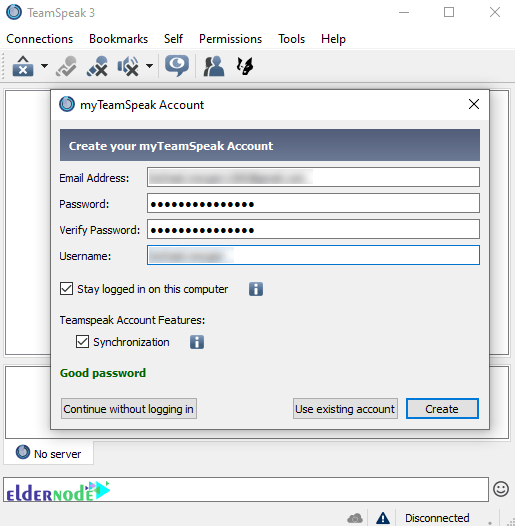
If you do not have an account, you can click on Create Account and create your own account.
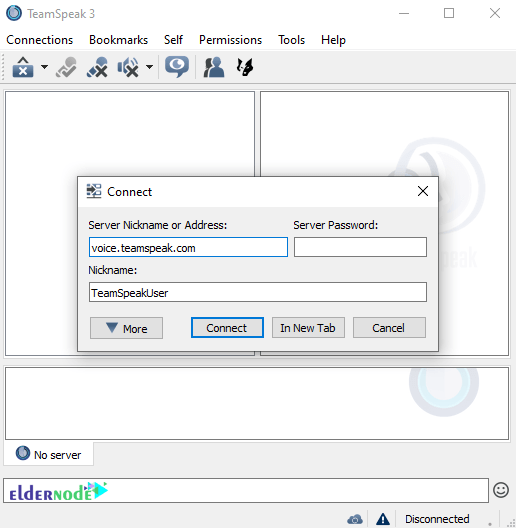
From the Connections tab, click Connect.

In the next step, in the window that opens, you must enter your desired IP address in the Server Nickname or Address field. Then click on Connect button to connect to the server.
Note: Finally, it should be noted that if you want to have access as an administrator, you must enter the privilege key that you have already noted in a text file.
Conclusion
The client software connects to a TeamSpeak server of the user’s choice, from which the user may join chat channels. For this reason, in this article, after installing Teamspeak 3 Server on Windows, we taught you how to install Teamspeak Client on Windows to communicate.