Nowadays, computer malware has spread to such an extent that if the antivirus is not install, the host computer will infected with all kinds of malware, including viruses, trojans, ransomware, and so on. Due to the high vulnerability of Windows between the community and users, hackers and attackers focus more on the Windows operating system. Also, the number of Windows malware is much higher than Linux and Mac, but they also have their own malware, and if they do not use antivirus, they will undoubtedly suffer serious damage. In this article, we try to learn you How to install ClamAV Antivirus On Windows RDP. You can visit the packages available in Eldernode to purchase the Admin RDP server.
Tutorial Install ClamAV Antivirus On Windows Server
One of the things that security professionals often overlook is installing a server antivirus. ClamAV Antivirus is a free open-source antivirus written in C and C ++. This antivirus was first introduced to the world in 2013 by Cisco and is available on various platforms and operating systems.
ClamAV Antivirus is GPL certified and this has led many companies around the world to personalize this antivirus and turn it into a proprietary antivirus. One of the strengths of this antivirus is that when the server administrator installs it on the server, shared server users can see the ClamAV option in the advance section of their Cpanel or other admin panels. So they can scan their site and content separately. Please follow this tutorial to install ClamAV Antivirus On Windows RDP.
Install ClamAV Antivirus On Windows RDP Server
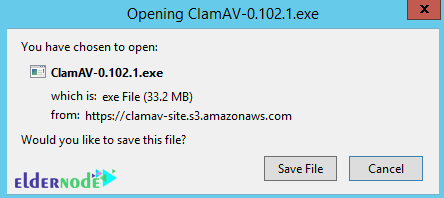
To get started, you should first download ClamAV Antivirus.
Then in the next step, click on Save File to start downloading the program.
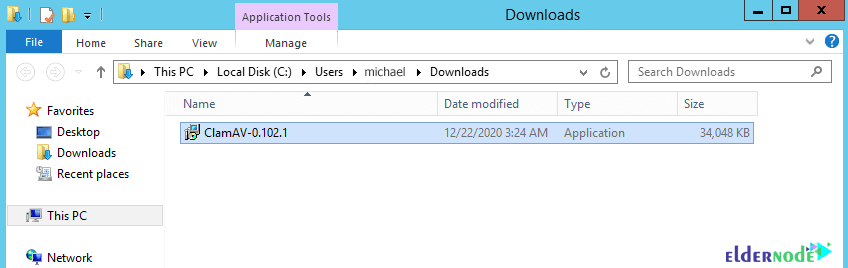
Go to the location where you downloaded the installation file to begin the installation process.
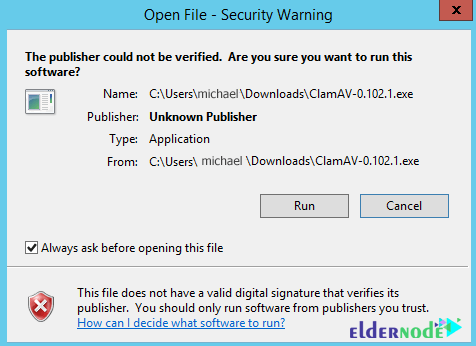
Double-click the installation file to bring up the following window. Then click on Run.
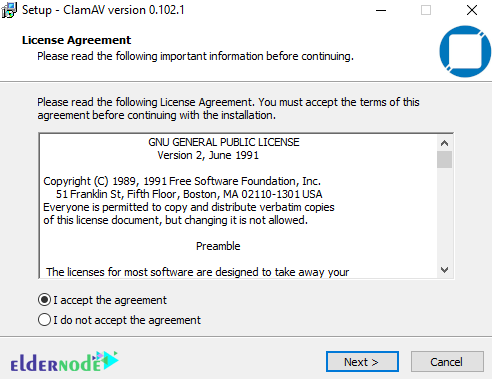
In the next step, accept the license agreement and click on Next.
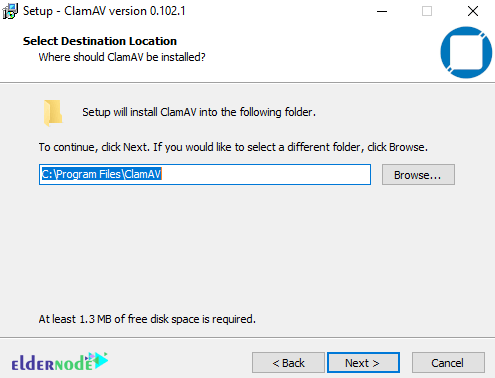
Now you need to specify a path in this step to install ClamAV.
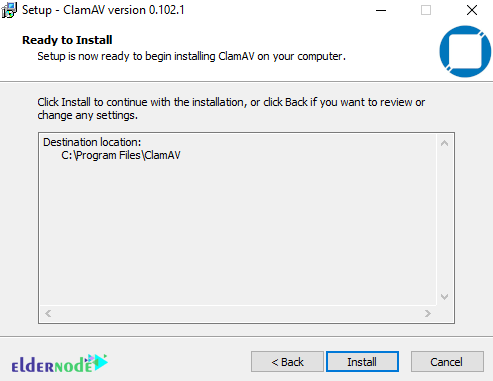
You are now ready to install ClamAV, just click on install.
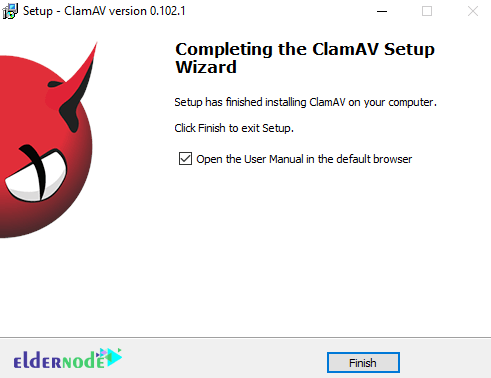
Wait a few moments for the installation to complete.

Finally you have to click on the Finish. You will see that the installation of ClamAV Antivirus on Windows RDP is complete successfully.
After the installation process is completed successfully, you must press the Windows button and search for PowerShell. Then you have to right-click on PowerShell and run Run as administrator. Also if the question “Do you want to allow this app to make changes to your device?” You will be ask to click Yes.
You should now confirm that the request in the PowerShell window is as follows:
PS C:\WINDOWS\system32>To be able to access the ClamAV installation directory, you must enter the following command in the Adminstrator PowerShell window:
cd "c:\program files\clamav"Conclusion
By installing ClamAV antivirus you will have access to very powerful tools such as scanners at the command level. With this feature, you can scan your server without the need for any graphical environment and only with your tool commands. The next item is the ability to automatically update the antivirus database. If the latest virus is detect by the database company, the scanner will be update. There is also the ability to install a multi-platform that allows you to install this antivirus on Windows. It is also using as a gateway scanner for email software. In this article, we tried to learn you how to install ClamAV antivirus in Windows RDP.