How to Install and Configure NFS Server on Windows Server 2019. One of the services is NFS storage space sharing. NFS stands for Network File System and allows it to create a storage space that can be shared over other servers or clients over the network. This service operates as a server / client and through it can create a central storage. It can also be secured via acl in the new version.
In this article, we are going to install and configure NFS Server and create NFS Share. This is an efficient way to share a directory to other client machines in your organization.
Available VPS Servers in Eldernode
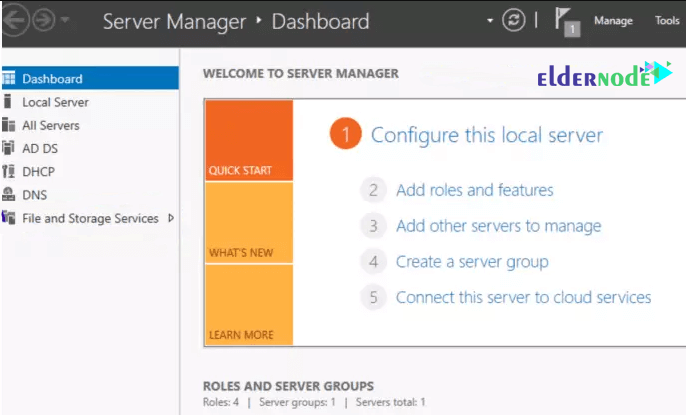
1) Open Server Manager
Hit Windows key and search for Server Manager.
Once open, click on Add Roles and Features.

On the first page of the Add Roles and Features Wizard, click Next.

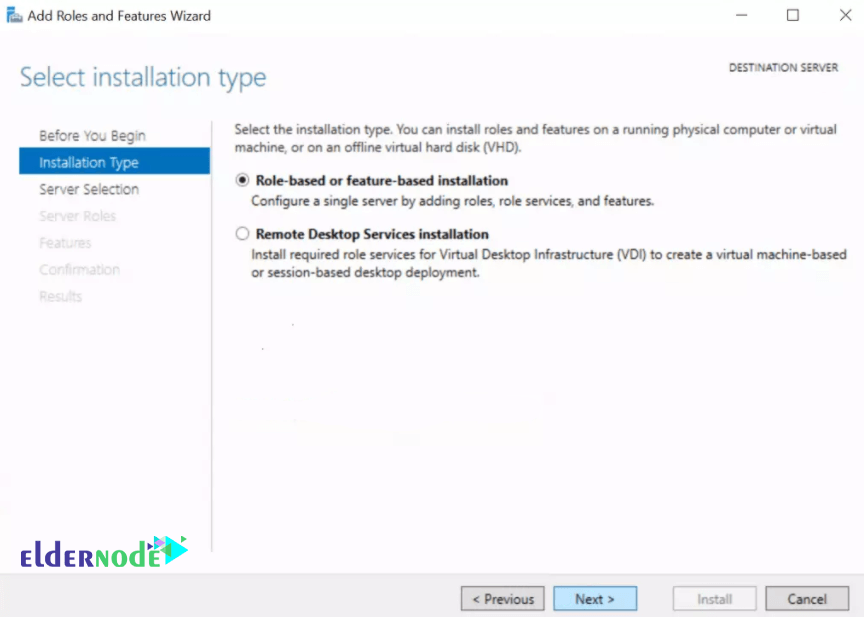
In the Select Installation Type page, select Role-based or feature-based-installation and click Next.
Select the server you will install NFS on and click Next.

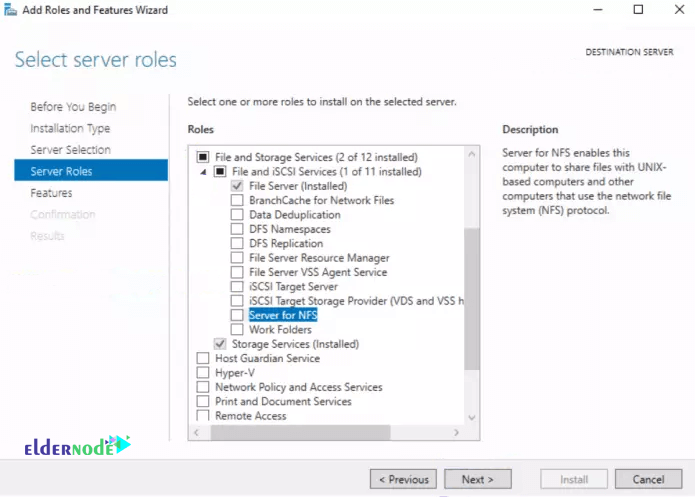
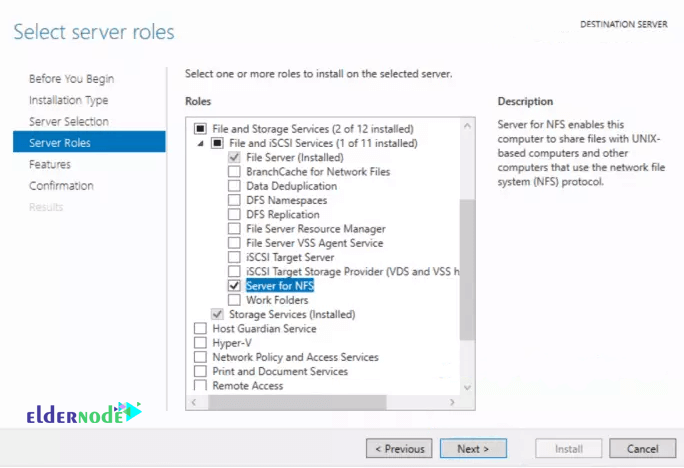
In the Select server roles part, expand File and Storage Services and further expand File and iSCSI Services.
Then check the box against Server for NFS.
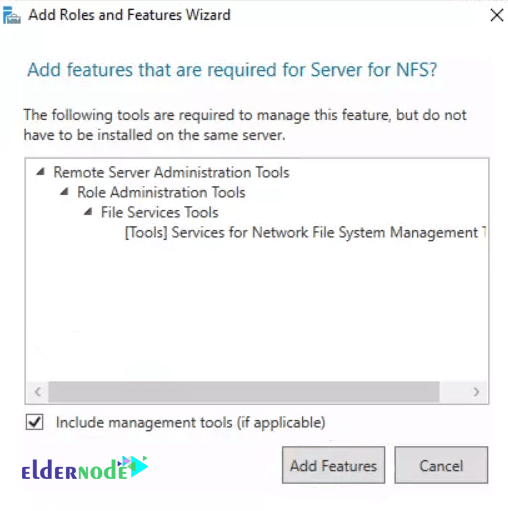
A pop-up window will come forth.
In the pop-up window, just click on Add Features then hit Next.
Simply click on Next, in the Select features page.
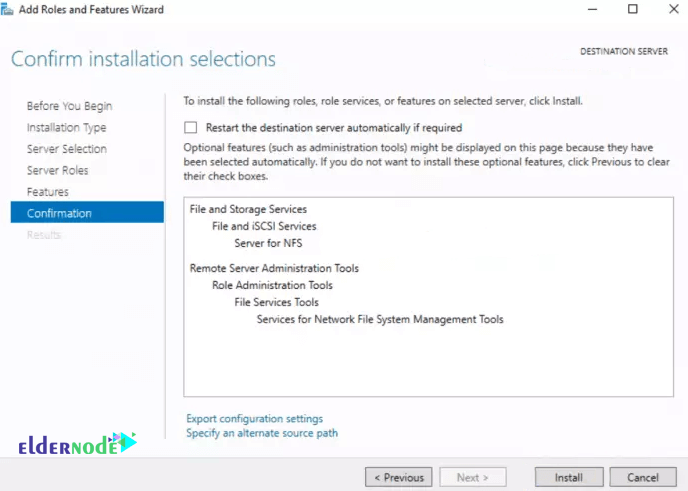
Confirm your installation selections and hit Install.
Click Close to complete the installation process.
2) Configure NFS Share Folder
Now you must configure a folder that you export to clients.
Create a directory/folder in your desired disk partition. (We will create TestShare in C partition.)
Open Server Manager.
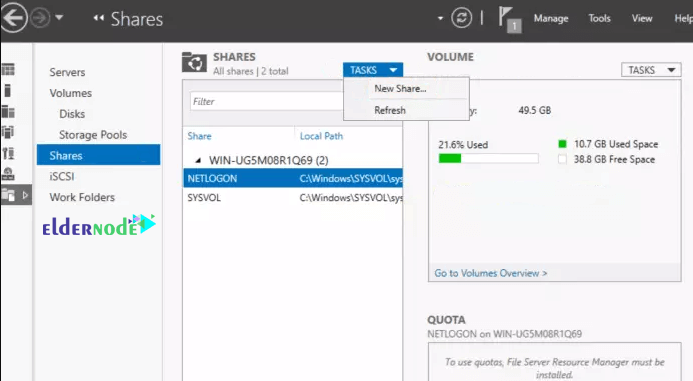
Click File and Storage Services and select Shares from the expanded menu.
After that, click on the TASKS drop-down menu and select “New Share…“.
A New Share Wizard will open.
*
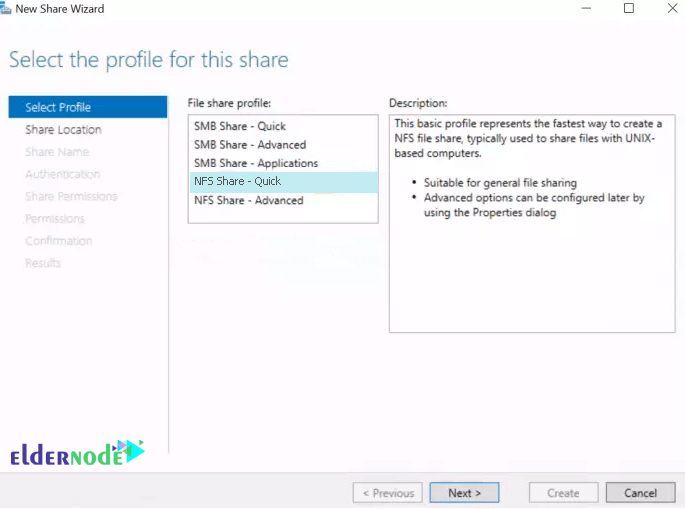
On the first page of the wizard, select NFS Share-Quick and Click Next as shown below.
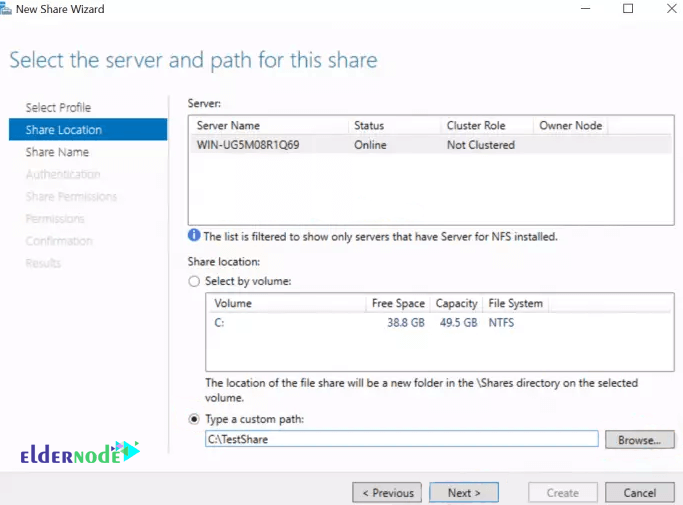
On the page below, choose Type a custom path, browse for your directory and click Next.
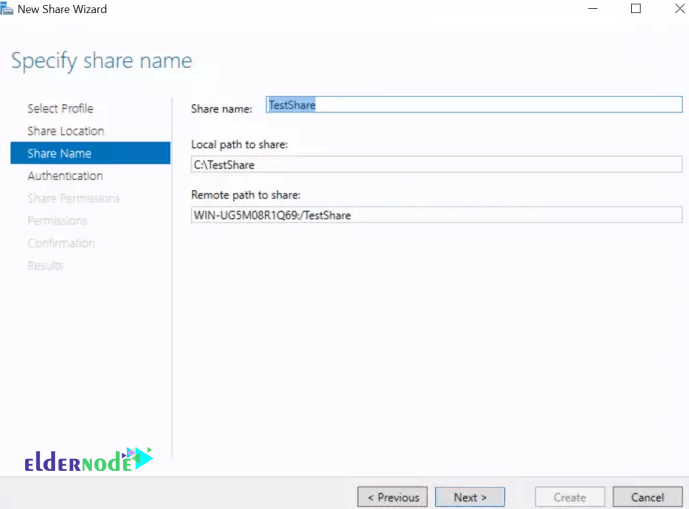
Type in a name for your share and hit Next.
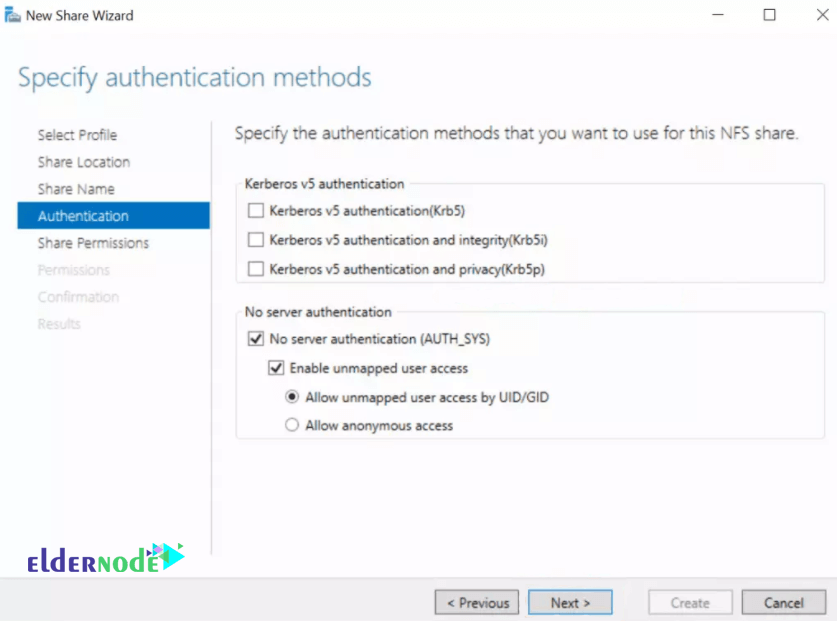
Depending on the authentication methods that your organization uses, you have a choice to make at this stage.
Choose the one that befits your use case and hit Next.
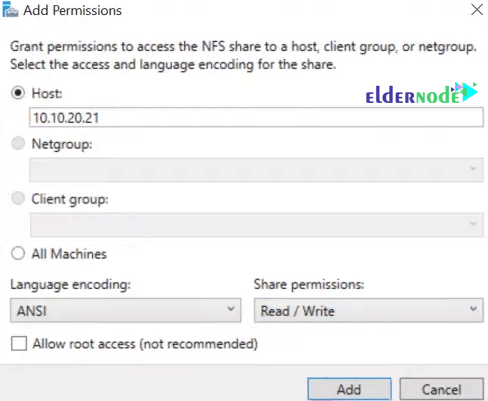
Click on Add on the window below and you now have many options to choose the hosts to access the share.
You can place only one host, a Netgroup, Client group or all servers that can reach it.
Make your choice and click on Next.
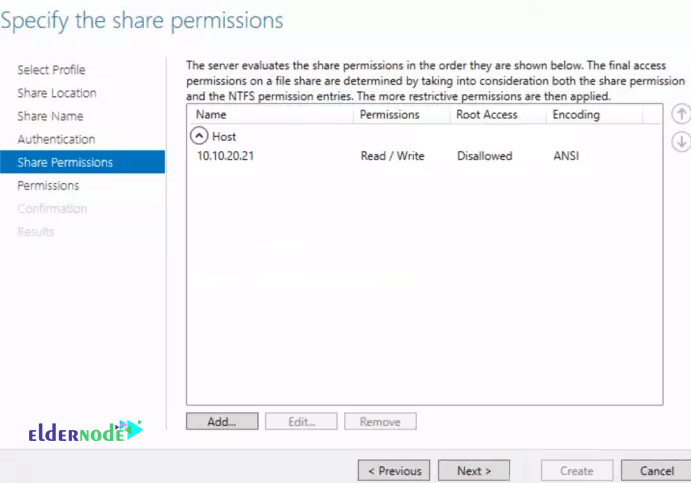
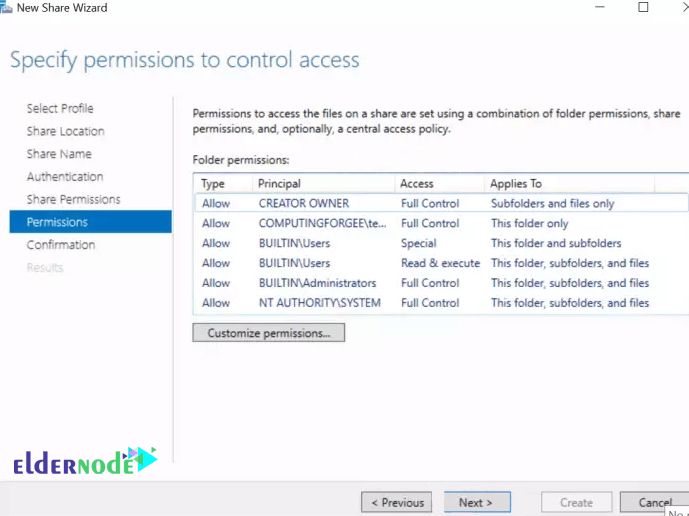
You can tweakthe permissions to befit your scenario here.
Once done, click Next.
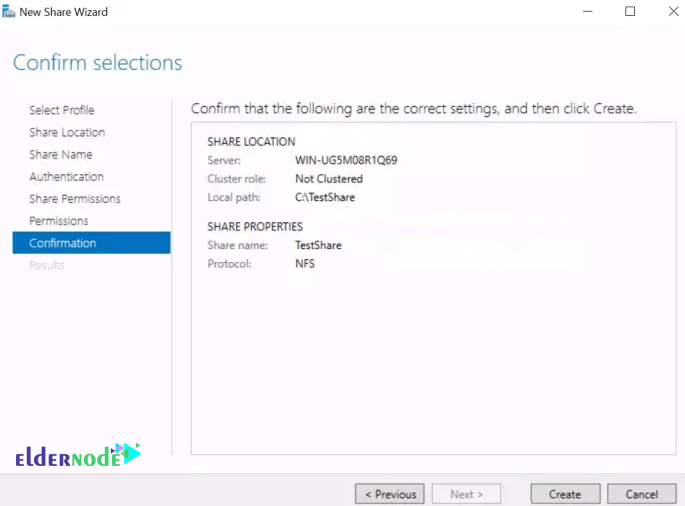
Confirm your selections and click Create.
Finally, click Close.
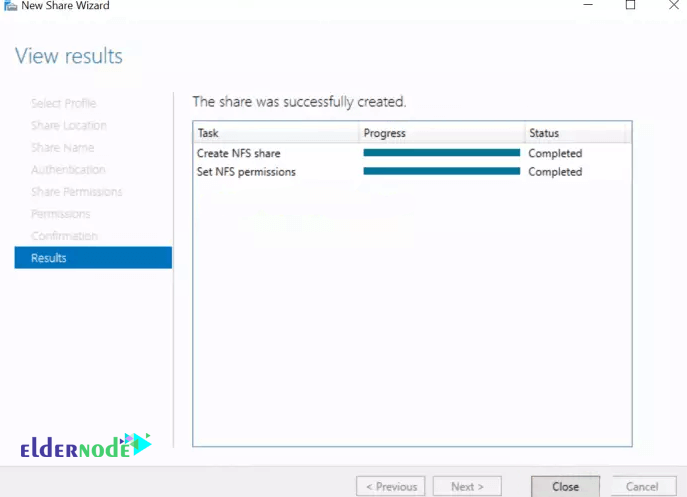
3) Confirm your share is created
Go back to Server Manager >> File and Storage Services >> Shares

Now install and setup NFS client on Windows Client.
Dear user, we hope you would enjoy this tutorial, you can ask questions about this training in the comments section, or to solve other problems in the field of Eldernode training, refer to the Ask page section and raise your problem in it as soon as possible. Make time for other users and experts to answer your questions.
Goodluck.