Windows 10 encourages its users to use a password or pin to log in to Windows. This feature makes the system more secure and generally reduces concerns about the presence and theft of information in Windows. But there are people who do not like this and want to log in to Windows completely automatically. For this reason, in this article, we want to introduce you to the Tutorial Setup Auto-Login for Windows 10 RDP or VPS step by step. You can see the plans in Eldernode if you want to buy a Windows VPS server.
Table of Contents
Introduction to Auto-Login on Windows 10 RDP
There are many reasons to log in to Windows automatically. By enabling the Auto-Login feature in Windows, you will no longer need to enter a Windows password. So your Windows speed will increase. Follow us in this article to show you How to Setup Auto-Login for Windows 10 RDP in two ways.
How to Install/Setup Auto-Login for Windows 10 RDP
In this section, we are going to discuss how to setup Auto-Login for Windows 10 RDP. To do this, just follow the steps below.
In the first step, you must run the Run window using the Win+R key combination. You can do this by searching for Run in the Start menu.
Then in the window that opens, type netplwiz and click OK:

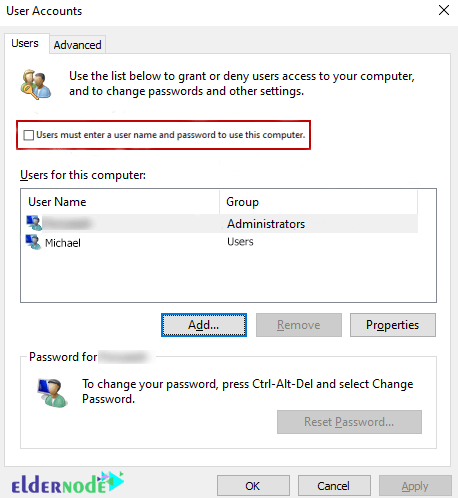
As shown below, Uncheck “Users must enter a user name and password to use this computer” and click OK.
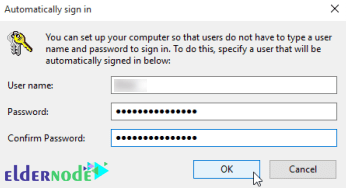
Now in the next step, you have to enter the username and password that you use to log in and click OK.
Now you need to restart the system once to see the result. It should be noted that you will still see the login page but you do not need to enter anything.
Note: This process also bypasses the Lock Screen.
You can lock it when you leave the computer by pressing Windows Key+L. Then to log in, you must log in with your password.
Enable Auto-Login for Windows 10 RDP/VPS Using Registry
In this section, we want to teach you how to setup Auto-Login for Windows 10 RDP using the registry. Follow the steps below in order.
In the first step, you must run the Run window using the Win+R key combination. You can do this by searching for Run in the Start menu.
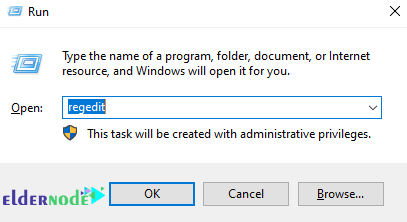
Then in the window that opens, type regedit and click OK:
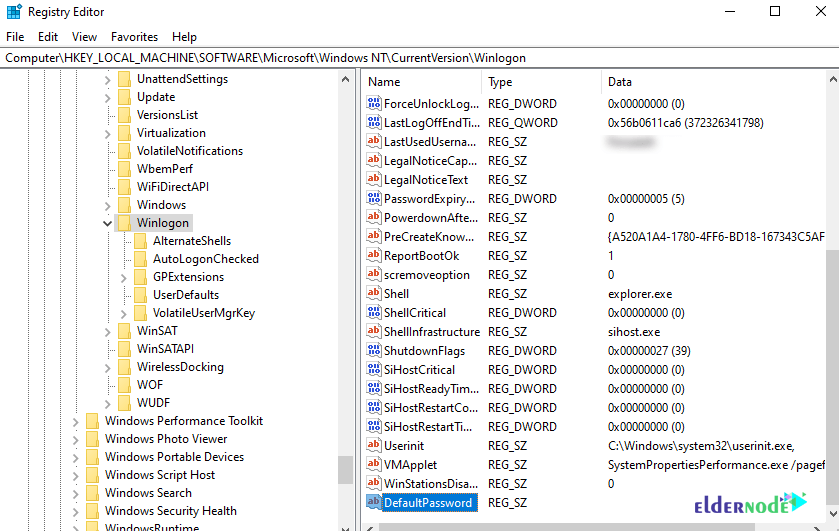
Now you need to locate the following key in the opened registry window:
HKEY_LOCAL_MACHINE\SOFTWARE\Microsoft\Windows NT\CurrentVersion\Winlogon
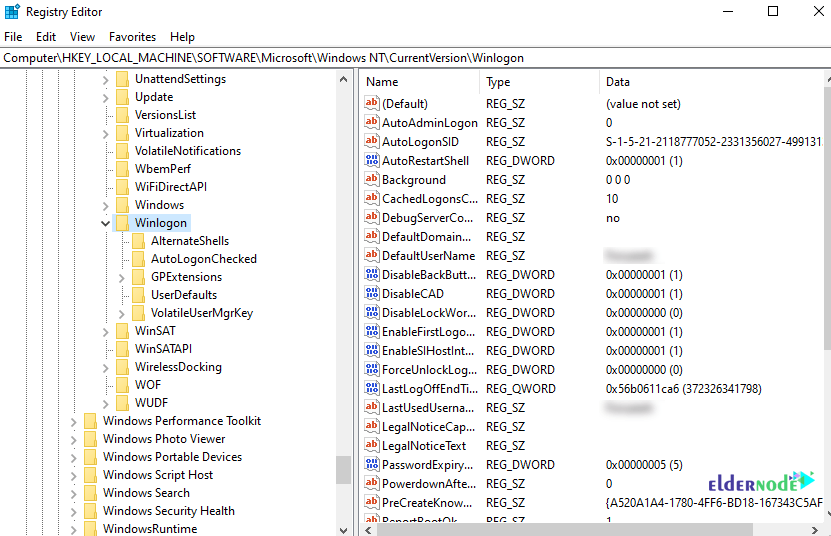
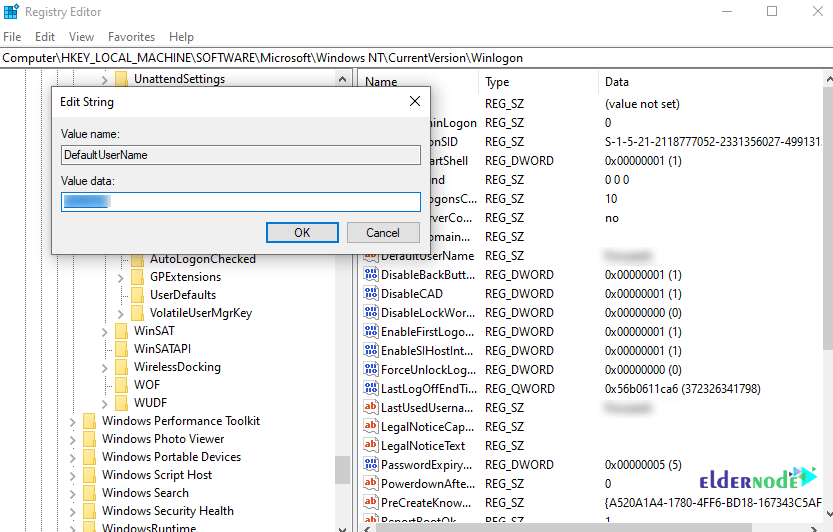
Double-click on DefaultUserName in the right column, check the username, and click OK:

*
Now you need to create a new entry called DefaultPassword. Follow the steps below to do this.
1. Click on New in the Edit menu. Then select String Value:
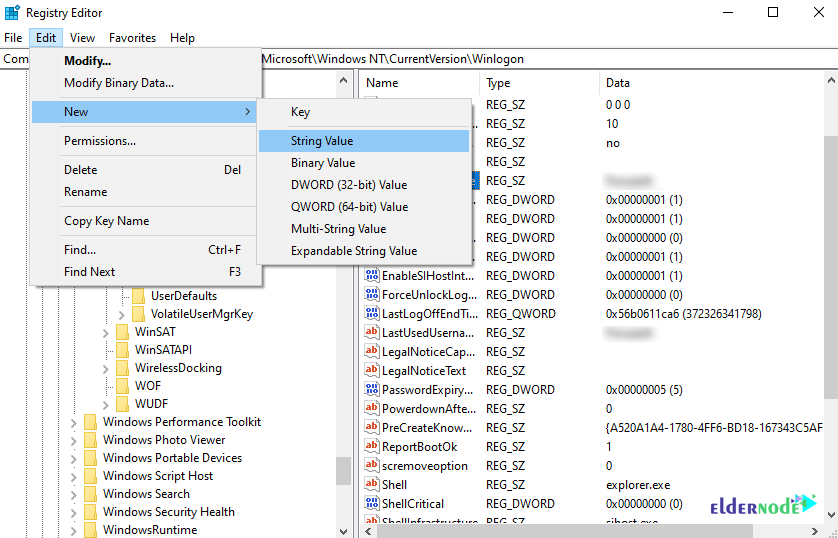
2. Name this entry DefaultPassword and press Enter:
3. Double-click on DefaultPassword and type the password in the Edit String field and click OK:
4. In the next step, you must click New from the Edit list. Then click on String Value.
5. Type the entry name AutoAdminLogon and then press Enter.
6. Now you need to double click on AutoAdminLogon.
7. Then you have to type 1 in the Edit String dialog box and then click OK.
Note: It should be noted that If you have joined the computer to a domain, add the DefaultDomainName value, and the data for the value should be set as the fully qualified domain name (FQDN) of the domain. For example eldernode.com.
Conclusion
In this article, we tried to show you How to Setup Auto-Login for Windows 10 RDP in two ways. Note that if security does not pose a problem for you, you can enable Auto-Login according to the methods described in this tutorial.