Samba is a free standard Windows interoperability suite of programs for Linux and Unix. It is licensed under GNU General Public License. As an important component to seamlessly integrate Linux/Unix servers and Desktop into Active Directory environments, you can use it both as a domain controller or as a regular domain member. As a network administrator, Samba gives you flexibility and freedom in terms of setup, configuration, and choice of systems and equipment. In this article, you will learn How To Install Samba On Ubuntu 20.04. If you are preparing to buy a new Linux VPS or you need to have your own Ubuntu VPS server you can purchase what you need as quickly as you could imagine.
To let this tutorial work better, please consider the below Prerequisites:
A non-root user with sudo privileges.
To setup, follow our Initial server setup on Ubuntu 20.04.
Table of Contents
Tutorial Install Samba On Ubuntu 20.04
Samba enables computers running Unix to get in the action, communicating with the same networking protocol as Microsoft Windows, and appearing as another Windows system on the network from the perspective of a Windows client. Samba allows you to access shared files printers and other network resources. It also lets you access your desktop files from a laptop and share files with Windows and macOS users. If you want to configure both the Windows and Ubuntu machines on the same subnet, they should be able to communicate over the network.
Join us with this guide to review the steps of Setting up the Samba file server on Ubuntu 20.04.
Step by Step To Install Samba On Ubuntu 20.04 | 18.04
How to install Samba:
First, run the following commands to install Samba:
sudo apt updatesudo apt install sambaYou can now check if you have installed it successfully or not. So, type:
whereis sambaonce you view the output below, it means all is ok.
samba: /usr/sbin/samba /usr/lib/samba /etc/samba /usr/share/samba /usr/share/man/man7/samba.7.gz /usr/share/man/man8/samba.8.gzHow to setup Samba
In this way, you can create a directory for it to share. Som run:
mkdir /home/<username>/sambashare/Once you run the above command, it will create a new folder sambashare in your home directory which you will share later.
The configuration file for Samb is located ar /etc/samba/smb.conf. Edit the file with the command below to add the new directory as a share.
sudo nano /etc/samba/smb.confThen, you must add the following lines to the bottom of the file:
[sambashare]comment = Samba on Ubuntupath = /home/username/sambashareread only = nobrowsable = yes
Note: have a look at this additional explanation of what has been added:
comment: A brief description of your share.
path: the directory of your share.
read-only: Permission to modify the contents of the shared folder is only granted when the value of this directive is no.
browsable: When set to yes, file manager like Ubuntu’s default file manager will list this share under ”Network”
Now, you can press Ctrl-O to save and Ctrl-X to exit from the nano text editor.
While you have your new share configured, you can save it and restart Samba for it to take effect:
sudo service smbd restartRun the command below to update the firewall rules to allow Samba traffic:
sudo ufw allow sambaHow to setup User Account and connect to share
Samba does not use the system account password, so you need to set up a Samba password for your user account:
sudo smbpasswd -a usernameNote: To let the username be saved, it should belong to a system account.
How to connect to share
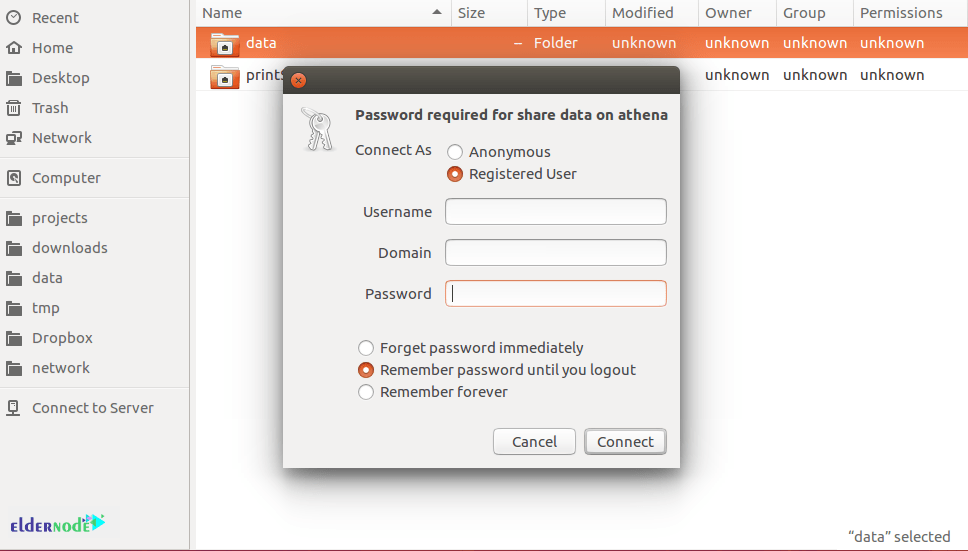
Since you are working on Ubuntu, you should open up the default file manager and click Connect to Server. Then enter smb://ip-address/sambashare.
Please be aware that ip-address is the Samba server IP address and sambashare is the name of the share.
Finally, you will be prompted for your credentials. So, enter them to connect.
Conclusion
I this article, you learned How To Install Samba On Ubuntu 20.04. From now on you can share one or more directory trees and one or more Distributed filesystem trees. In case you have installed printers on the server among Windows clients on the network, you can share them too. Read more about Samba on How to Install Samba on Linux/Windows if you wish.