PHPMyAdmin is a free software for managing MySql database. PHPMyAdmin is written in PHP language. Using this software, you can perform various operations on the database. Tasks such as: changing or deleting the database, tables, fields, etc. In this article, we are going to teach you 3 Simple Steps to Install PHPMyAdmin on Ubuntu 22.04. It should be noted that if you want to get a Ubuntu VPS, you can visit the plans provided on the Eldernode website.
Table of Contents
How to Install PHPMyAdmin on Ubuntu VPS
PHPMyAdmin software has many features, some of which are:
1- Create or delete database
2 – Mysql and MariaDB database management
3- Create a table
4- Export or import the database in compressed formats
5 – The possibility of backing up the database in csv, xml, sql, pdf formats
6- User management
7 – Ability to manage multiple servers
8 – The possibility of nationwide search in all databases
In the rest of this article, stay with us to teach you 3 ways to install PHPMyAdmin on Ubuntu 22.04.
1) Installing Apache and PHP
In the first step, it is necessary to install MySQL on Linux Ubuntu.
Now you can install Apache by running the following command:
sudo apt install apache2 wget unzipThen you need to install PHP using the following command:
sudo apt install php php-zip php-json php-mbstring php-mysqlAfter completing the mentioned steps, you can start Apache by running the following command:
sudo systemctl start apache2It is also necessary to enable Apache:
sudo systemctl enable apache2After installing the required prerequisites in this section, in the next section we will teach you how to install PHPMyAdmin.
2) Installing PHPMyAdmin
In the first step, it is necessary to download PHPMyAdmin using the following command:
wget https://files.phpmyadmin.net/phpMyAdmin/5.2.0/phpMyAdmin-5.2.0-all-languages.zipAfter you download the file, you must unzip it by running the following command:
unzip phpMyAdmin-5.2.0-all-languages.zipNow you can move the PHPMyAdmin file to the desired path with the help of the following command:
sudo mv phpMyAdmin-5.2.0-all-languages /usr/share/phpmyadminRun the tmp directory using the following command:
sudo mkdir /usr/share/phpmyadmin/tmpYou can set the appropriate and required permissions with the help of the following commands:
sudo chown -R www-data:www-data /usr/share/phpmyadminsudo chmod 777 /usr/share/phpmyadmin/tmp3) Configure and Access
You can easily follow the steps below to configure PHPMyAdmin.
In the first step, open the configuration file with the help of your desired text editor:
sudo nano /etc/apache2/conf-available/phpmyadmin.confAdd the following commands to the configuration file, then save and exit:
Alias /phpmyadmin /usr/share/phpmyadmin Alias /phpMyAdmin /usr/share/phpmyadmin <Directory /usr/share/phpmyadmin/> AddDefaultCharset UTF-8 <IfModule mod_authz_core.c> <RequireAny> Require all granted </RequireAny> </IfModule> </Directory> <Directory /usr/share/phpmyadmin/setup/> <IfModule mod_authz_core.c> <RequireAny> Require all granted </RequireAny> </IfModule> </Directory>Start the Apache service with the help of the following commands to reload the settings:
sudo a2enconf phpmyadminsudo systemctl restart apache2The next part related to configuring PHPMyAdmin is FirewallD settings. So you need to run the following command to allow access to the HTTP service from the firewall:
sudo firewall-cmd --permanent --add-service=httpReload the firewall to apply the changes:
sudo firewall-cmd --reloadTo Create a MySQL Database and User, run the mysql command:
mysqlNow you need to run the following commands in order:
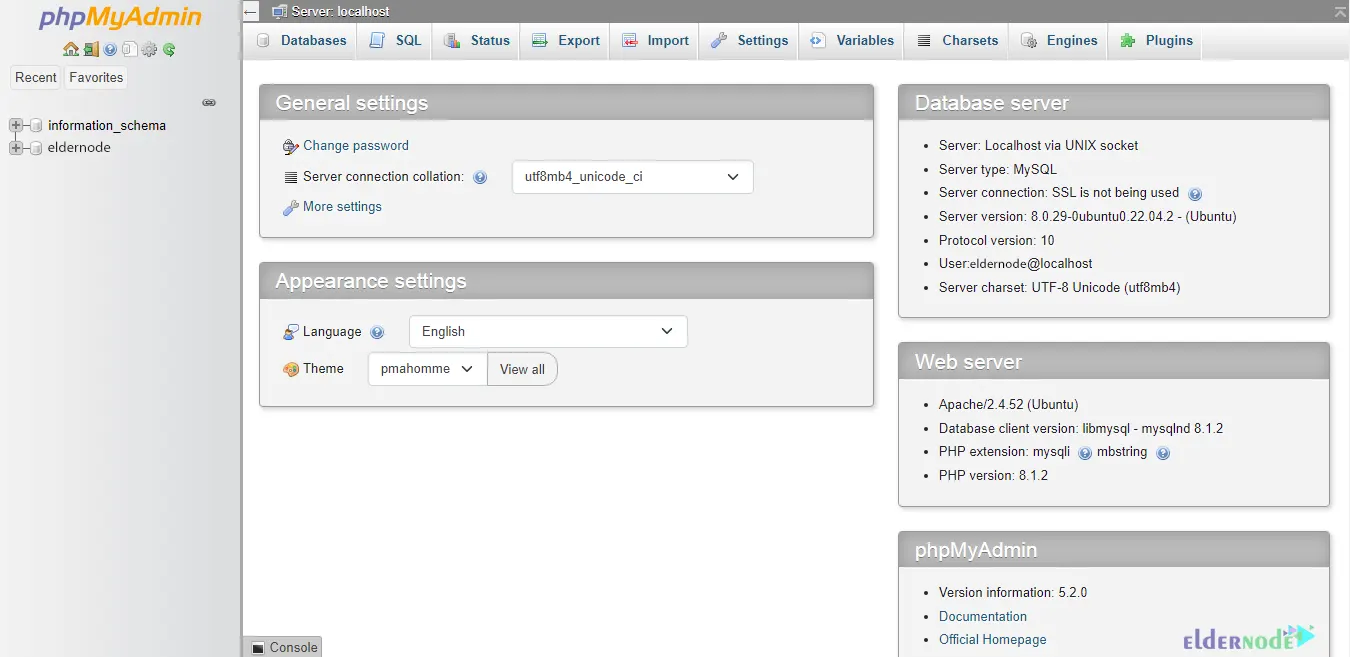
CREATE DATABASE eldernode;CREATE USER 'eldernode'@'localhost' IDENTIFIED BY 'Pa$$w0rd';GRANT ALL ON eldernode.* TO 'eldernode'@'localhost';FLUSH PRIVILEGES;After you have carefully followed all the steps mentioned in this tutorial, you can finally access PHPMyAdmin by running the following address in your browser:
http://your-server-ip-domain/phpmyadmin
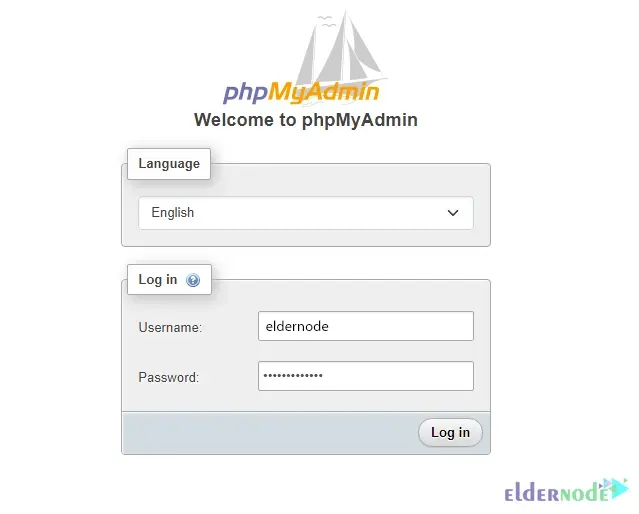
Be careful that you can login PHPMyAdmin with the MySQL username and password that you typed and created in the command line:
Conclusion
PHPMyAdmin comes with a wide range of documentation. For ease of use by a wide range of users, PHPMyAdmin has been translated into 72 languages and supports both LTR and RTL language bases. PHPMyAdmin is the most reliable and user-friendly database manager and is mostly used for web-based applications or applications. In this article, we tried to teach you 3 Simple Steps to Install PHPMyAdmin on Ubuntu 22.04. If you have any questions, you can share them with us in the comments section.

![Tutorial Configure Apache Cassandra on Debian 11 [Bullseye]](https://blog.eldernode.com/wp-content/uploads/2022/01/configure-apache-cassandra-on-debian-11-300x164.png)