Previously, the OpenNMS (Open Network Management System) was introduced to you. As an administrator or a user, you need to detect devices and network nodes. Since all Java written software is available for most Linux distributions, in this article, you will learn How To Install OpenNMS Monitoring On Ubuntu 20.04. To start a safe and economical network monitoring buy your own Ubuntu VPS and enjoy our perfect packages and support.
Table of Contents
Tutorial Install OpenNMS Monitoring On Ubuntu 20.04
To let this tutorial work better, please consider the below Prerequisites:
1- A non-root user with sudo privileges.
2- To set up, follow our Initial server setup on Ubuntu 20.04.
3- Installed OpenJDK 11 Development Kit
4- 2 CPU, 2 GB RAM, 20 GB disk
5- PostgreSQL database
Install OpenNMS Monitoring On Ubuntu 20.04
Join us with this guide to review the installation of the OpenNMS network monitoring platform. You can install OpenNMS on Ubuntu 16.04 LTS or higher. let’s go through the 7 steps of this guide to learn and finish it.
Step 1: How To Update Ubuntu Server
As always, our first recommendation to start an installation is to consider security and update your system. The below command should be run:
apt-get update -yapt-get upgrade -yOnce updating of all packages is finished, use the following command to install other dependencies too.
apt-get install apt-transport-https ca-certificates curl gnupg-agent software-properties-common -yStep 2: How To Install Java – OpenJDK 11 in Ubuntu 20.04
As an installation prerequisite, you can install OpenJDK 11 by typing:
sudo apt-get install openjdk-11-jdkNow, you can verify the version of Java you installed.
java -versionAdd the following line in /etc/profile file to let the Java environment variable be set for all users.
export JAVA_HOME=/usr/lib/jvm/java-1.11.0-openjdk-amd64Then, you can save the file, and to read /etc/profile file, run:
source /etc/profileStep 3: How To Install Docker on Ubuntu Server
In this step, you will install Docker and Docker Compose, since the latest version of Docker is not available in the default repository of Ubuntu 20.04, you need to install it. Use the command below to let it be installed from Docker’s official repository.
curl -fsSL https://download.docker.com/linux/ubuntu/gpg | apt-key add -The GPT key is now added. Now, try to add the Docker repository to your system by typing:
add-apt-repository "deb [arch=amd64] https://download.docker.com/linux/ubuntu $(lsb_release -cs) stable"After adding the repositories, you can install the Docker and Docker compose:
apt-get install docker-ce docker-ce-cli containerd.io docker-compose -yWhen you ensure of installing all the above ones, you can verify the status of the Docker by running:
systemctl status dockerAlso, you can view the version of Docker and Docker compose version you have installed:
docker -vdocker-compose -vStep 4: How To Download And Install OpenNMS
Use the following command to install OpenNMS packages. this command would install all dependencies such as (opennms-core and opennms-webapp-jetty) with all built-in dependencies (jicmp6 and jicmp, postgresql and postgresql-libs).
mkdir opennmsThen, to install OpenNMS you need to create a new docker-compose.yml fil and change the directory to opennms.
cd opennmsnano docker-compose.ymlIn case you prefer to stop allowing OpenNMS Horizon apt repositories to upgrading while it is running, you should disable it by typing:
sudo apt-mark hold libopennms-java libopennmsdeps-java opennms-common opennms-dbNow, you can save and close the file and run the following command to prepare a container for OpenNMS:
docker-compose up -dWhen you ensure of downloading the OpenNMs container, use the command below to verify the running container:
docker ps -aStep 5: How To Initialize and Setup PostgreSQL
Since you are setting up on an Ubuntu server, you need to be aware that once the installation is finished, the installer initializes the Postgres database and enables it to auto-start at system boot. So, you can easily check the running status of the service:
To check if the service is up and running, run the following command:
sudo systemctl status postgresqlNow, you are ready to create an opennms database user with a password by switching to the postgres user account:
sudo su - postgrescreateuser -P opennmscreatedb -O opennms opennmsAs we mentioned, you need to consider a password, use the following command and
secure the postgres default/superuser account by setting a suitable password:
psql -c "ALTER USER postgres WITH PASSWORD 'YOUR-POSTGRES-PASSWORD';"Run the command below to set up the database access in OpenNMS Horizon configuration file:
sudo vim /usr/share/opennms/etc/opennms-datasources.xmlStep 6: How To Initialize And Start OpenNMS Horizon
Initializing OpenNMS requires integration with Java, so to detect the Java environment and persist in /usr/share/opennms/etc/java.conf configuration file you need to run the command below:
sudo /usr/share/opennms/bin/runjava -sOnce you initialized the OpenNMS, you need to repeat that step for the database and detect system libraries persisted in /opt/opennms/etc/libraries.properties/opt/opennms/etc/libraries.properties. To do this, run the command below as OpenNMS installer:
sudo /usr/share/opennms/bin/install -dis You can use systemd to start the OpenNMS service and to let it use the auto-start mode, you need to enable it at system startup and check its status by running the below commands:
sudo systemctl start opennmssudo systemctl enable opennmssudo systemctl status opennmsAnd finally, for this step, open port 8980 in your firewall if you have a UFW firewall running on your system:
sudo ufw allow 8980/tcpsudo ufw reloadStep 7: How To Access OpenNMS Web Console and login
In the final step, you see how easy you can access the OpenNMS web console. You just need to open a web browser and point it to the following URL.
http://SERVER_IP:8980/opennms OR
http://FDQN-OF-YOUR-SERVER:8980/opennmsOnce the login interface displayed, use the default login credential and enter the username and password. Consider both of them as admin
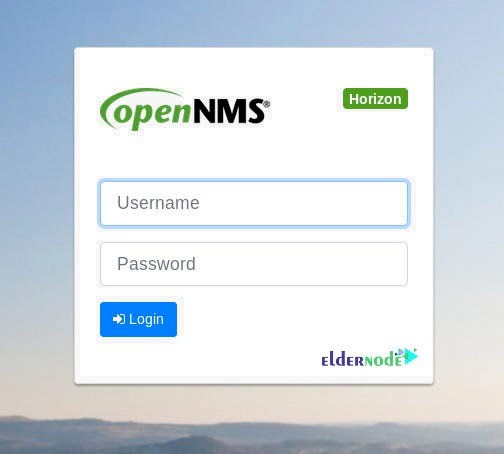
After your first successful login, the admin dashboard would be accessible for you.
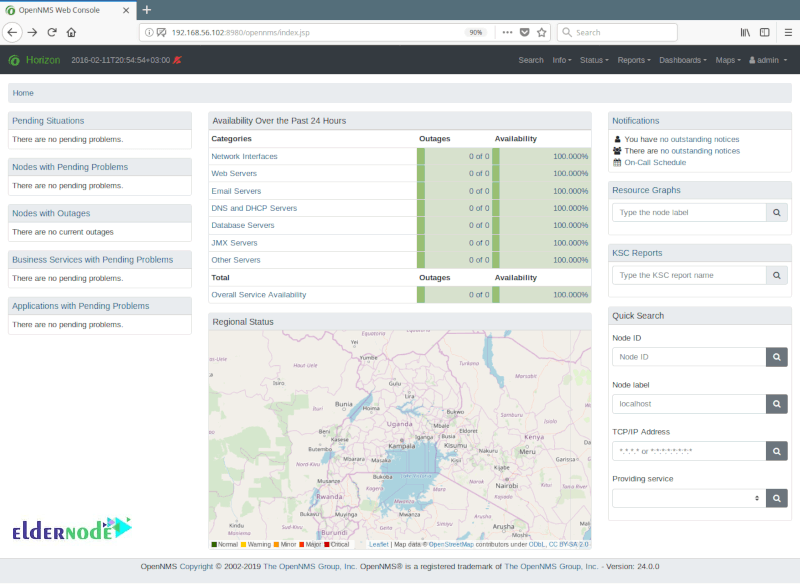
As you guess, in the next steps of working with OpenNMS, you will need to change the default admin password.
Conclusion
In this article. you have learned How To Install OpenNMS Monitoring On Ubuntu 20.04. Using this software allows you to provide a situation to not need an operator for your network devices management and configuration.