Learn how To Setup Odoo With PostgreSQL On Centos 7 step by step. If you are one of the persons who prefer to use one tool instead of several, or you shop from one big store to prevent walk-in many stores Odoo has been designed for your taste. So, anytime you needed a VPS, remember to visit Eldernode to buy your considered perfect CentOS VPS to help you stop searching for the best packages because we claim to provide you the best!
Table of Contents
What is Odoo?
Former OpenERP, Odoo is a business management platform. You can find some different applications, such as accounting, billing, project management, inventory, and much more in it. This free and open-source ERP is a web-based application with so many features that is a necessity of any job which is related to Point of Sales, Billing, and Accounting, Event Management, Email Marketing, Order Tracking, etc
Tutorial Setup Odoo With PostgreSQL On Centos 7
In the following open-source apps tutorials, in this guide, you will learn about Odoo. So, let’s go through the steps of this article to finish it and start using this unique framework.
How To Install Odoo 12 on CentOS
As a community developer, you need to use an app that is top-notch usability that scales across all apps. Before executing the commands of this tutorial, please consider using the root user.
Step 1: Update System
To update the system, run:
yum updateYou will face the question of updating, so type ”y” and wait for some time to update your system.
Step 2: Configure Repositories
You need to configure the needed Repositories, so use the command below to enable the Epel repository:
yum install epel-releaseThen, type the following command to enable the Software Collections (SCL) repository:
yum install centos-release-sclStep 3: Install Python 3.6 And Dependencies
To install Python 36, run:
yum install rh-python36And to install needed dependencies, type:
yum install bzip2-devel freetype-devel nodejs-less libxslt-devel openldap-devel libjpeg-devel gccStep 4: Create Odoo User
It is time to create your Odoo user, so run:
useradd -m -U -r -d /opt/odoo -s /bin/bash odoousrStep 5: Install And Configure PostgreSQL
You are recommended to check repositories from the official site and install the Postgres repository for Centos 7 64bit.
rpm -Uvh https://yum.postgresql.org/11/redhat/rhel-7-x86_64/pgdg-redhat-repo-latest.noarch.rpmThen, you are ready to install the PostgreSQL 11 server:
yum install postgresql11-serverNext, to create a data directory and other configuration files on the system, you can initialize the database by running:
/usr/pgsql-11/bin/postgresql-11-setup initdbAnd to check PostgreSQL Service Status, type:
systemctl status postgresql-11.serviceIn case you faced the system not starting, use the command below to start it:
systemctl start postgresql-11.serviceAnd to enable service on the system boot. run:
systemctl enable postgresql-11.serviceNow, you can check and Verify PostgreSQL Installation:
su - postgres -c "psql"If you prefer, you can create a password:
\password postgresThen, you should create a PostgreSQL user:
su - postgres -c "createuser -s odoousr"Step 6: Install Wkhtmltopdf
Odoo needs an open-source tool to use for making HTML in PDF formats so that it can print PDF reports.
wget https://downloads.wkhtmltopdf.org/0.12/0.12.5/wkhtmltox-0.12.5-1.centos7.x86_64.rpmInstall “wget” if it is not available.
yum install wget -yRun the following command to install the downloaded package:
yum localinstall wkhtmltox-0.12.5-1.centos7.x86_64.rpmStep 7: Install And Configure Odoo 12
First, you need to install Git on your system:
yum install git -ySecond, change the user to Odoo user:
su - odoousrThird, you need to clone Odoo 12 from its repository. So, download it to the “/opt/odoo/odoo12” directory.
git clone https://www.github.com/odoo/odoo --depth 1 --branch 12.0 /opt/odoo/odoo12Fourth, enable python36:
scl enable rh-python36 bashStep 8: How To Create A New Virtual Environment
Use the command below to go to Odoo directory:
cd /opt/odooAnd Create an environment:
python3 -m venv odoo12-venvTo activate the environment, type:
source odoo12-venv/bin/activateThen, you should upgrade pip:
pip install --upgrade pipNext, install the Wheel library, followed by all the required Python modules.
pip3 install wheelpip3 install -r odoo12/requirements.txtOnce the installation is complete, deactivate the virtual environment and return to the root user.
Step 9: Other Configurations For Odoo12
First, create a directory for custom modules:
mkdir /opt/odoo/odoo12-custom-addonschown odoousr: /opt/odoo/odoo12-custom-addonsSecond, create a configuration file for the Odoo12:
vim /etc/odoo12.confBy any editors you prefer, you can install vim if it is not available:
yum install vimAdd the following lines to the file:
[options] ; This is the password that allows database operations: admin_passwd = eld@76jht<?Linux db_host = False db_port = False db_user = odoousr db_password = False addons_path = /opt/odoo/odoo12/addons,/opt/odoo/odoo12-custom-addons logfile = /var/log/odoo12/odoo.logNow, you can save and exit the file. Then you should create a log folder and grant permission to it:
mkdir -p /var/log/odoo12chown -R odoousr: /var/log/odoo12Step 10: How To Start Odoo12 Manually
In this step, you can start the service and check whether it is working correctly. To do this you need to change the user and then start the command:
su - odoousr/usr/bin/scl enable rh-python36 -- /opt/odoo/odoo12-venv/bin/python3 /opt/odoo/odoo12/odoo-bin -c /etc/odoo12.confThen, try to check Odoo12 port is up and running and open another terminal and by typing:
netstat -tunlp | grep 8069Step 11: How To Configure firewall
Use the following command to check firewall status:
systemctl status firewalldRun the command below to start the service if you found it is not started yet:
systemctl start firewalldTo add firewall rules and reload firewall type:
firewall-cmd --zone=public --permanent --add-service=httpfirewall-cmd --zone=public --permanent --add-port=8069/tcpsystemctl reload firewalldStep 12: How To Browse Application
http://Ip or domain name:8069The Start page would display:
Also, you can change the Selinux mode temporarily if you face the “Service Unavailable” message.
setenforce 0Step 13: Configure Odoo12 run As A Service
And in this step, you need to create a systemd file and add the following content to the file:
vim /etc/systemd/system/odoo12.service[Unit] Description=Odoo12 Requires=postgresql-11.service After=network.target postgresql-11.service [Service] Type=simple SyslogIdentifier=odoo12 PermissionsStartOnly=true User=odoousr Group=odoousr ExecStart=/usr/bin/scl enable rh-python36 -- /opt/odoo/odoo12-venv/bin/python3 /opt/odoo/odoo12/odoo-bin -c /etc/odoo12.conf StandardOutput=journal+console [Install] WantedBy=multi-user.targetNow. you can save, and exit.
Use the following command to reload systemctl daemon.
systemctl daemon-reloadStep 14: How To Stop Previously Started Odoo12
To check the process, run:
ps -aux | grep odooOdoo ProcessKill process.
kill -9 28416 28417 28420Note: Do not forget to replace process IDs with yours.
Step 15: How To Start Odoo12 Service
systemctl start odoo12To check status, run:
systemctl status odoo12Use the command below to monitor the log file:
tail -f /var/log/odoo12/odoo.logAnd then, check the status and enable Odoo service on system boot:
systemctl enable odoo12Step 16: How To Browse The Website And Continue
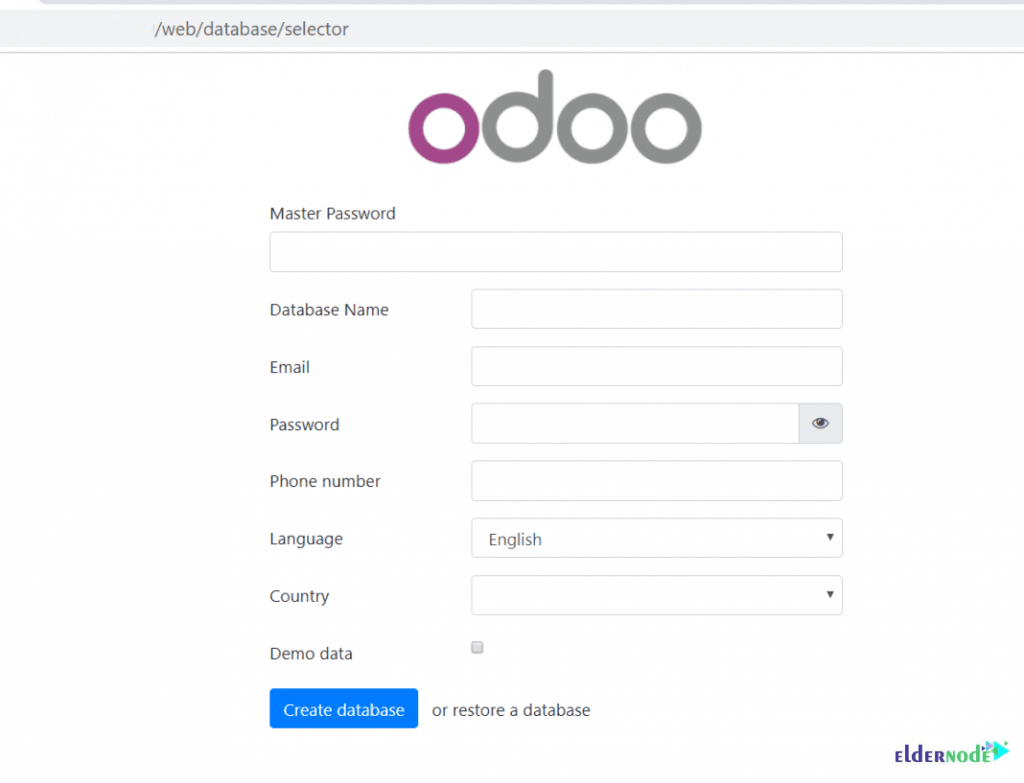
http://Ip Or Domain name:8069Once you view the below page, you must add a Master password, database name, and other details.
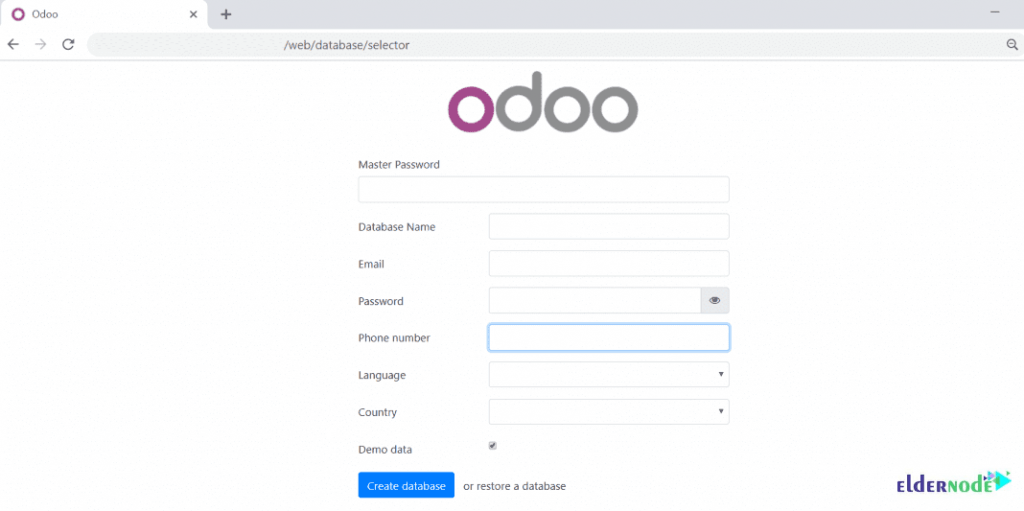
Then to be redirected to the welcome page, you should click the “create database”
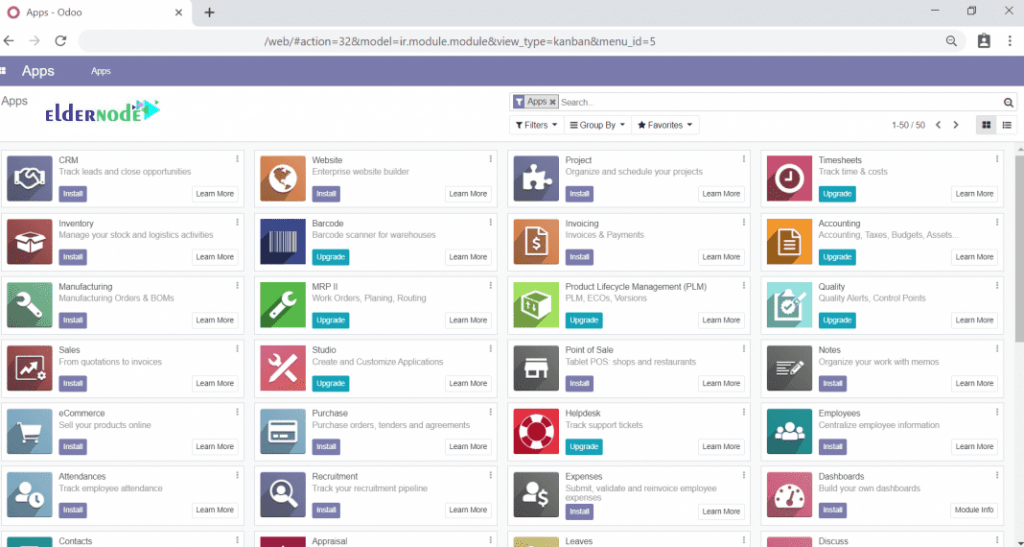
Once you sign out from the above page, you will go to the login page.
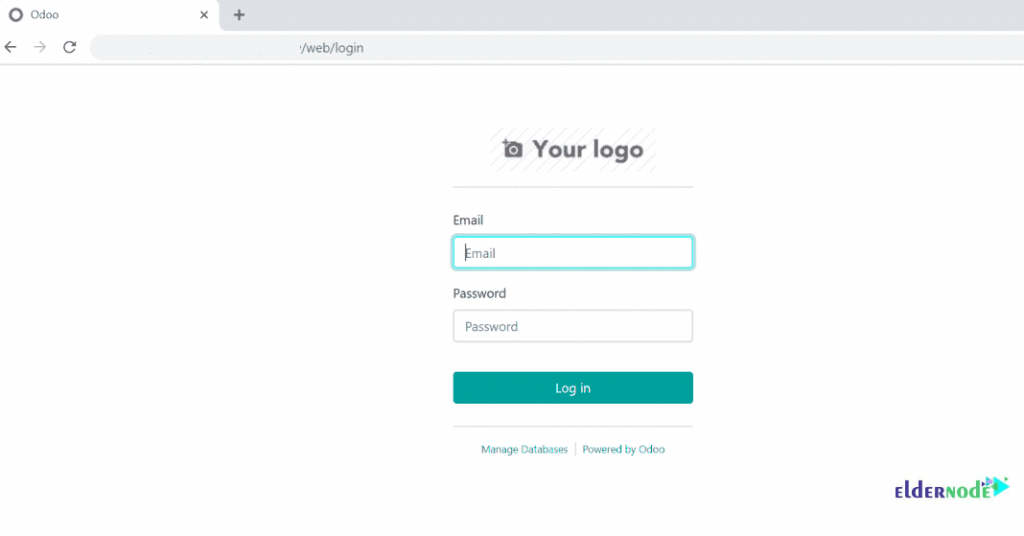
That’s that! By reaching here, you have completed the installation.
Conclusion
In this article, you learned How To setup Odoo With PostgreSQL On Centos 7. From now on, you can use and enjoy this software for billing, accounting, project management, manufacturing, warehouse, and inventory apps.


![Tutorial Configure Apache Cassandra on Debian 11 [Bullseye]](https://blog.eldernode.com/wp-content/uploads/2022/01/configure-apache-cassandra-on-debian-11-300x164.png)