LEMP is one of the programs that work as a group to serve dynamic websites or web applications. It includes Linux (server operating system), Nginx (web server application), MySQL (database management system) and PHP (programming language). In this article, we are going to teach you How to Install LEMP on Arch Linux. If you want to buy a Linux VPS server, you can visit the plans offered on the Eldernode website.
Table of Contents
How to Setup LEMP on Arch Linux
What is LEMP?
LEMP is a popular alternative to LAMP, except that LAMP uses Apache instead of Nginx and is used for static web pages. There are also WAMP and MAMP services that are designed for Windows and macOS operating systems instead of Linux.
The LEMP stack, derived from the first words Linux, NGINX, MariaDB, and PHP, is a popular configuration for servers used to develop and host web applications. The four components of this stack have been chosen in such a way that other technologies can be used instead of each of them. LEMP stack is one of the common and practical options where Apache web server is replaced with NGINX.
Installing LEMP on Arch Linux
In the first step of the continuation of this article, we will teach How to Install Nginx Web Server. Then we will teach How to Install MariaDB Database Engine. After doing this, in the next step, we will teach you How to Install PHP & PHP-FPM. Finally, we will teach you How to Configure the UFW Firewall.
How to Install Nginx Web Server on Arch Linux
In this section, we want to teach you step by step how to install Nginx web server. To do this, just follow the steps below. In the first step, you must update the system packages by running the following command:
sudo pacman -SyyNow you can run the following command to install Nginx:
sudo pacman -S nginxIf you encounter a question about continuing the installation process, you need to type the “Y” key and press enter.
To start the Nginx service, you need to use the following command:
sudo systemctl start nginxYou can also run the following command to enable the Nginx service:
sudo systemctl enable nginxFinally, you can run the following command to check the installation status:
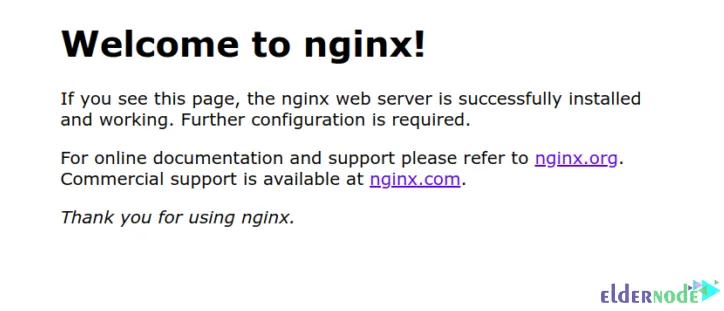
sudo systemctl status nginxIf you have successfully completed the mentioned steps, you can type the IP address of your server in your browser to see if Nginx is up:
http://server-ip
Note that Nginx is listening on port 80. Therefore, you need to use the following command to confirm this:
sudo netstat -plntuHow to Install MariaDB on Arch Linux
In this section, we are going to teach you How to Install MariaDB on Arch Linux. To do this, just follow the steps below. In the first step, it is necessary to install MariaDB database engine by running the following command:
sudo pacman -S mariadbIn the next step, it is necessary to start the MariaDB data directory using the following command:
sudo mysql_install_db --user=mysql --basedir=/usr --datadir=/var/lib/mysqlAfter completing the mentioned steps, you can start MariaDB by running the following command:
sudo systemctl start mariadbYou can also enable MariaDB using the following command:
sudo systemctl enable mariadbTo secure the database and apply a list of restrictions, it is necessary to type and execute the following command as the root user:
mysql_secure_installationIf you encounter the switch to unix_socket authentication question, you must type “Y” and press enter. Then, when asked if you want to change the root password, hit “Y” and provide a strong password.
In response to other questions, you can type “Y” and press enter.
If you have followed all the steps correctly, you can enter your database sample using the following command:
mysql -u root -pHow to Install PHP & PHP-FPM on Arch Linux
In this section, we intend to teach you how to install PHP and PHP-FPM. To do this, just follow the steps below. In the first step, it is necessary to install PHP-FPM using the following command:
sudo pacman -S php php-fpmYou can run the following command to start PHP-FPM:
sudo systemctl start php-fpmTo enable PHP-FPM, you can use the following command:
sudo systemctl enable php-fpmFinally, you can check the installation status by running the following command:
sudo systemctl status php-fpmOpen the configuration file to make some settings by running the following command:
sudo vim /etc/nginx/nginx.confThen add the following settings to the configuration file:
location / { root /usr/share/nginx/html; index index.html index.htm index.php; } location ~ \.php$ { fastcgi_pass unix:/var/run/php-fpm/php-fpm.sock; fastcgi_index index.php; root /usr/share/nginx/html; include fastcgi.conf; }Save the configuration file and exit. Then restart nginx and php-fpm by running the following commands to apply the changes:
sudo systemctl restart nginxsudo systemctl restart php-fpmTo verify that PHP is working and that PHP-FPM can serve nginx web pages without any problems, now you verify that PHP and PHP-FPM are working without problems. To do this, you need to open the configuration file by running the following command:
sudo vim /usr/share/nginx/html/info.phpNow you can add the following commands to it and then save and exit:
<?php phpinfo(); ?>Finally, you can open the browser and enter the IP address of your server as below:
http://server-ip/info.php
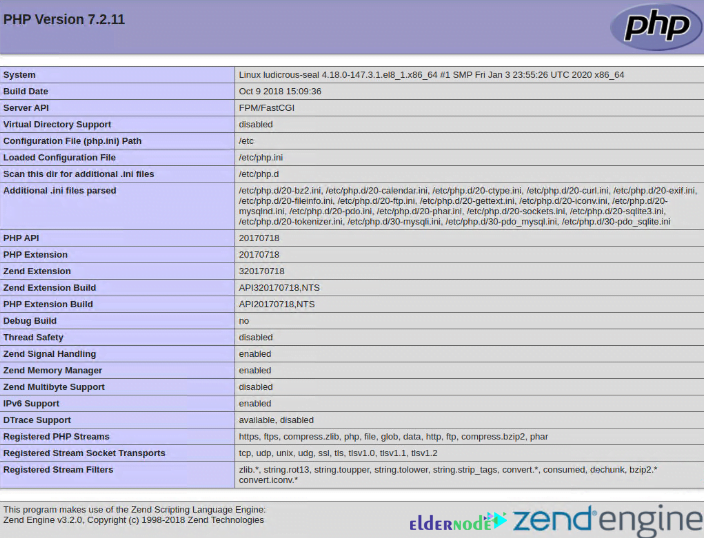
To check the status of the PHP version, you can run the following command:
php -vHow to Configure the UFW Firewall
Finally, we reach the last section, the ufw firewall configuration section. First, it is necessary to install ufw firewall by running the following command:
sudo pacman -S ufwTo allow ports 80 and 443 across the firewall, you can use the following commands:
sudo ufw allow 80/tcpsudo ufw allow 443/tcpEnable ufw by running the following command:
sudo ufw enableAnd finally, run the following command to check the installation status:
sudo ufw statusNext, you can install phpMyAdmin to easily manage MariaDB/MySQL databases:
sudo pacman -S phpmyadminTo enable access to phpMyAdmin, you can create a symlink by running the following command:
sudo ln -s /usr/share/webapps/phpMyAdmin/ /usr/share/nginx/html/Now to finish the work, you can restart Nginx and PHP-FPM by running the following commands:
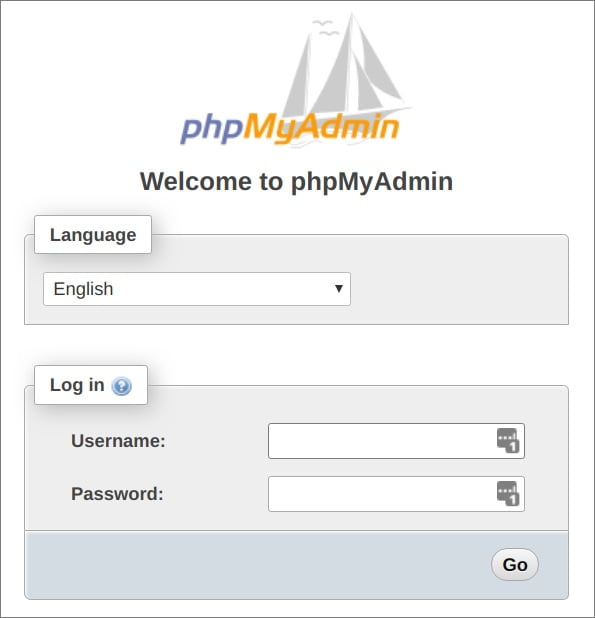
sudo systemctl restart nginxsudo systemctl restart php-fpmOpen the browser and enter the following address with your server IP and run:
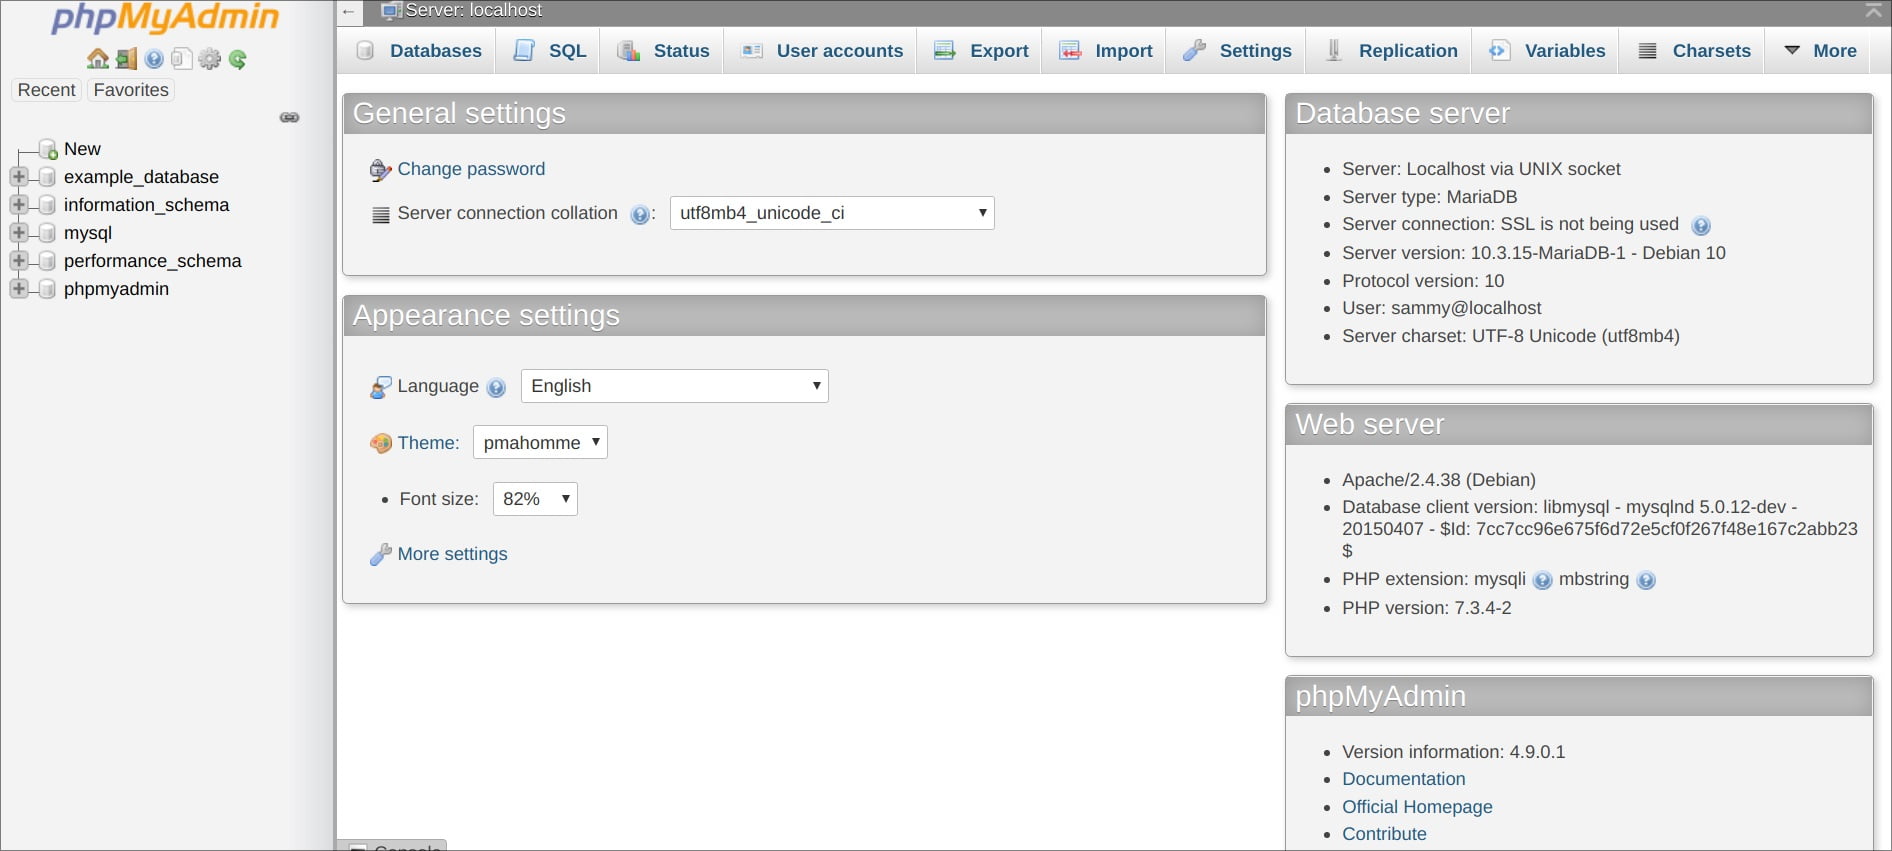
http://server-ip/phpMyAdmin
After successful login, you will see the phpMyadmin dashboard as shown below:
Conclusion
LEMP is a popular alternative to LAMP, except that LAMP uses Apache instead of Nginx and is used for static web pages. There are also WAMP and MAMP services that are designed for Windows and macOS operating systems instead of Linux. In this article, we tried to teach you How to Install LEMP on Arch Linux. If you have any questions, you can ask us in the comment section.