Mac operating systems use ARM-based architecture and do not locally support Kali Linux. But you can install Kali Linux on Mac OS that uses M1, M1 Pro, and M1 Max processors. This article will teach you How to Install Kali Linux on MacOS. If you intend to buy your own VPS server, you can check out the packages offered on the Eldernode website.
Table of Contents
Setup Kali Linux on MacOS with best Way
There are hundreds of different distributions of Linux, each with its own features. Kali Linux is a distribution of Linux Debian-derived, which is designed and developed with the purpose of performing penetration testing and identifying vulnerable points. This powerful operating system has a very high penetrating ability and all those who work in the field of hacking and security should be fully familiar with this operating system and its various tools.
Downloading Kali Linux on MacOS
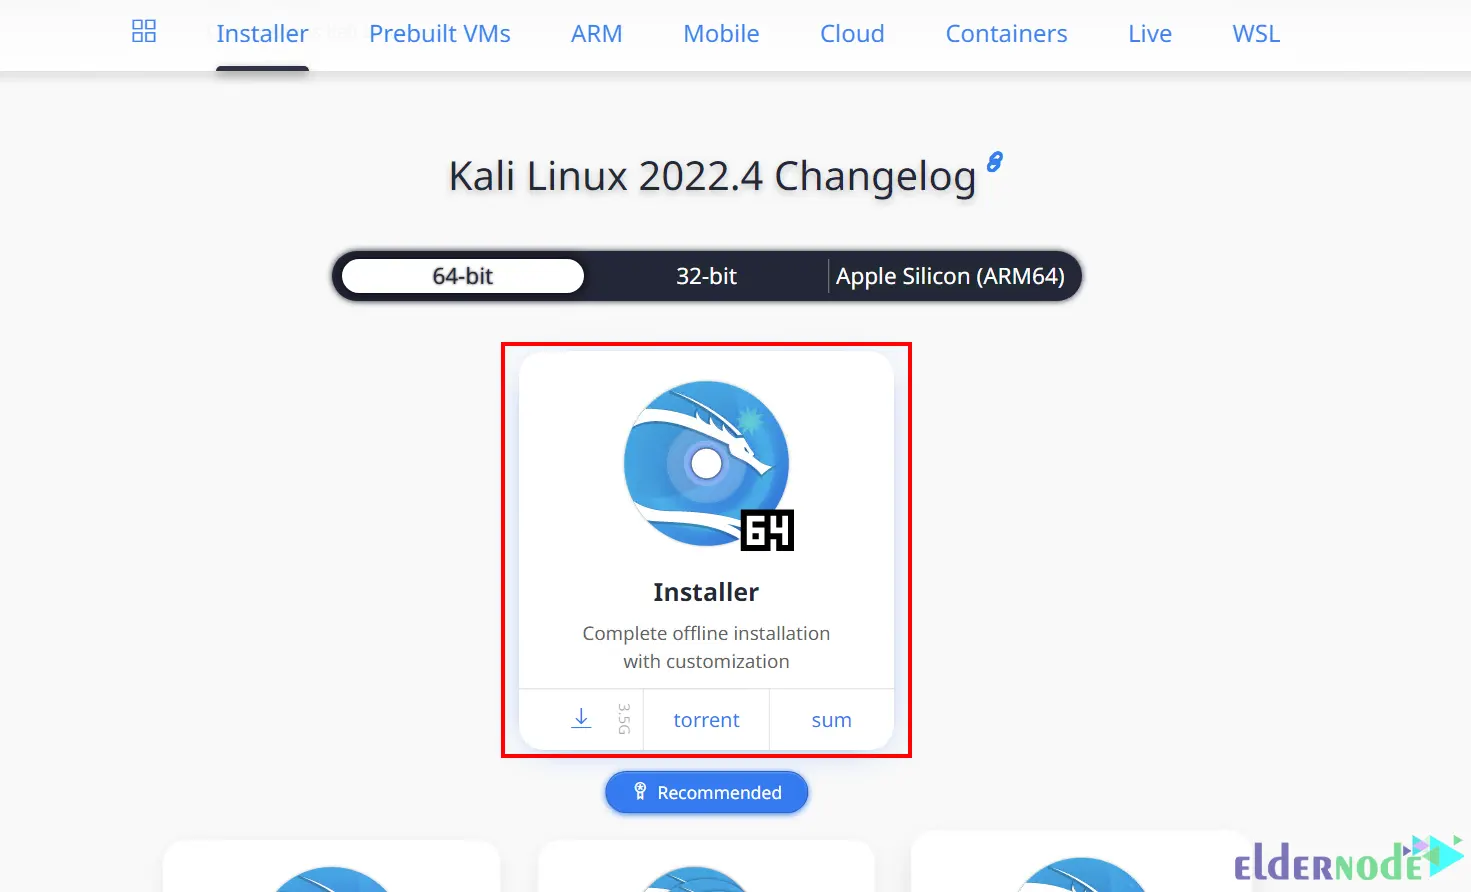
First, navigate to the Kali Linux official website to download the Kali Linux Installer image:
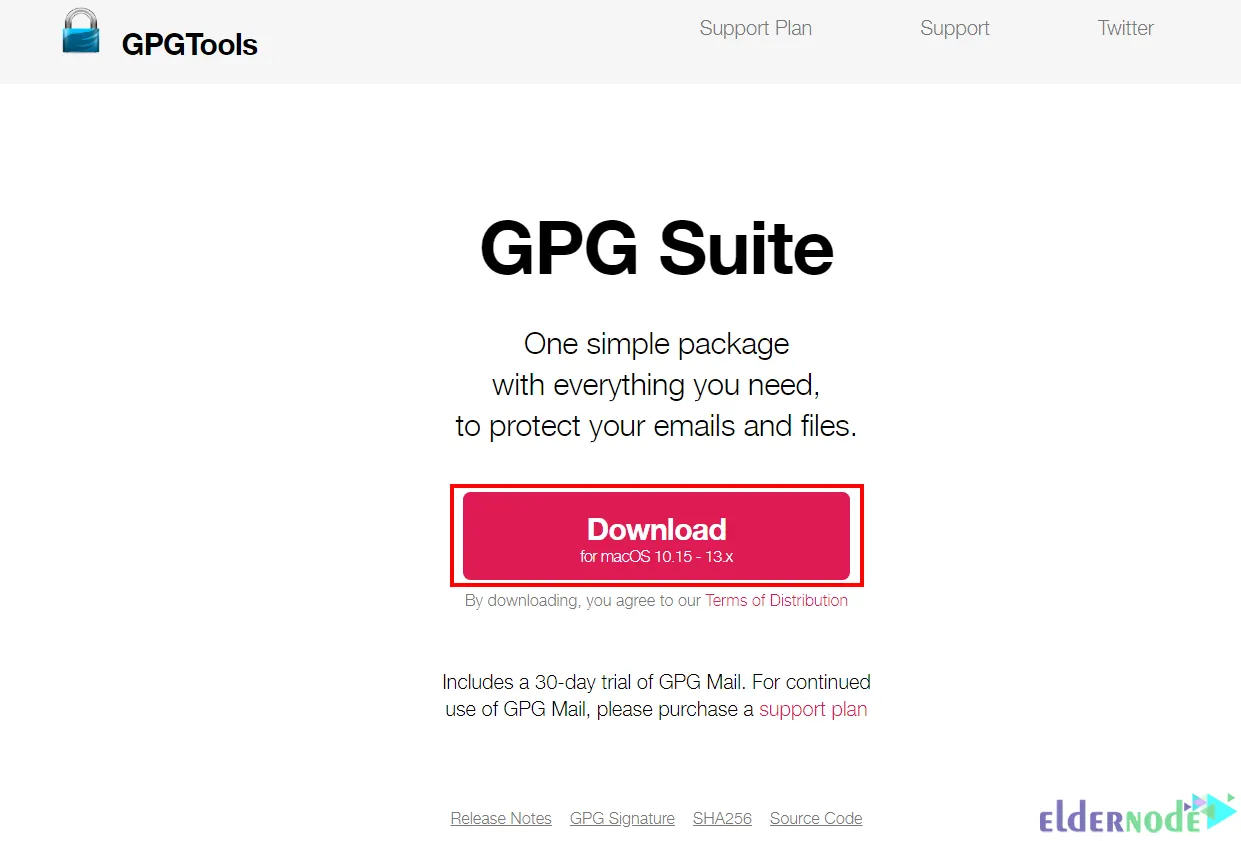
Install the GPG-appropriate version for your platform from the GPG official website. To do this, click on Download:
Once the installation is completed, download and import a copy of the Kali Linux official key using the following command:
wget -q -O - https://archive.kali.org/archive-key.asc | gpg --importNow run the command below to verify the key installation:
gpg --fingerprint 44C6513A8E4FB3D30875F758ED444FF07D8D0BF6In this step, you should verify the downloaded ISO file by generating the SHA256 checksum from the downloaded ISO image. To do this, run the following command:
shasum -a 256 kali-linux-2022.3-live-amd64.isoResizing MacOS Procedure
You need to allocate room on the hard disk. If you use macOS/OS X Sierra (10.12) earlier, it will be Mac OS Extended (HFS+). Resizing your mac can be done with GParted in from a Kali Linux live session.
But if you are using macOS/OS X High Sierra (10.13) and later, the default will be Apple File System (APFS). resizing your mac can be done in a normal macOS/OS X session, or in recovery mode.
HFS+/GParted
Before doing anything, insert your Kali Linux installation medium and power it on the device. Then press and hold the Alt key to open the boot menu.
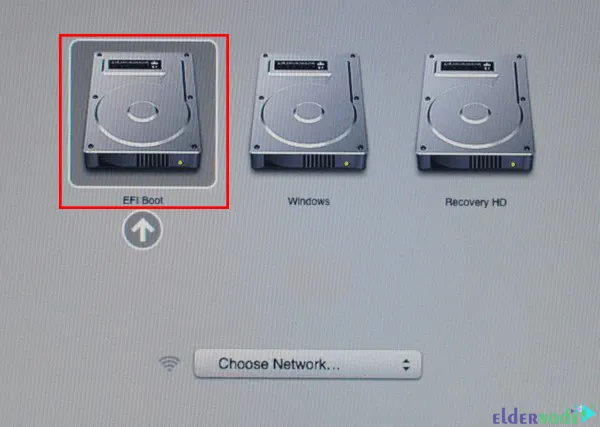
Now you should see the boot many with two volumes which are EFI Boot and Windows. EFI Boot is the new hardware that supports UEFI and is common to use for GUID Partition Table partitions. But Windows is a Non-EFI boot that older hardware using BIOS uses it.
So, choose the EFI Boot volume:
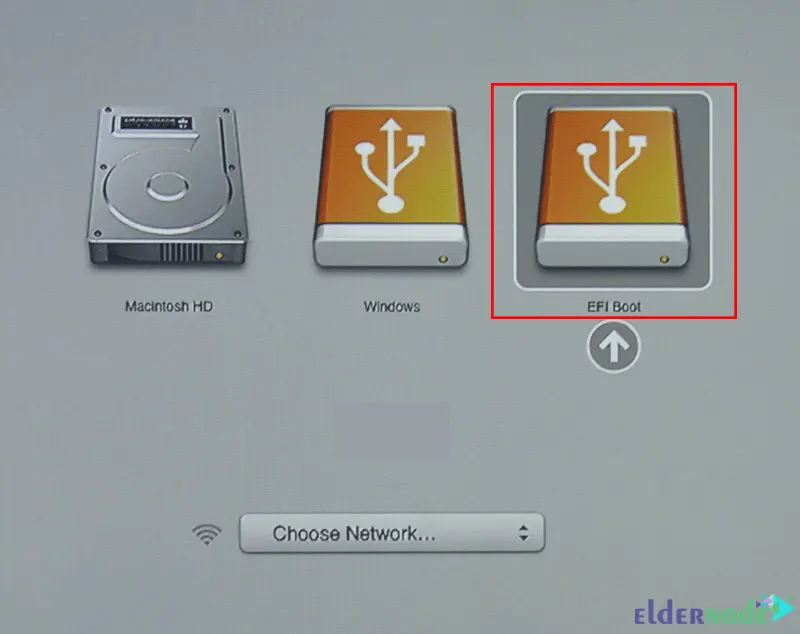
Note: If the installation hangs, you should power cycle and choose Windows instead.
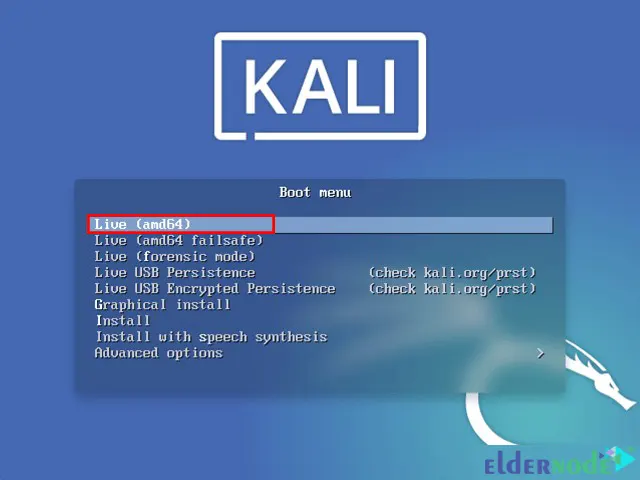
The Kali Linux boot screen will appear. Choose Live to boot into the Kali Linux default desktop:
Then type the GParted in the search bar to launch it. GParted allows you to shrink the existing macOS/OS X partition to give enough room to install Kali Linux in the free space:

After the GParted is opened, you should choose your macOS/OS X partition and resize it to leave enough space to install Kali Linux. Remember that usually, the second option has the largest partition:
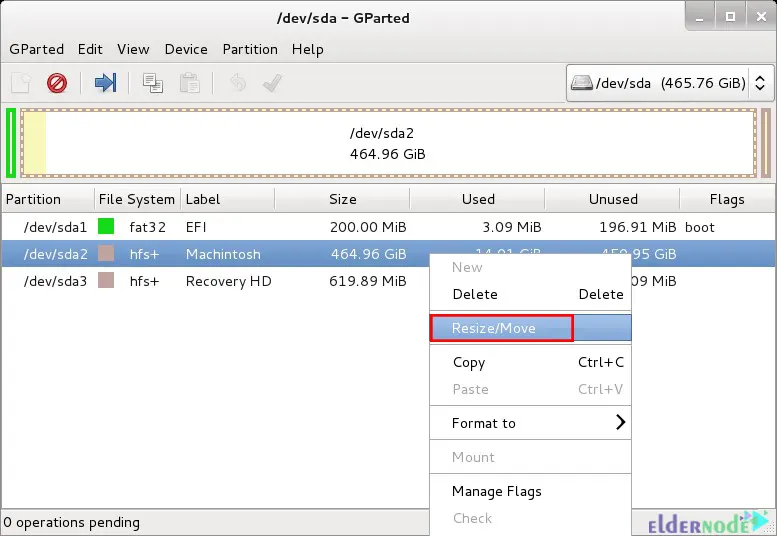
Lastly, you should Apply All Operations on the hard disk and reboot your system after exiting from GParted.
APFS/Recovery
You can resize the MacOS procedure with the command line and also Disk Utility. Both option support resizing in a “normal” session, or booting into recovery mode. In recovery mode, the drive will not use and the command line option will allow the creation empty partition.
Navigate to the Spotlight >> Terminal path to access the command line.
To view the disk list you want to resize:
diskutil listYou can reduce the 500GB to 400GB to give Kali Linux 100GB as shown below:
sudo diskutil apfs resizeContainer disk0s2 400gCheck the list again to see if it was successful:
diskutil listInstalling Kali Linux on MacOS
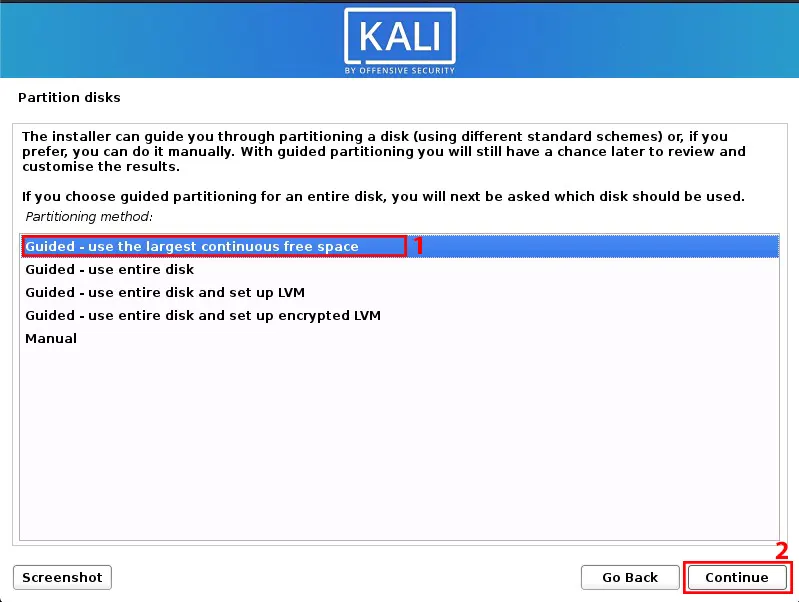
First, press and hold the Alt to open the boot menu.
Then choose “Guided – use the largest continuous free space”:
Once the installation is completed, reboot your system. By default, macOS/OS X will boot into itself.
Now press and hold Alt again to open the boot menu. Then enter rEFInd as a replacement boot manager:
Installing rEFInd
rEFInd is a boot manager that you can install before or after installing Kali Linux, as well as from macOS/OS X or Kali Linux. This replaces the limiting default with macOS/OS X and allows for more options.
Note: if you are using macOS/OS X EI Capitan (10.11), you need to one-time bypass or disable System Integrity Protection (SIP) to install rEFInd using macOS/OS X.
Install rEFInd using MacOS
rEFInd has limited space and tools/libraries available in recovery mode, so you can not download it in recovery mode easily. Download rEFInd in a normal macOS/OS X session and then reboot to recovery mode to install.
To download rEFInd, just run the command below:
curl -s -L https://sourceforge.net/projects/refind/files/0.12.0/refind-bin-0.12.0.zip -o ~/Downloads/refind.zipEnter the following command to check rEFInd’s valid zip file:
file Downloads/refind.zipExtract the downloaded file:
unzip -q -d Downloads/ Downloads/refind.zipRestart your MacOS and press the Command (⌘) and R keys at the same time to open the boot logo. If you have a firmware password, you should enter it to continue.
SIP will be bypassed using macOS/OS X’s Recovery System version that is in-built into the firmware.
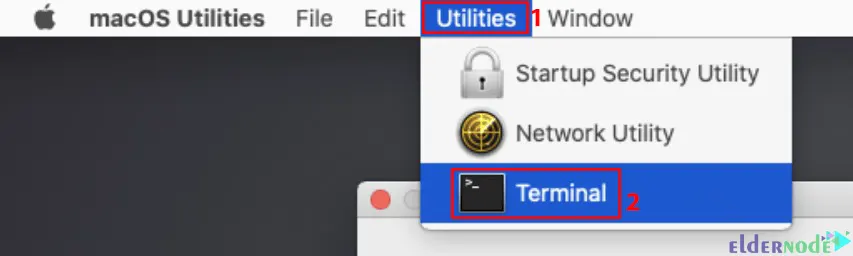
Once the download is completed, go to the Utilities >> Terminal path:
The extracted folder path is based on the hard disk and username and version of rEFInd, and the path will be different. Then open the extracted folder using the following command:
cd /Volumes/Macintosh\ HD/Users/username/Downloads/refind-bin-0.12.0/pwdAnd now run shell script refind-install:
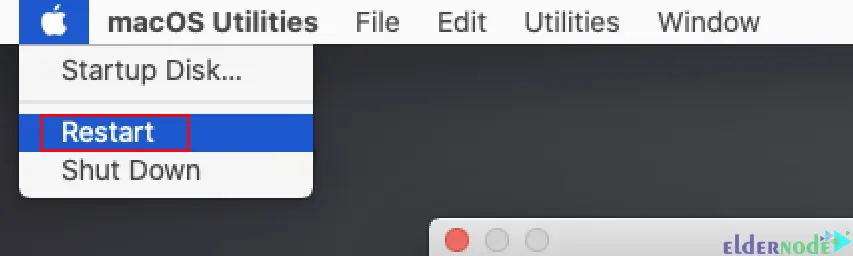
./refind-installNext, go to the Apple >> Restart menu to reboot macOS:
After restarting, the new boot manager will appear.
Install rEFInd using Kali Linux
You can also install rEFInd with Kali Linux. To do this just run the following command:
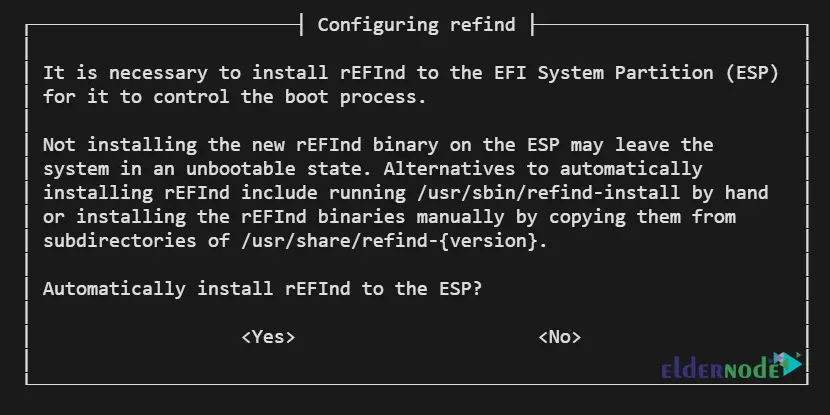
sudo apt updatesudo apt install -y refindDuring the installation, you will get a prompt to run rEFInd automatically. You can press yes or run the following commands afterward:
sudo dpkg-reconfigure refind
You should see the new rEFInd boot manager after restarting.
Configuring rEFInd on MacOS
These are the various ways to alter rEFInd:
–> The default OS selection
–> Timeout for menu selection
–> Direct boot into the default OS
–> Adding custom icons/themes
refind.conf
You can make any of the above alterations by editing rEFInd’s configuration file. In the macOS/OS X EI Capitan or later, mount the EFI boot volume to access the file with the following commands:
cd ~/Downloads/refind-bin-*/sudo ./mountespvim /Volumes/ESP/EFI/refind/refind.confIn macOS/OS X Yosemite (10.10) or earlier, the configuration file is located in the following path and no mounting is required:
sudo vim /EFI/refind/refind.confThe configuration file in Kali Linux is located in the following location:
sudo vim /boot/efi/EFI/refind/refind.confThat’s it!
Conclusion
Kali Linux is a distribution of Linux based on Debian which performs penetration testing and identifies vulnerable points. In this article, we taught you how to install Kali Linux on MacOS. I hope this tutorial was useful for you and helps you to successfully install Kali Linux on your Mac operating system. If you face any problems in the installation process, you can contact us in the Comments section.