You may search for suitable software to publish web content, In this article, you will learn how to install Joomla on Debian 10. Joomla is a free and open-source CMS (Content Management System) that is so popular and widely used for creating websites with little or no knowledge in markup or web programming languages. It has thousands of free extensions and templates allowing you to customize your site to fit your specific needs and ships with lots of PHP code, plugins, and themes that can help you get started from the ground up in no time
Table of Contents
How to install Joomla on Debian 10
Let’s walk you through the Joomla CMS installation process in 6 steps.
1- Update Debian System Packages
By running the below command, you will update the Debian system to their latest versions.
sudo apt update -y && sudo apt upgrade -y eldernode@debian-10:~$ sudo apt update -y && sudo apt upgrade -y Hit:1 https://packages.sury.org/php buster InRelease Hit:2 https://deb.debian.org/debian buster InRelease Hit:4 https://dl.yarnpkg.com/debian stable InRelease Hit:5 https://deb.debian.org/debian buster-updates InRelease Hit:6 https://security.debian.org/debian-security buster/updates InRelease Ign:3 https:// attic.owncloud.org/download/repositories/10.2.1/Debian-9.0 InRelease Hit:7 https://download.owncloud.org/download/repositories/10.2.1/Debian-9.0 Release Reading package lists... 0% 2- Install LAMP Stack on Debian
If you have already had a LAMP installed, you can skip this step. you may begin by installing the Apache web server, PHP, and finally MariaDB server. To install Apache execute the commands below:
sudo apt install apache2 apache2-utils eldernode@debian-10:~$ sudo apt install apache2 apache2-utils Reading package lists... Done Building dependency tree Reading state information... Done apache2 is already the newest version (2.4.38+deb10u3). apache2-utils is already the newest version (2.4.38+deb10u3). apache2-utils set to manually installed. Then start and enable the Apache webserver.
sudo systemctl start apache2sudo systemctl enable apache2Use the below command to make sure the Apache webserver is running.
sudo systemctl status apache2
Due to the above output, you can clearly see that the Apache webserver is up and running as expected. So you just need to browse your server’s IP as shown.
http://server-IPIn case your web server is up and running, you should get the below as a confirmation.

Now you should PHP install PHP 7.2, which is a server-side web programming language used by developers for designing dynamic web pages.
sudo apt install libapache2-mod-php7.2 openssl php-imagick php7.2-common php7.2-curl php7.2-gd php7.2-imap php7.2-intl php7.2-json php7.2-ldap php7.2-mbstring php7.2-mysql php7.2-pgsql php-smbclient php-ssh2 php7.2-sqlite3 php7.2-xml php7.2-zip 
To install MariaDB run the following command:
sudo apt install mariadb-server 
to fortify the server, run the command:
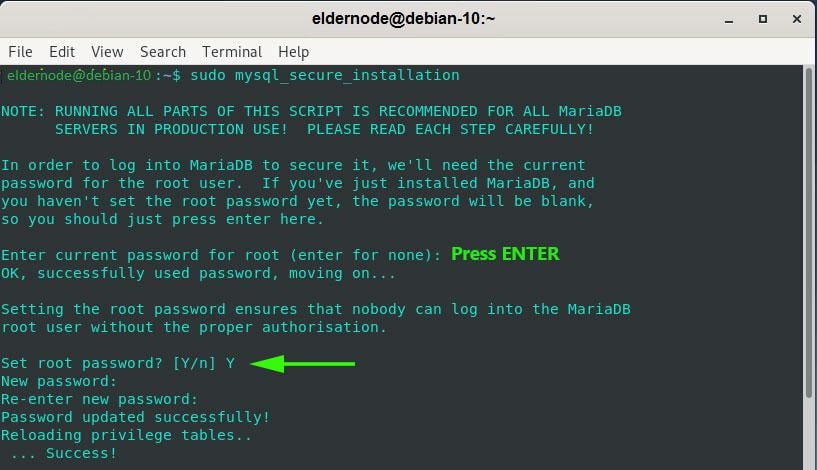
sudo mysql_secure_installationWhen you are asked for the root password, press ENTER and then press Y to set the root password.
Again till the end, simply type ‘Y’ and press the ENTER key for recommended settings.
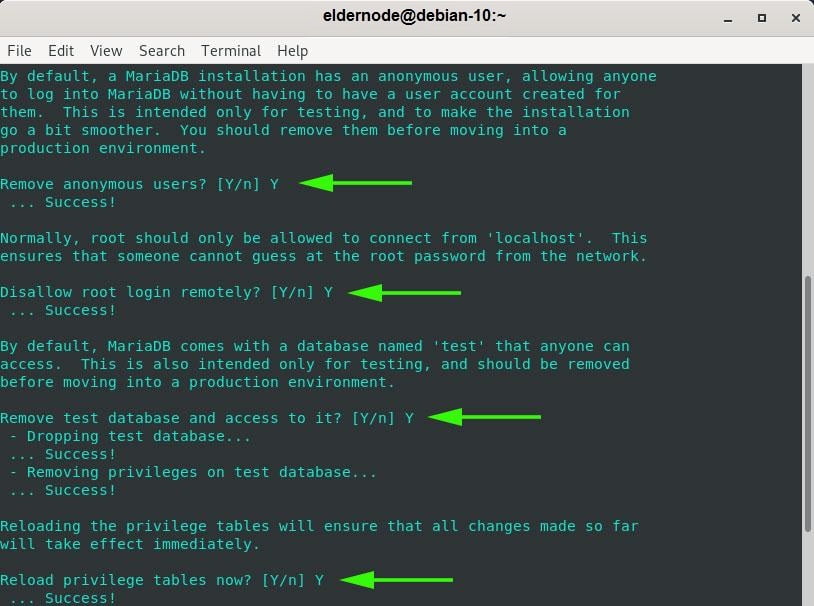
Now your database engine is secured.
3- Create a Joomla Database
You will create a database for Joomla to store its files during and after the installation. To log in to MariaDB run the below command.
sudo mysql -u root -pTo create a Joomla database and grant privileges to the database user, use the command below.
MariaDB [(none)]> CREATE DATABASE joomla_db; MariaDB [(none)]> GRANT ALL ON joomla_db.* TO ‘joomla_user’@’localhost’ IDENTIFIED BY ‘StrongP@ssword’; MariaDB [(none)]> FLUSH PRIVILEGES; MariaDB [(none)]> EXIT; 4- Download Joomla in Debian
For this step, you need to download Joomla’s installation package from the Official Joomla’s website. To do this, run the wget command.
sudo wget https://downloads.joomla.org/cms/joomla3/3-9-16/Joomla_3-9-16-Stable-Full_Package.zipThen, create a new directory ‘Joomla’ in the webroot directory as shown.
sudo mkdir -p /var/www/html/joomlaNow, unzip the zipped Joomla file to the just created ‘Joomla’ directory.
sudo unzip Joomla_3.19-16-Stable-Full_package.zip -d /var/www/html Next, change the permissions and set the directory ownership of the directory to Apache user.
sudo chown -R www-data:www-data /var/www/html/joomla sudo chmod -R 755 /var/www/html/joomlaRestart the Apache webserver for systemd to effect the changes
sudo systemctl restart apache2
5- Configuring Apache for Joomla
Create a virtual host file for Joomla to configure the Apache webserver to server Joomla web pages.
sudo vim /etc/apache2/sites-available/joomla.conf Paste the following configuration into the file and save.
<VirtualHost *:80> ServerName joomla.example.com ServerAdmin [email protected] DocumentRoot /var/www/html/joomla <Directory /var/www/html/joomla> Allowoverride all </Directory> </VirtualHost> Enable the Joomla virtual host file and disable the default configuration file.
sudo a2dissite 000-default.conf sudo a2ensite joomla.conf Then restart the Apache webserver service for the changes to come into effect.
sudo systemctl restart apache2 6- Finalizing Joomla Installation in Debian
Now you should finalize the installation of Joomla. To do this launch your browser and browse your server’s URL as shown.
http://server-IP/To continue, ensure that you fill in the required details such as Site name, Email address, username, and password.
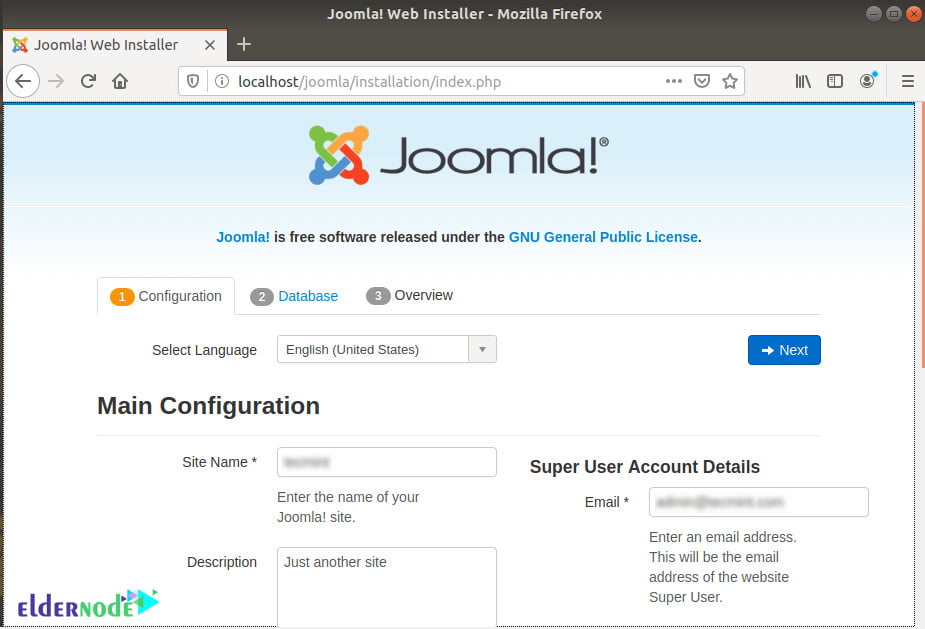
Then, click the ‘Next’ button. The next section will require you to fill in the database details that you earlier specified earlier when creating a database for Joomla. These include database name, database user, and password.

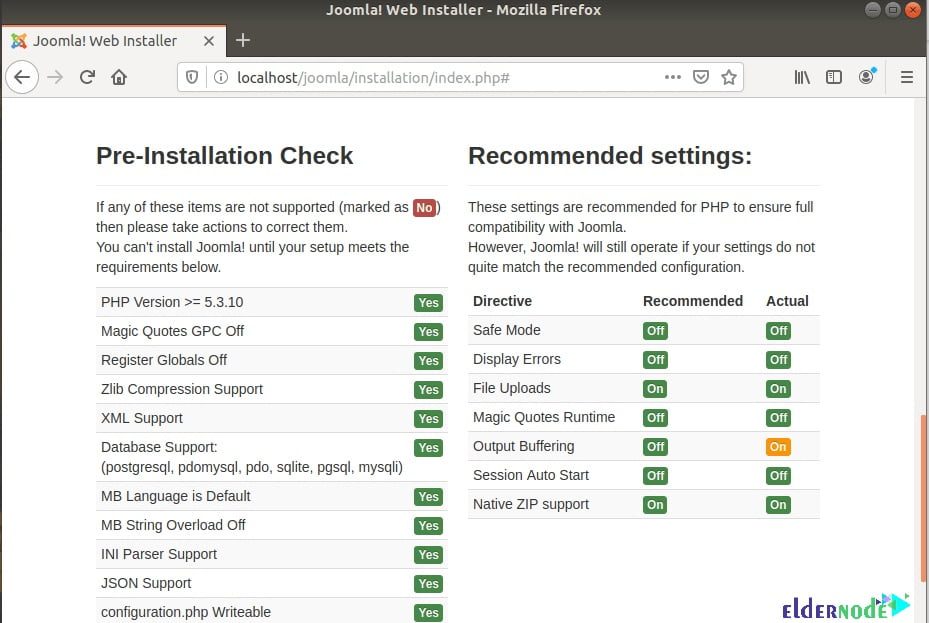
The proceeding page will give you an overview of all the settings and allow you to perform a pre-installation check. Again click ‘Next’
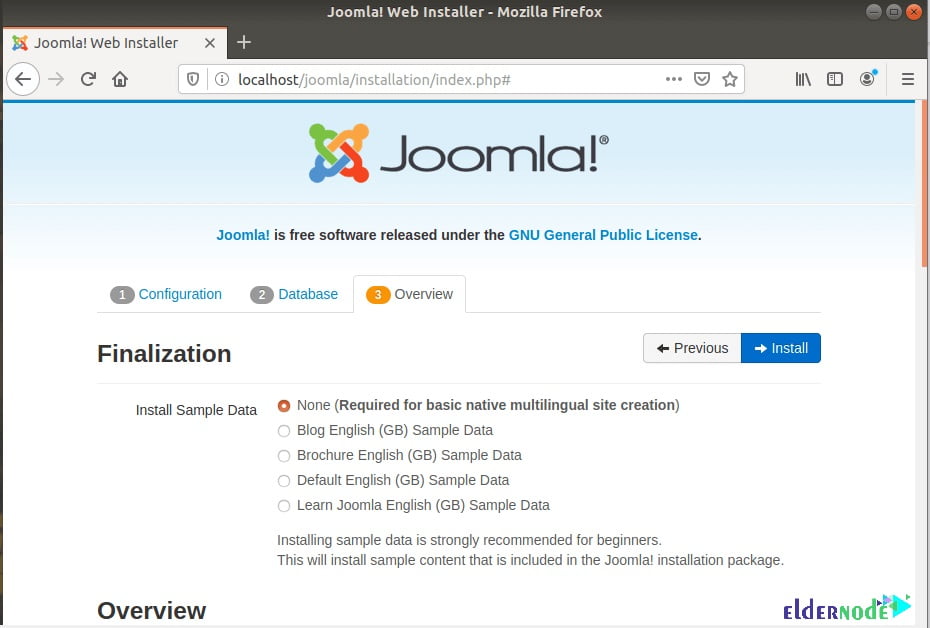
To ensure all the settings and installed package versions are as per the recommended guidelines, Scroll down to the ‘Pre-installation Check’ and ‘Recommended settings’ sections
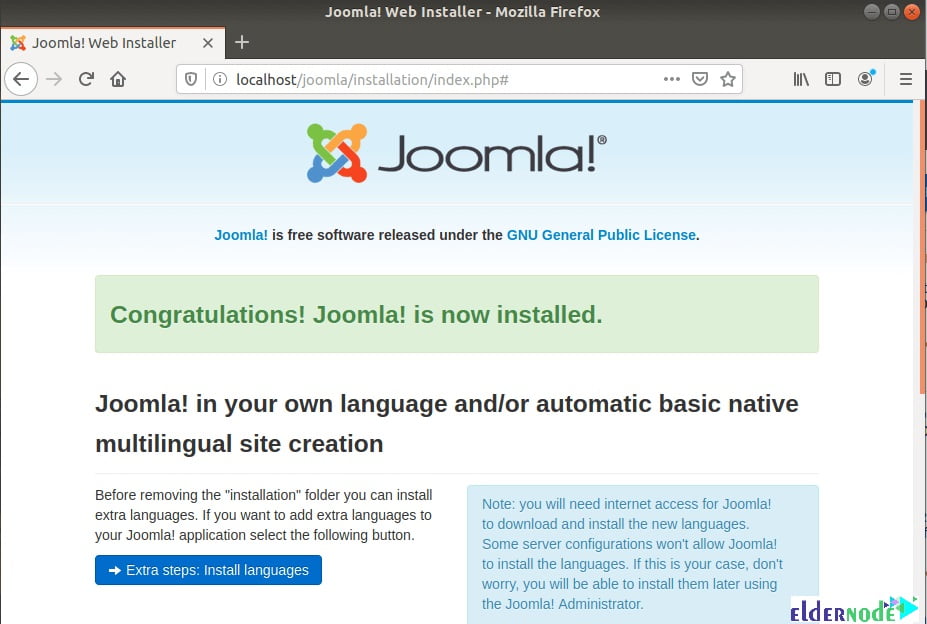
Now, to begin Joomla setup, click the ‘Install’ button. when you receive the below notification, it means that Joomla has been installed.
To continue, you need to purge or delete the installation folder. So scroll down and click on the ‘Remove installation folder’ button.
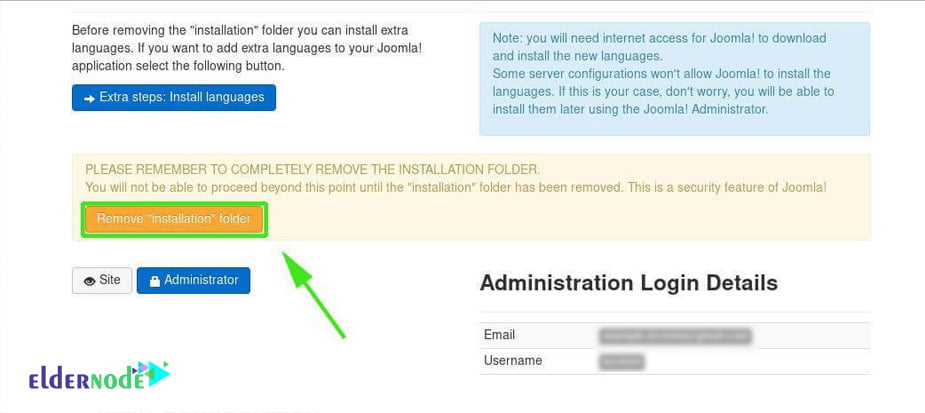
And click on the ‘Administrator’ button to log in to the back end or dashboard, which takes you to the login page.
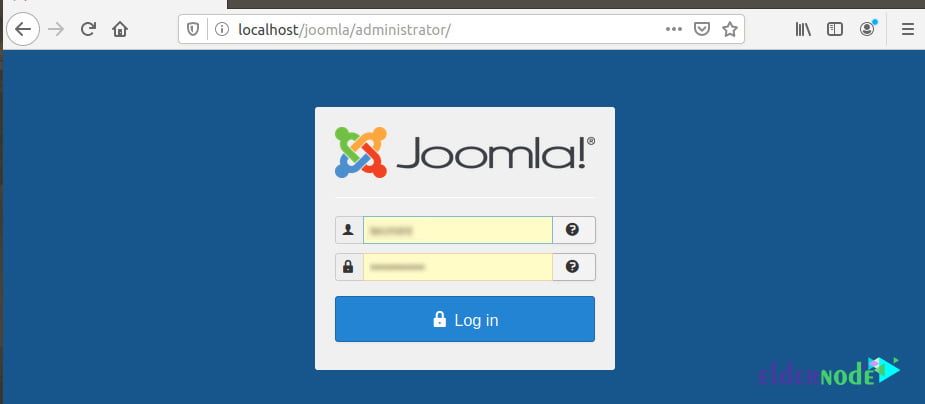
It is time to provide e your username and password and click on the ‘Login’ button to access Joomla’s control panel.
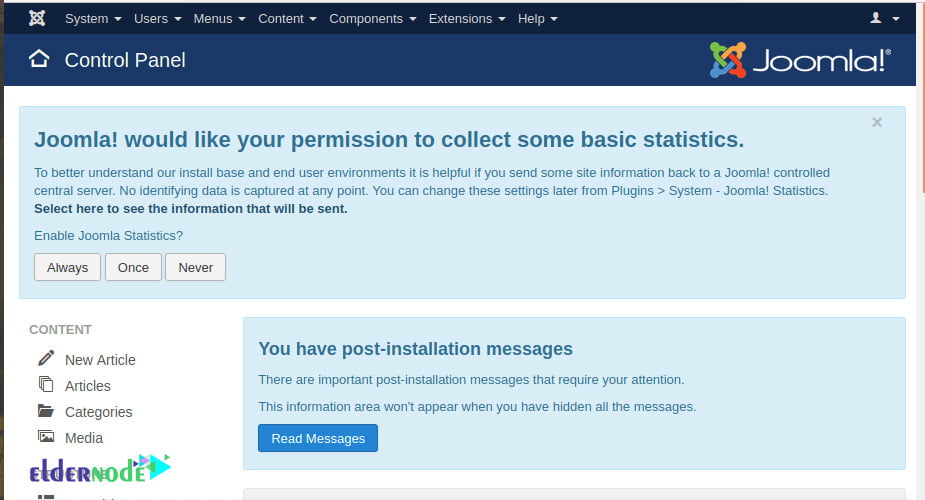
Finally, at this point, you have successfully installed Joomla on Debian 10.
Dear user, we wish this tutorial would be helpful for you, to ask any question or review the conversation of our users about this article, please visit Ask page. Also to improve your knowledge, there are so many useful tutorials ready for Eldernode training.