Graphical Network Simulator is open-source and free software that is useful for network engineers students to get ready for networking exams or build, design, and test a network. The number of devices is not mattered while using GNS3 because it is designed to be run for many devices hosted on multiple servers. In this article, you will learn How To Install GNS3 On Ubuntu 20.04. You may be eager to join the 11 million people who have downloaded GNS3 and install it on your own Ubuntu VPS. You can purchase a safe, VIP, and economical virtual private server on Eldernode.
Table of Contents
Tutorial Install GNS3 On Ubuntu 20.04 LTS
Since 2008, GNS3 has allowed network engineers to virtualize real hardware devices. gNS3 provides a risk-free virtual environment to design and build a network with your considered size and even with no hardware. GNS3 can be installed on Windows, macOS, and on Linux. It supports Linux distributions (Ubuntu-based distributions 64 bit only) and emulates Linux switches and multiple Linux appliances. No need for the home lab, you can use GNS3 as a study tool for network professionals seeking their certifications. Let’s go through the steps of this guide to finish the GNS3 installation on Ubuntu 20.04. It is possible from a PPA repository. So, first, the repository should be added, update the system, and then install the required packages on Ubuntu Linux.
Install GNS3 On Ubuntu 20.04 | Ubuntu 18.04
Step 1:
Use the following command to add the GNS3 repository, then input your user password and press ENTER to continue.
sudo add-apt-repository ppa:gns3/ppa
Step 2:
In this step, you are preparing to install GNS3 GUI and Server. Ir will be done when the repository is added. Run the commands below and press the y key to accept the installation.
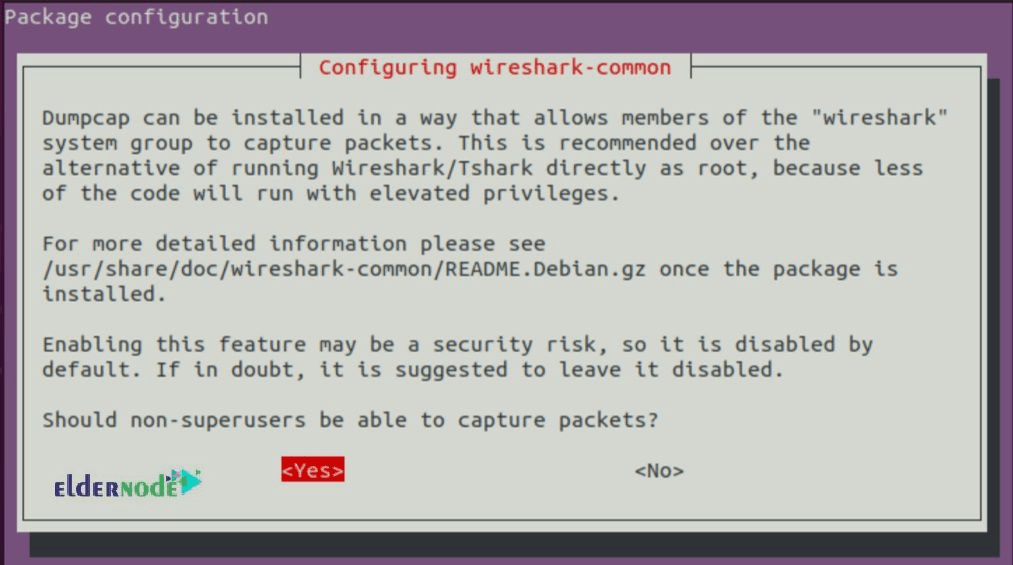
sudo apt updatesudo apt install gns3-gui gns3-serverYou will be prompted if you want to allow non-root users to use the Wireshark and bridge. If yes, select ”Yes” both times.
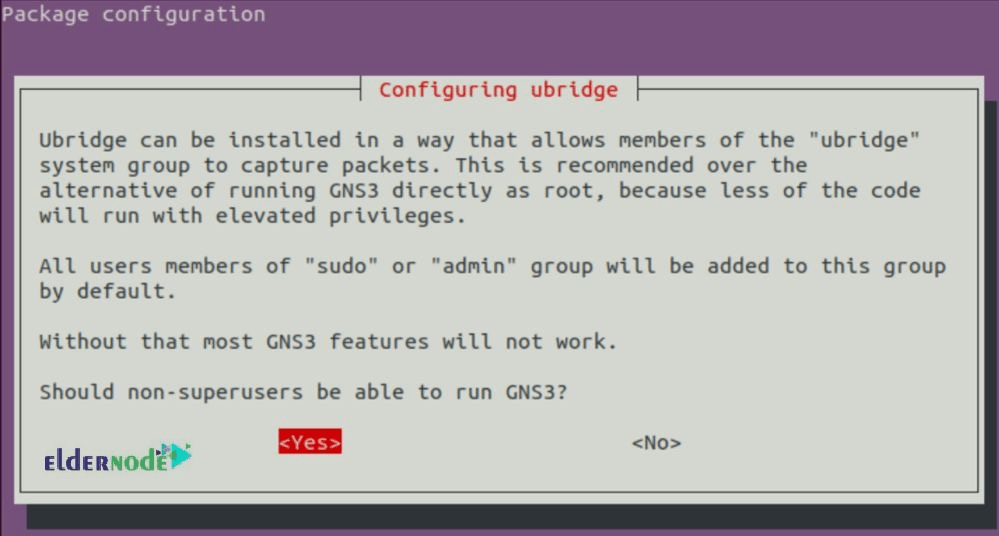
And allow them to capture packets as well.
Step 3:
Now, if you want IOU support, run the below commands to install IOU packages and use its features and accept the installation prompt by pressing y key.
sudo dpkg --add-architecture i386sudo apt updatesudo apt install gns3-iouNote: IOU is an internal Cisco tool for simulating the ASICs in Cisco switches. If you do not skip this step you will be able to play with Layer 2 switching in your LABS. So,
Docker Support
This is an optional step. In case you wish to use Docker Engine in your network stack, install the runtime first. To install Docker CE (Xenial_and_newer), remove any old versions by running:
sudo apt remove docker docker-engine docker.ioThen, install the following packages:
sudo apt-get install apt-transport-https ca-certificates curl \ software-properties-commonNow, to import the official Docker GPG key, type:
curl -fsSL https://download.docker.com/linux/ubuntu/gpg | sudo apt-key add -Next, add the appropriate repo to preparing to install Docker CE.
sudo add-apt-repository \ "deb [arch=amd64] https://download.docker.com/linux/ubuntu \ $(lsb_release -cs) stableFinally, use the command below to install Docker CE:
sudo apt updatesudo apt install docker-ceIts time to add your user to the following group:
ubridge libvirt kvm wireshark dockerNote: To add your user to each of those groups, use ”sudo usermod -aG group user_name”. and restart your user session by logging out and back in, or restarting the system.
If you have done all the steps well and faced no error messages, GNS3 is now installed on Ubuntu 20.04. so, launch it from the terminal or from the Desktop launcher.
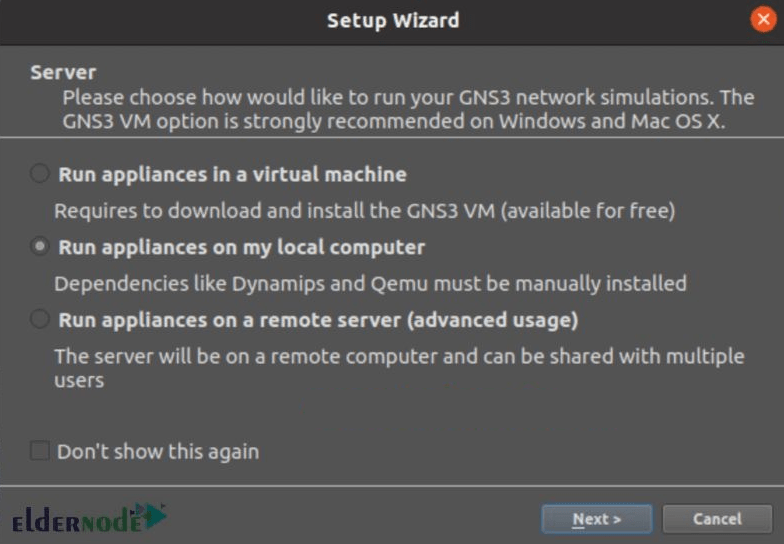
gns3Select ”Run the appliances on my computer” on the first page.
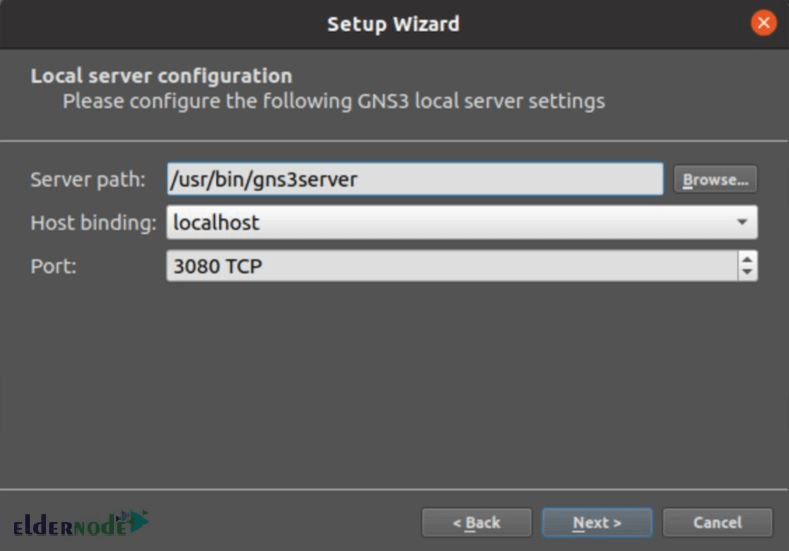
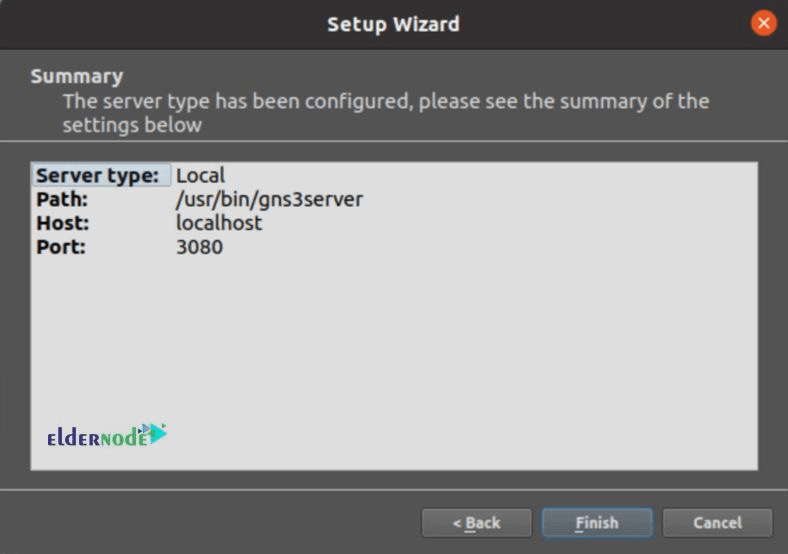
Then, confirm the local server confirmation location on the second page.
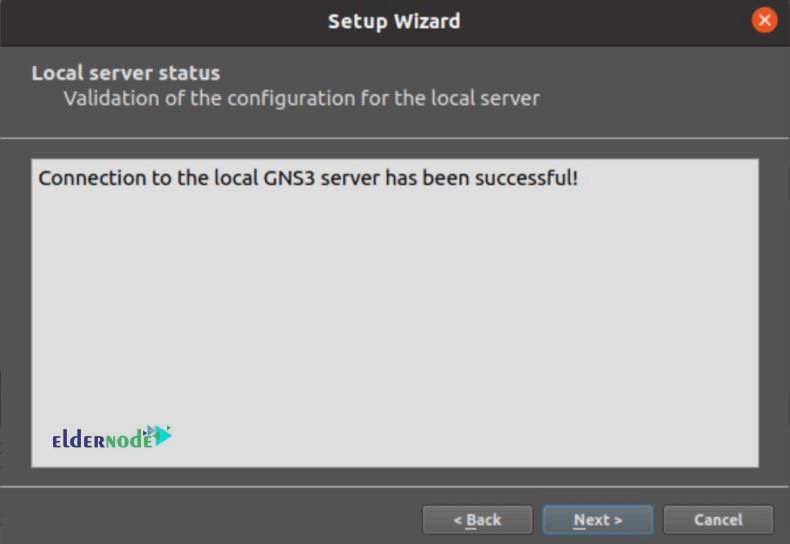
And confirm the success of the connection.
Finally, complete GNS3 setup on Ubuntu 20.04 Linux.
That’s that! It was all you need to do step by step to install GNS3 on your Ubuntu server.
Conclusion
In this article, you have learned How To Install GNS3 On Ubuntu 20.04. To manage or SDN software, GNS3 is the best, easiest, and cost-effective choice. From now on, you can test multi-vendor interoperability using a virtual lab environment while there is no need to provide dedicated physical equipment. In case you are interested in reading more, find our related article on Introducing GNS3 Software For Network Engineers.