Apache Tomcat is an open-source implementation of the Java Servlet and JavaServer Pages technologies. It is a web server which is released by the Apache Software Foundation. But before swimming into the sea of this guide, make sure you have your own Linux Virtual Private Server.
To let this tutorial work better, please consider the below Prerequisites:
A non-root user with sudo privileges
Table of Contents
Tutorial Install Apache Tomcat 8 on CentOS 7
Let’s walk through the steps of this tutorial to see how to Install Apache Tomcat 8 on CentOS 7 and also its configuration.
Step 1: How To Install Java
The pre-step of installing Tomcat is to install Java on the server. Feel free to choose any Java web application code. So use the following command with yum to install OpenJDK.
sudo yum install java-1.7.0-openjdk-develWhen you are prompted, press y to continue installing OpenJDK 7.
While you have installed Java, you are ready to create a tomcat user to let it run the Tomcat service.
Note: You can find a shortcut to the JAVA_HOME directory at /usr/lib/jvm/jre and remember to use it to configure Tomcat later.
Step 2: How To Create Tomcat User
In this step, you will watch for security. To reach this goal, you may have to run as an unprivileged user. So let’s create a new user and group to run the Tomcat service.
Use the command below to create a new tomcat group:
sudo groupadd tomcatFrom now on you should ride as well as you do not let anyone log into the account. To do this, you need to create a new tomcat user. After that you would make this user a member of the tomcat group, with a home directory of /opt/tomcat and with a shell of /bin/false
sudo useradd -M -s /bin/nologin -g tomcat -d /opt/tomcat tomcatStep 3: How To Install Tomcat
What if you learn the easiest way to install Tomcat 8? Yes, it is possible. You just need to download the latest binary release then configure it manually.
How To Download Tomcat Binary
Use the shortest way of downloading the latest version of Tomcat 8 and visit Tomcat 8 Downloads page. Once you have it, under the Core list, copy the link to the “tar.gz”.
Now, using the yum package manager start to install wget.
sudo yum install wgetAnd, if you want to change to your home directory:
cd ~Next, to download the Tomcat 8 archive, use wget and paste in the link.
wget https://www-eu.apache.org/dist/tomcat/tomcat-8/v8.5.37/bin/apache-tomcat-8.5.37.tar.gz At this point, it is time to install Tomcat to the /opt/tomcat directory. To do this better extract the archive to the directory with the below commands.
sudo mkdir /opt/tomcat sudo tar xvf apache-tomcat-8*tar.gz -C /opt/tomcat --strip-components=1
How To Update Permissions
It is necessary to assign access to the Tomcat installation for the tomcat user. Run the following command to change to the Tomcat installation path:
cd /opt/tomcatThen, try to give the tomcat group ownership over the entire installation directory:
sudo chgrp -R tomcat /opt/tomcatNow, you can assign the tomcat group read access to the conf directory with all its content. After that type the command below to execute access, to the directory itself:
sudo chmod -R g+r conf sudo chmod g+x conf As you guess, the tomcat user should be the owner of the webapps, work, temp, and logs directories now.
sudo chown -R tomcat webapps/ work/ temp/ logs/
How To Install Systemd Unit File
To set up this section, you need to run a Tomcat Systemd unit file to let you set up Tomcat as a service.
Type the following command to create and open the unit file:
sudo vi /etc/systemd/system/tomcat.serviceIn case you need to modify the memory allocation settings that are specified in CATALINA_OPTS. And paste in the following script.
# Systemd unit file for tomcat [Unit] Description=Apache Tomcat Web Application Container After=syslog.target network.target [Service] Type=forking Environment=JAVA_HOME=/usr/lib/jvm/jre Environment=CATALINA_PID=/opt/tomcat/temp/tomcat.pid Environment=CATALINA_HOME=/opt/tomcat Environment=CATALINA_BASE=/opt/tomcat Environment='CATALINA_OPTS=-Xms512M -Xmx1024M -server -XX:+UseParallelGC' Environment='JAVA_OPTS=-Djava.awt.headless=true -Djava.security.egd=file:/dev/./urandom' ExecStart=/opt/tomcat/bin/startup.sh ExecStop=/bin/kill -15 $MAINPID User=tomcat Group=tomcat UMask=0007 RestartSec=10 Restart=always [Install] WantedBy=multi-user.target
Now you can save and exit. As you see, the script tells the server to run the Tomcat service as the tomcat user, with the settings specified.
After all, you can reload Systemd to load the Tomcat unit file:
sudo systemctl daemon-reloadTo start the Tomcat service:
sudo systemctl start tomcatYou can use the command below to check if the service started successfully or not.
sudo systemctl status tomcatIf yes, it starts on server boot and you can enable the Tomcat service by running the following command:
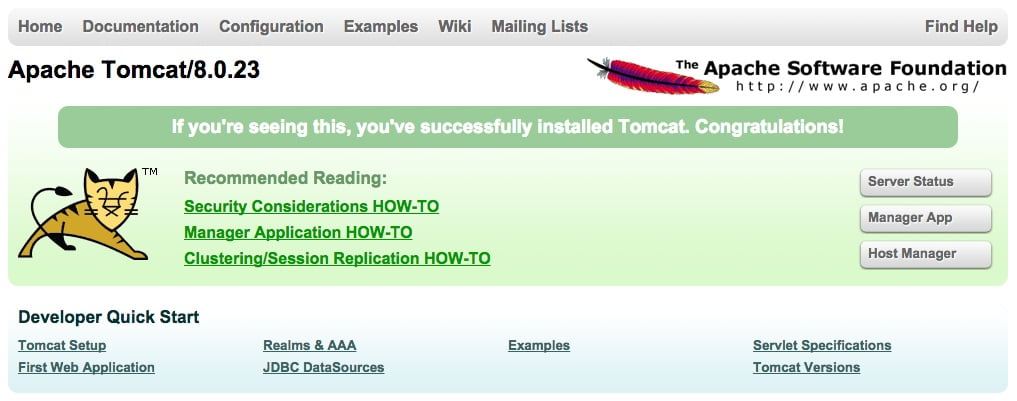
sudo systemctl enable tomcatAs you see, you have not set up the Tomcat completely till here. So let’s access the default splash page by going to your domain or IP address followed by 8080 in a web browser:
http:// server_IP_address:8080
Step 4: How To Configure Tomcat Web Management Interface
Anytime you decide to use the manager web app that comes with Tomcat, try to add a login to our Tomcat server. To start doing this, edit the tomcat-users.xml file:
sudo vi /opt/tomcat/conf/tomcat-users.xmlYou see so many comments which describe how to configure the file. So, you have two choices, first to delete all the comments between the following two lines, and second to leave them if you want to reference the examples:
<tomcat-users> ... </tomcat-users>In order to add a user who can access the manager-gui and admin-gui let’s define a user similar to the example below. Do not forget to change the username and password to something secure:
<tomcat-users> <user username="admin" password="password" roles="manager-gui,admin-gui"/> </tomcat-users>You can now save and exit the tomcat-users.xml file.
If you work with the latest version of Tomcat, you will face that it restrict access to the Manager and Host Manager apps to connections coming from the server itself. Installing on a remote machine, you may prefer to remove or alter this restriction. Therefore, open the appropriate context.xml files, to change the IP address restrictions on these.
Run the command below for the Manager app:
sudo vi /opt/tomcat/webapps/manager/META-INF/context.xmlAnd type the following command for the Host Manager app, type:
sudo vi /opt/tomcat/webapps/host-manager/META-INF/context.xmlInside, comment out the IP address restriction to allow connections from anywhere. Also, you can add your public IP address to the list, if you prefer to allow access only to connections coming from your own IP address.
<Context antiResourceLocking="false" privileged="true" > <!--<Valve className="org.apache.catalina.valves.RemoteAddrValve" allow="127\.\d+\.\d+\.\d+|::1|0:0:0:0:0:0:0:1" />--> </Context>Now you can save and close the file when you finished.
Also you can restart the Tomcat service to put your changes into effect.
sudo systemctl restart tomcatStep 5 : How To Access the Web Interface
Till now, Tomcat is up and running, so why you do not access the web management interface in a web browser?
Do this by accessing the public IP address of the server, on port 8080:
http:// server_IP_address:8080Then, you will see a page as below.

Have a look at the links to the admin web apps, which you configured an admin user for. Now, if you attend to the Manager App, it is accessible via the link or http:// server_IP_address:8080/manager/html :
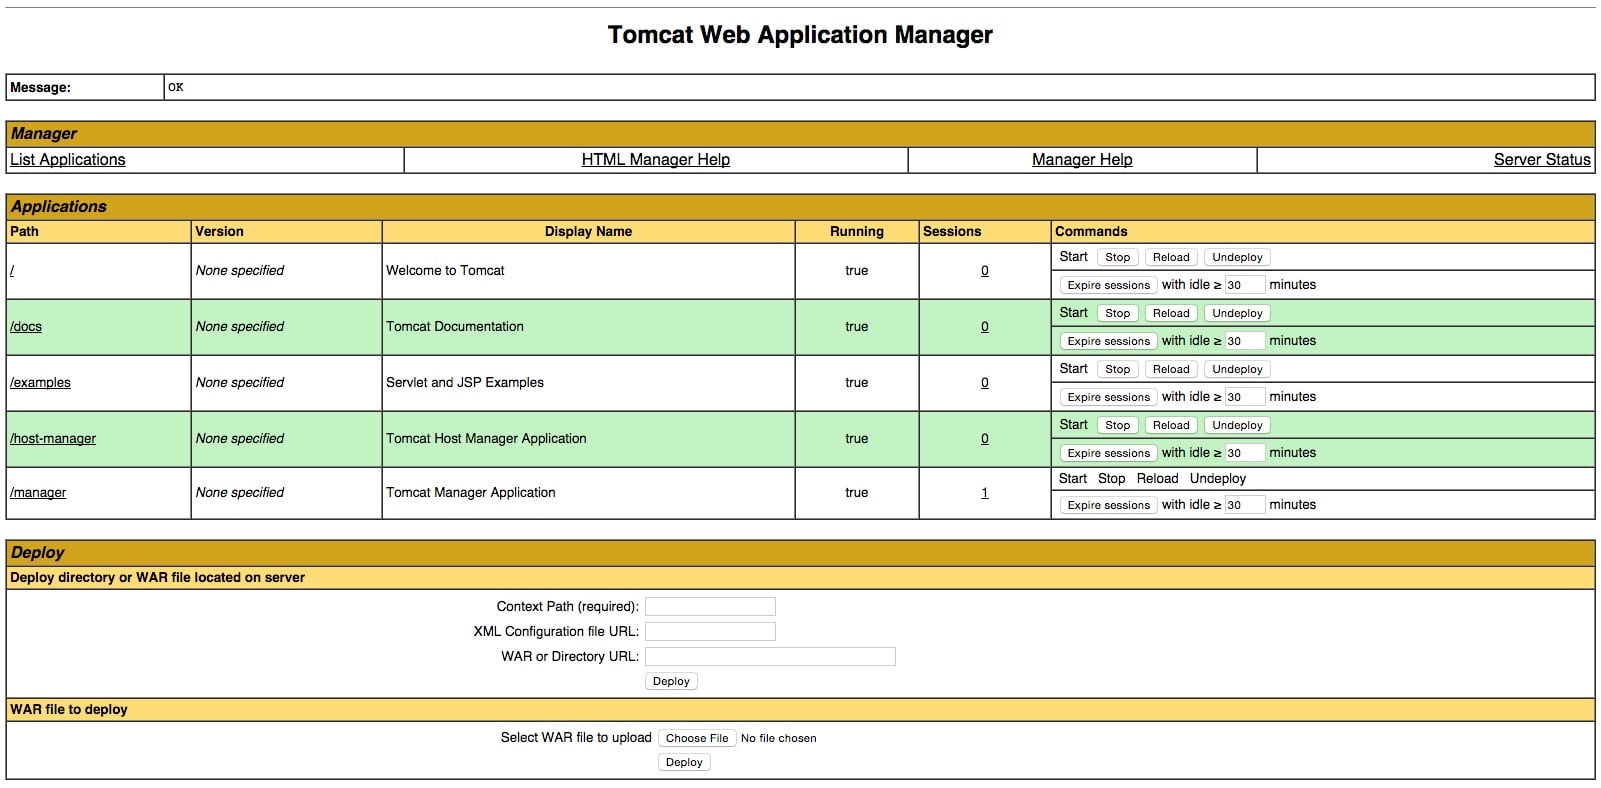
You would use the Web Application Manager to manage your Java applications. For some activities as Start, Stop, Reload, Deploy, and Undeploy. Or to run some diagnostics on your apps. Consider that you can access your information about your server, by the very bottom of this page.
However, let’s take a look at the Host Manager, accessible via the link or http:// server_IP_address:8080/host-manager/html/:
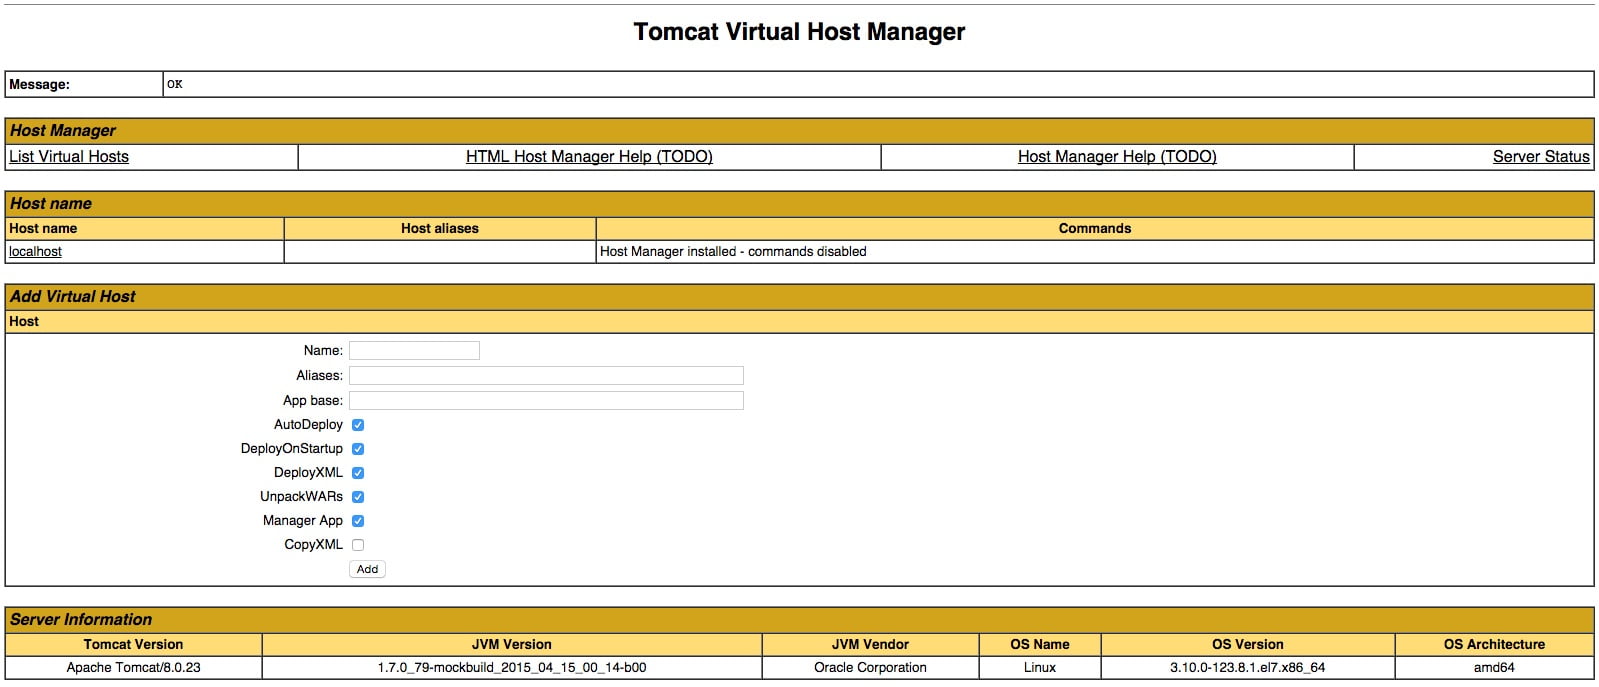
The way you can use this page is to add virtual hosts to serve your applications.
conclusion
In this article, after passing the steps of this guide, you have successfully installed the Apache Tomcat 8 and you are ready to use it. Also, to see more related articles, read more on How to install Apache Tomcat on Windows.

Hi, many thanks. Do you have any news of Tomcat 10? I have a problem with this.
Dear user, please consider that as a result of the move from Java EE to Jakarta EE as part of the transfer of Java EE to the Eclipse Foundation, the primary package for all implemented APIs has changed from javax.* to jakarta.*
What should be done to install and configure SSL/TLS support on Tomcat?
Create a keystore file to store the server’s private key and self-signed certificate by executing the following command:
Windows:
“%JAVA_HOME%\bin\keytool” -genkey -alias tomcat -keyalg RSA
Unix:
$JAVA_HOME/bin/keytool -genkey -alias tomcat -keyalg RSA
very good. Please what is the default Servlet?
If directory listings are enabled, the default servlet is the servlet which serves static resources as well as serves the directory listings.
Is it possible to secure directory listings?
yes, sure. Use web.xml in each individual webapp. See the security section of the Servlet specification.
How is the declaration of servlet?
It is declared globally in $CATALINA_BASE/conf/web.xml. By default here is its declaration:
default
debug 0
listings false
1
org.apache.catalina.servlets.DefaultServlet
…
What could a web application running on Tomcat do?
A good question. Have a look at your answer in the below.
1- Use any logging framework of its choice.
2- Use system logging API, java.util.logging.
3- Use the logging API provided by the Java Servlets specification, javax.servlet.ServletContext.log(…)
Is Jan Luehe (luehe): Jasper a Apache Tomcat developer?
Yes but retired now. You can contact them with [login]@apache.org. address.
Who uses Apache Tomcat?
Here is a link you can review all companies that are using Apache Tomcat.
https://enlyft.com/tech/products/apache-tomcat
what if I want to access the web interface?
You can do this by accessing the public IP address of the server, on port 8080:
Open in web browser:
http:// server_IP_address:8080
How could we run apache and tomcat in the same time?
Although Tomcat can be run as a standalone server, to run Tomcat together with Apache, it needs to load a “adapter” module, which uses a certain protocol, such as Apache JServ Protocol (AJP), to communicate with the Tomcat, via another TCP port.