CMake is an open-source and cross-platform family of tools for software development. Using CMake allows you to build, test, and package software. It can be used in the compiler environment of your choice and is suitable to control the software compilation process using a simple platform and compiler independent configuration files, and generate native makefiles and workspaces. CMake is part of Kitware’s collection and in this article, you will learn How To Install CMake On Windows Server. To provide a perfect package due to your needs, visit Eldernode and purchase your own Windows VPS.
Table of Contents
Tutorial Install CMake On Windows Server
CMake on Windows
CMake manages the build process in an Operating System and in a compiler-independent manner. If you build Cmake from the source tree on Windows, you should install the latest binary version of CMake firstly. When you install it, run the binary on CMake. In other words, when you select CMake as the Source directory, then you select a binary directory for the resulting executables.
CMake installation on Windows Server step by step.
Step 1:
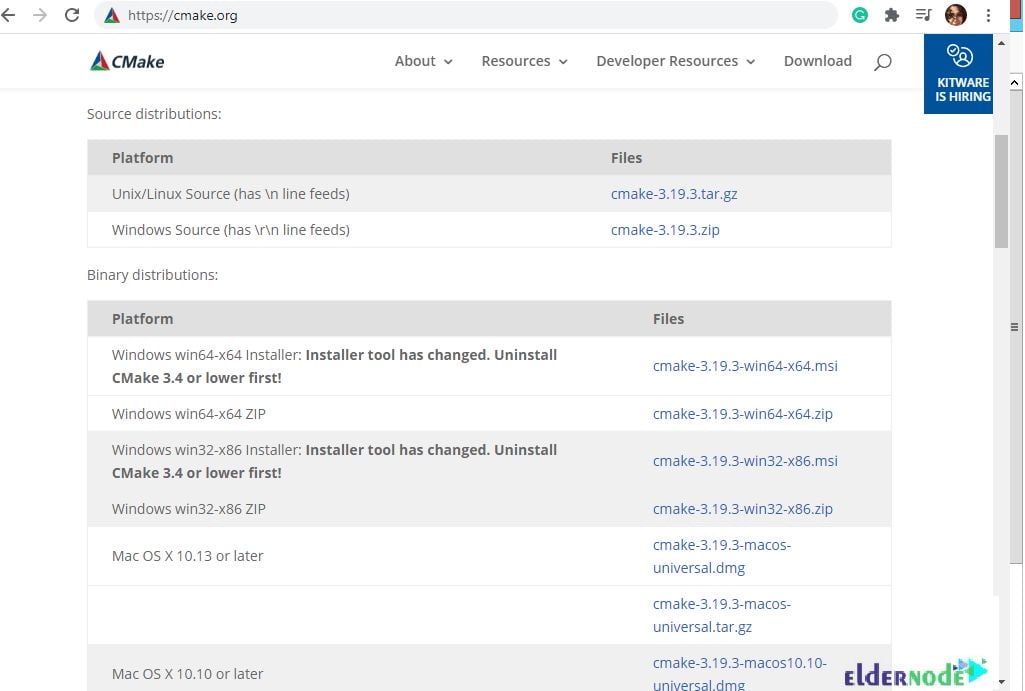
On the CMake download page, pre-compiled binaries are available for Windows as MSI packages and ZIP files. As always, you are recommended to download binaries or source code archives for the latest stable or previous release or access the current development distribution through Git. So, open CMake’s official website and click on the download tab.
Step 2:
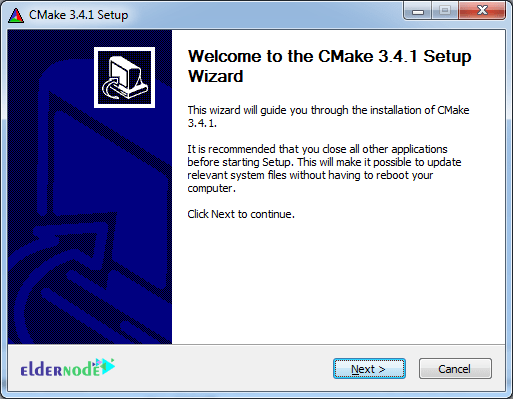
Then, download the file according to your related platform. Once the cmake-*.exe installer is downloaded, run it and click Next.
Step 3:
To accept the terms of the License agreement, click on I agree.

Step 4:
At this point, you are asked to choose between Install Options. Check them if you want to have CMake in PATH. Also, check Create CMake Desktop Icon to create the icon on the desktop.
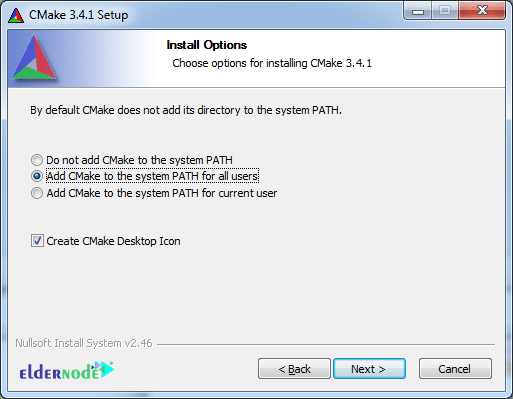
Note: As shown in the above images, if you set ”Add CMake to the system PATH for all users checkbox then CMake can be access via terminal.
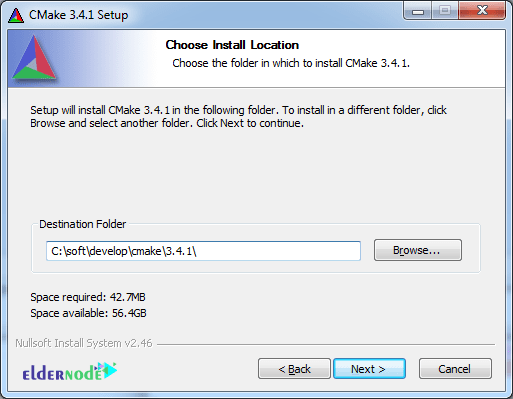
Step 5:
Next, you need to choose the installation path. If you want to have several versions installed simultaneously, add suffix with the version.
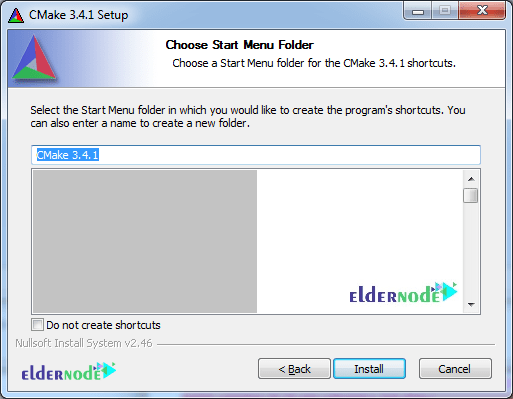
Step 6:
And, if you wish to have a shortcut of the program in the Start Menu folder:
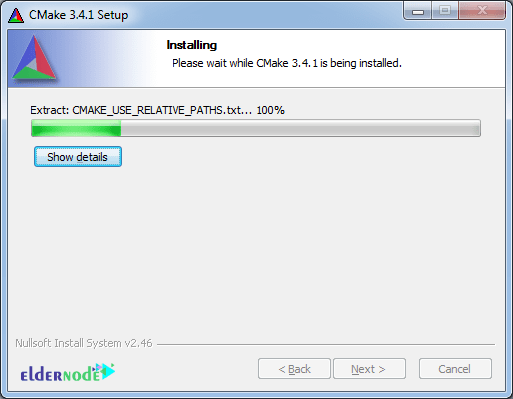
Step 7:
In this way, the installation would be started.
Step 8:
By clicking on Finish, CMake will be install on your computer.

Step 9:
The Desktop icon should have been created now.
![]()
If in step 4, you did not choose ”Add CMake to the system PATH for all users” you need to add …\bin to PATH environment variable:
> where cmake C:\soft\develop\cmake\3.4.1\bin\cmake.exe> where cmake-gui C:\soft\develop\cmake\3.4.1\bin\cmake-gui.exe> cmake --version cmake version 3.4.1CMake suite maintained and supported by Kitware (kitware.com/cmake).
Conclusion
In this article, you learned How To Install CMake On Windows Server. You can install CMake to use its brilliant features. Stay tuned for more CMake tutorials.