Suppose there is a mobile game that you really like and you want to play it much easier on a computer with a large screen and interface. You may be used to using some Android apps to manage to-do lists and calendar events, and you may want to have this functionality on your computer as well. One of the solutions to this problem that you can use easily and for free is called BlueStacks. In this article, we are going to teach you How to Install Bluestacks on Ubuntu. You can visit the packages available in Eldernode if you wish to purchase an Ubuntu VPS server.
Table of Contents
Tutorial Install Bluestacks on Ubuntu
Introduction to Bluestacks
BlueStacks software is an application related to Android. Simply put, using BlueStacks software, you can have a copy of the Android operating system on your computer. Similarly, run Android software on the computer. BlueStacks is a standalone virtual machine designed to run Android on Windows or Mac computers. When you install this software, you will notice that the Play Store is installed on it automatically.
Some features of Bluestacks VPS:
1- Fantastic user interface:
The user interface of this program is such that the mouse, keyboard, and even the microphone are well compatible with all kinds of programs and games. This way you can get the most out of Android apps on your computer. For example, Pubg Mobile is a game from Tencent that has been released for the Android and iOS platforms. But thanks to BlueStacks technology, you can experience the professional performance of this game on a computer with a mouse and keyboard.
2- Useful for programmers
If you are an Android developer and you want to test your application on the mode as well as different versions of Android, one of the best options in front of you is definitely BlueStacks.
3- Better game experience
The creative interface of this game has made gamers have a better experience. Of course, the game mode feature is not limited to this. You can show your game completely live online on Twitch and Facebook without the need for any intermediary program.
4- Continuous updates
In each of these updates, BlueStacks has tried to incorporate new features and be compatible with more programs and games.
5- Maximum similarity
All the lists and pages of this program are designed with special elegance to have the maximum resemblance to an Android device. You can experience all the sense of an Android device in it.
Prerequisite for Install Bluestacks on Ubuntu
BlueStacks is an Android emulator that is not officially available for Linux. But you can install it in Ubuntu distribution by following this article. So first you have to provide the following prerequisites:
A) Install Windows 10 on Ubuntu with VirtualBox
B) Add VirtualBox to Ubuntu repository
C) Download Oracle Signature
D) Install VirtualBox
E) Download Windows 10 ISO image and configure it on VirtualBox
How to Install Windows 10 on Ubuntu with VirtualBox
To use BlueStacks, you must first install Windows on your Linux using VirtualBox. You can then install BlueStacks on Windows.
Note! If your computer hardware is strong enough, you can follow the steps below. Otherwise, your efforts will be in vain.
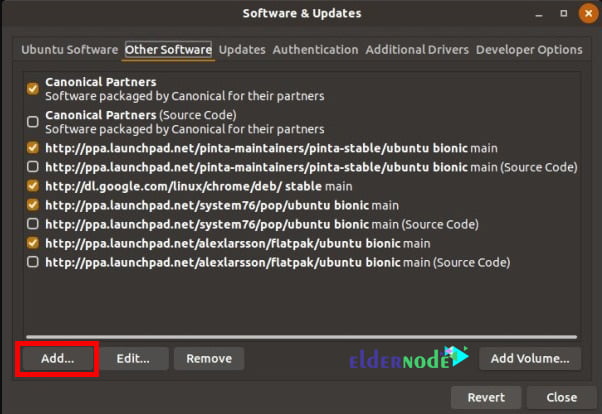
The first step is to add VIRTUALBOX to the UBUNTU repository. To do this, you must first go to Start. Then click on Software & Updates, then on Other Software, and finally on the “Add …” button.
Now you need to enter the following command in the input box. Note that you must replace your distribution name with <mydist>:
deb https://download.virtualbox.org/virtualbox/debian <mydist> contribFinally, enter the password and then close the dialog.
Another prerequisite that must be installed before installing Bluestacks is Oracle. In this section, you must download the Oracle public key for apt-secure. You can do this by right-clicking on the page and “Save As“.
Note that you must apply the Oracle signature. To do this you can enter the following command in the terminal:
sudo apt-key add oracle_vbox_2016.ascTo install VirtualBox, go to the terminal and execute the following commands:
sudo apt-get updatesudo apt-get install virtualbox-5.2How to Download Windows 10 ISO image
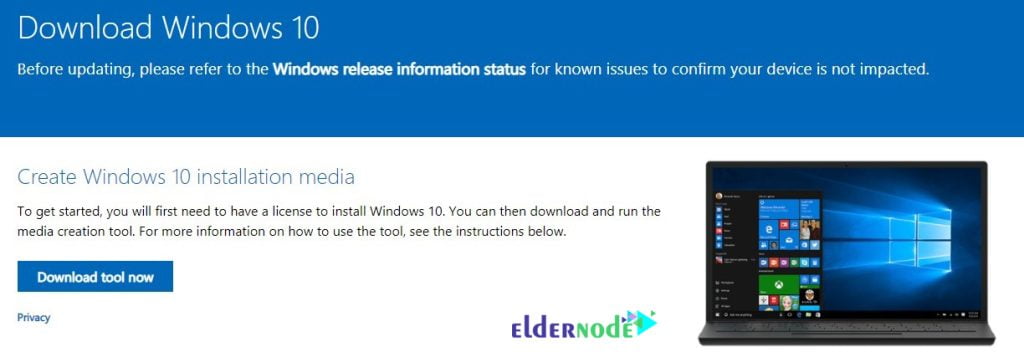
Since Windows 10 is essential for installing Bluestacks on Ubuntu, we intend to teach you how to Download Windows 10 in this section. So you need to download the Microsoft Media Creation Tool.
After downloading the Microsoft Media Creation Tool, run it. In the first step, you must accept the terms and conditions.
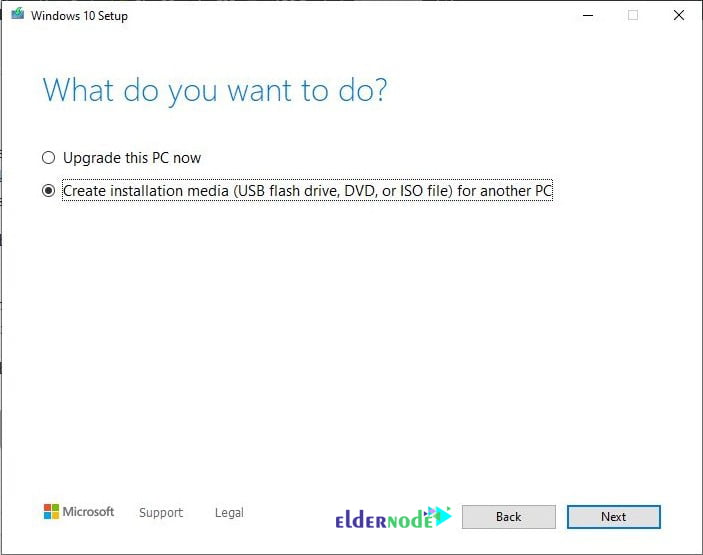
Next, you need to select “Create installation media (USB flash drive, DVD, or ISO file) for another PC“. After doing this, click on Next.
Select the language, architecture, and version you want and go to the next step. Then select the “ISO file” when asked which media to use.
In the last section, click “Finish” when prompted to burn the ISO to CD. After creating the “Windows.iso” file, you need to transfer it to your Ubuntu using a USB memory card.
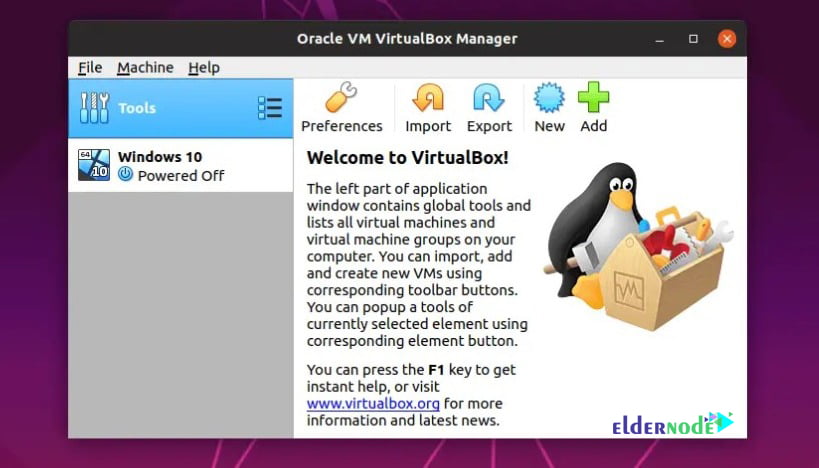
Now to configure Windows 10 you can go to Start and click on Oracle VM VirtualBox to launch it.
Click New. Specify the name of your operating system and select its version. Next, you can set the memory size. Also, you can create a virtual hard disk.
Note that you must select a type of hard disk file and select “Dynamically dedicated“. Accept the file location and size to return to the main page.
To continue the configuration, select the operating system and click on Settings. Then select the Storage option and delete the optical drive here.
In the next step, you need to click on “Add new storage attachment“. Also, click “Adds Optical drive“. Then click on “Choose disk” and finally, select the ISO file.
Now you can select Windows 10 from VirtualBox and click “Start“. Here you have to select the Advanced option to install Windows and follow the on-screen instructions. In the next section, we will explain how to Install Bluestacks on Ubuntu.
Install Bluestacks on Ubuntu
As you can see in the previous sections, we launched VirtualBox on Ubuntu. Then we installed and run Windows 10 on the VirtualBox. Now we want to install BlueStacks.
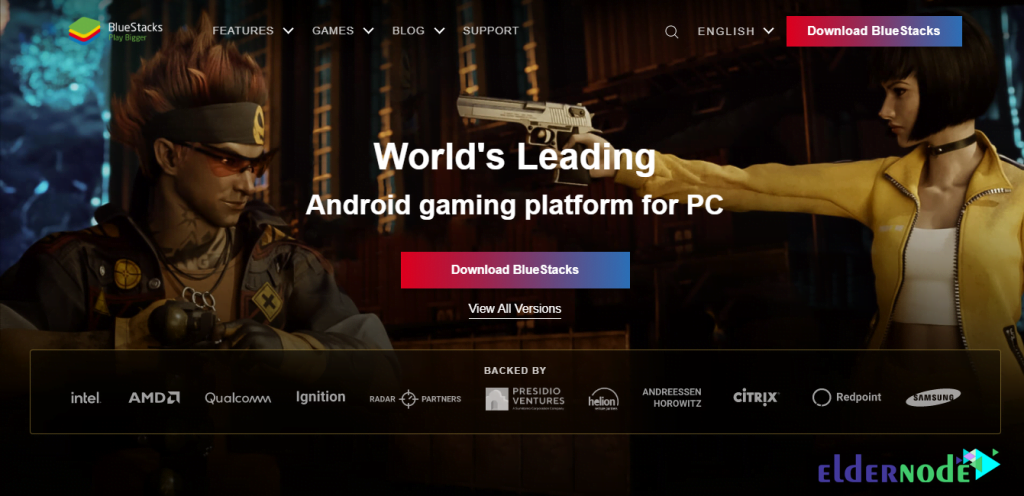
The first step is to run your desired browser on Windows. Then go to the BlueStacks website and click the Download BlueStacks button.
Once the Bluestacks download is complete, you must click on it and run. You can easily install Bluestacks by following the on-screen instructions. Once you have successfully installed Bluestacks, you can run it. In the image below, you can see the Bluestacks environment.
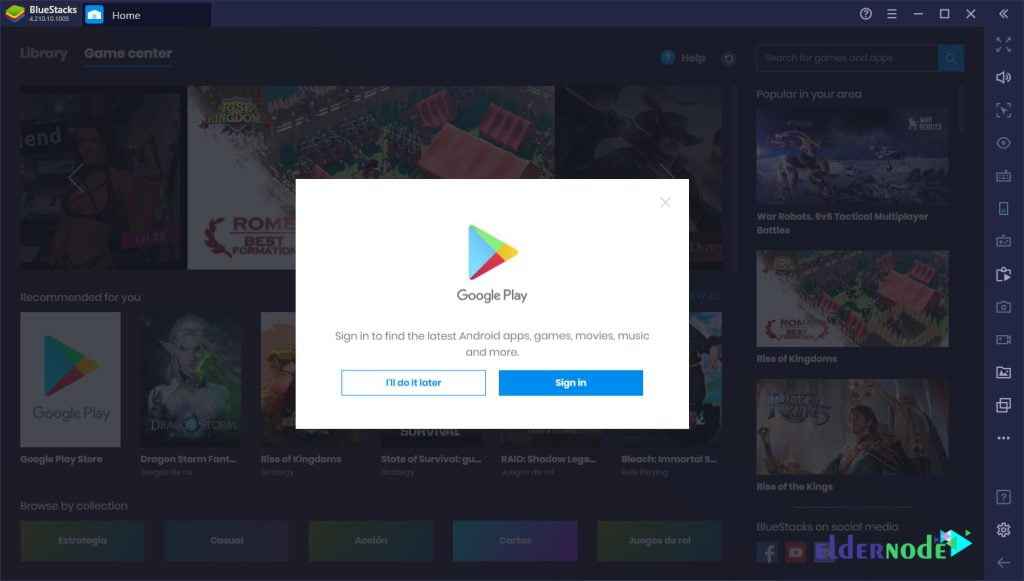
As you can see in the image above, you will be asked to link to a Google Account to start mobile gaming on your PC.
Conclusion
As mentioned, Bluestacks is not officially available for Linux. This program is offered on its official website only for Windows and Mac. So, as you saw in this tutorial, to install Bluestacks on Ubuntu, you must first install VirtualBox and then Windows 10. Finally, you can install Bluestacks on Ubuntu. In this article, we tried to teach you How to Install Bluestacks on Ubuntu.